The Old Canterbury Studio
I get a LOT of people asking about my Studio space. I’m going to show off my old Studio here. Remember that what works for one person, may not work for another. I have found that I have adjusted, tweaked, rearranged, added and removed things to make this work. I also like fun things, so you will see a LOT of fun, quirky things and bright colors in this space. Why not have some fun wherever you can? I’m also going to lead with this fact, although this is a whole room, it is small. The footprint of this room was 10 feet by 11 feet with a small, standard sized closet. I’m also trying to share how it gets organized for me in hopes of helping any one with their space.
As you may know, I have since moved out of this house and am now using a shared space for my Studio….so look for another blog about that coming soon explaining the detriments and hacks for smaller, shared spaces. But for now, here’s some features and a tour of the old Canterbury Studio.
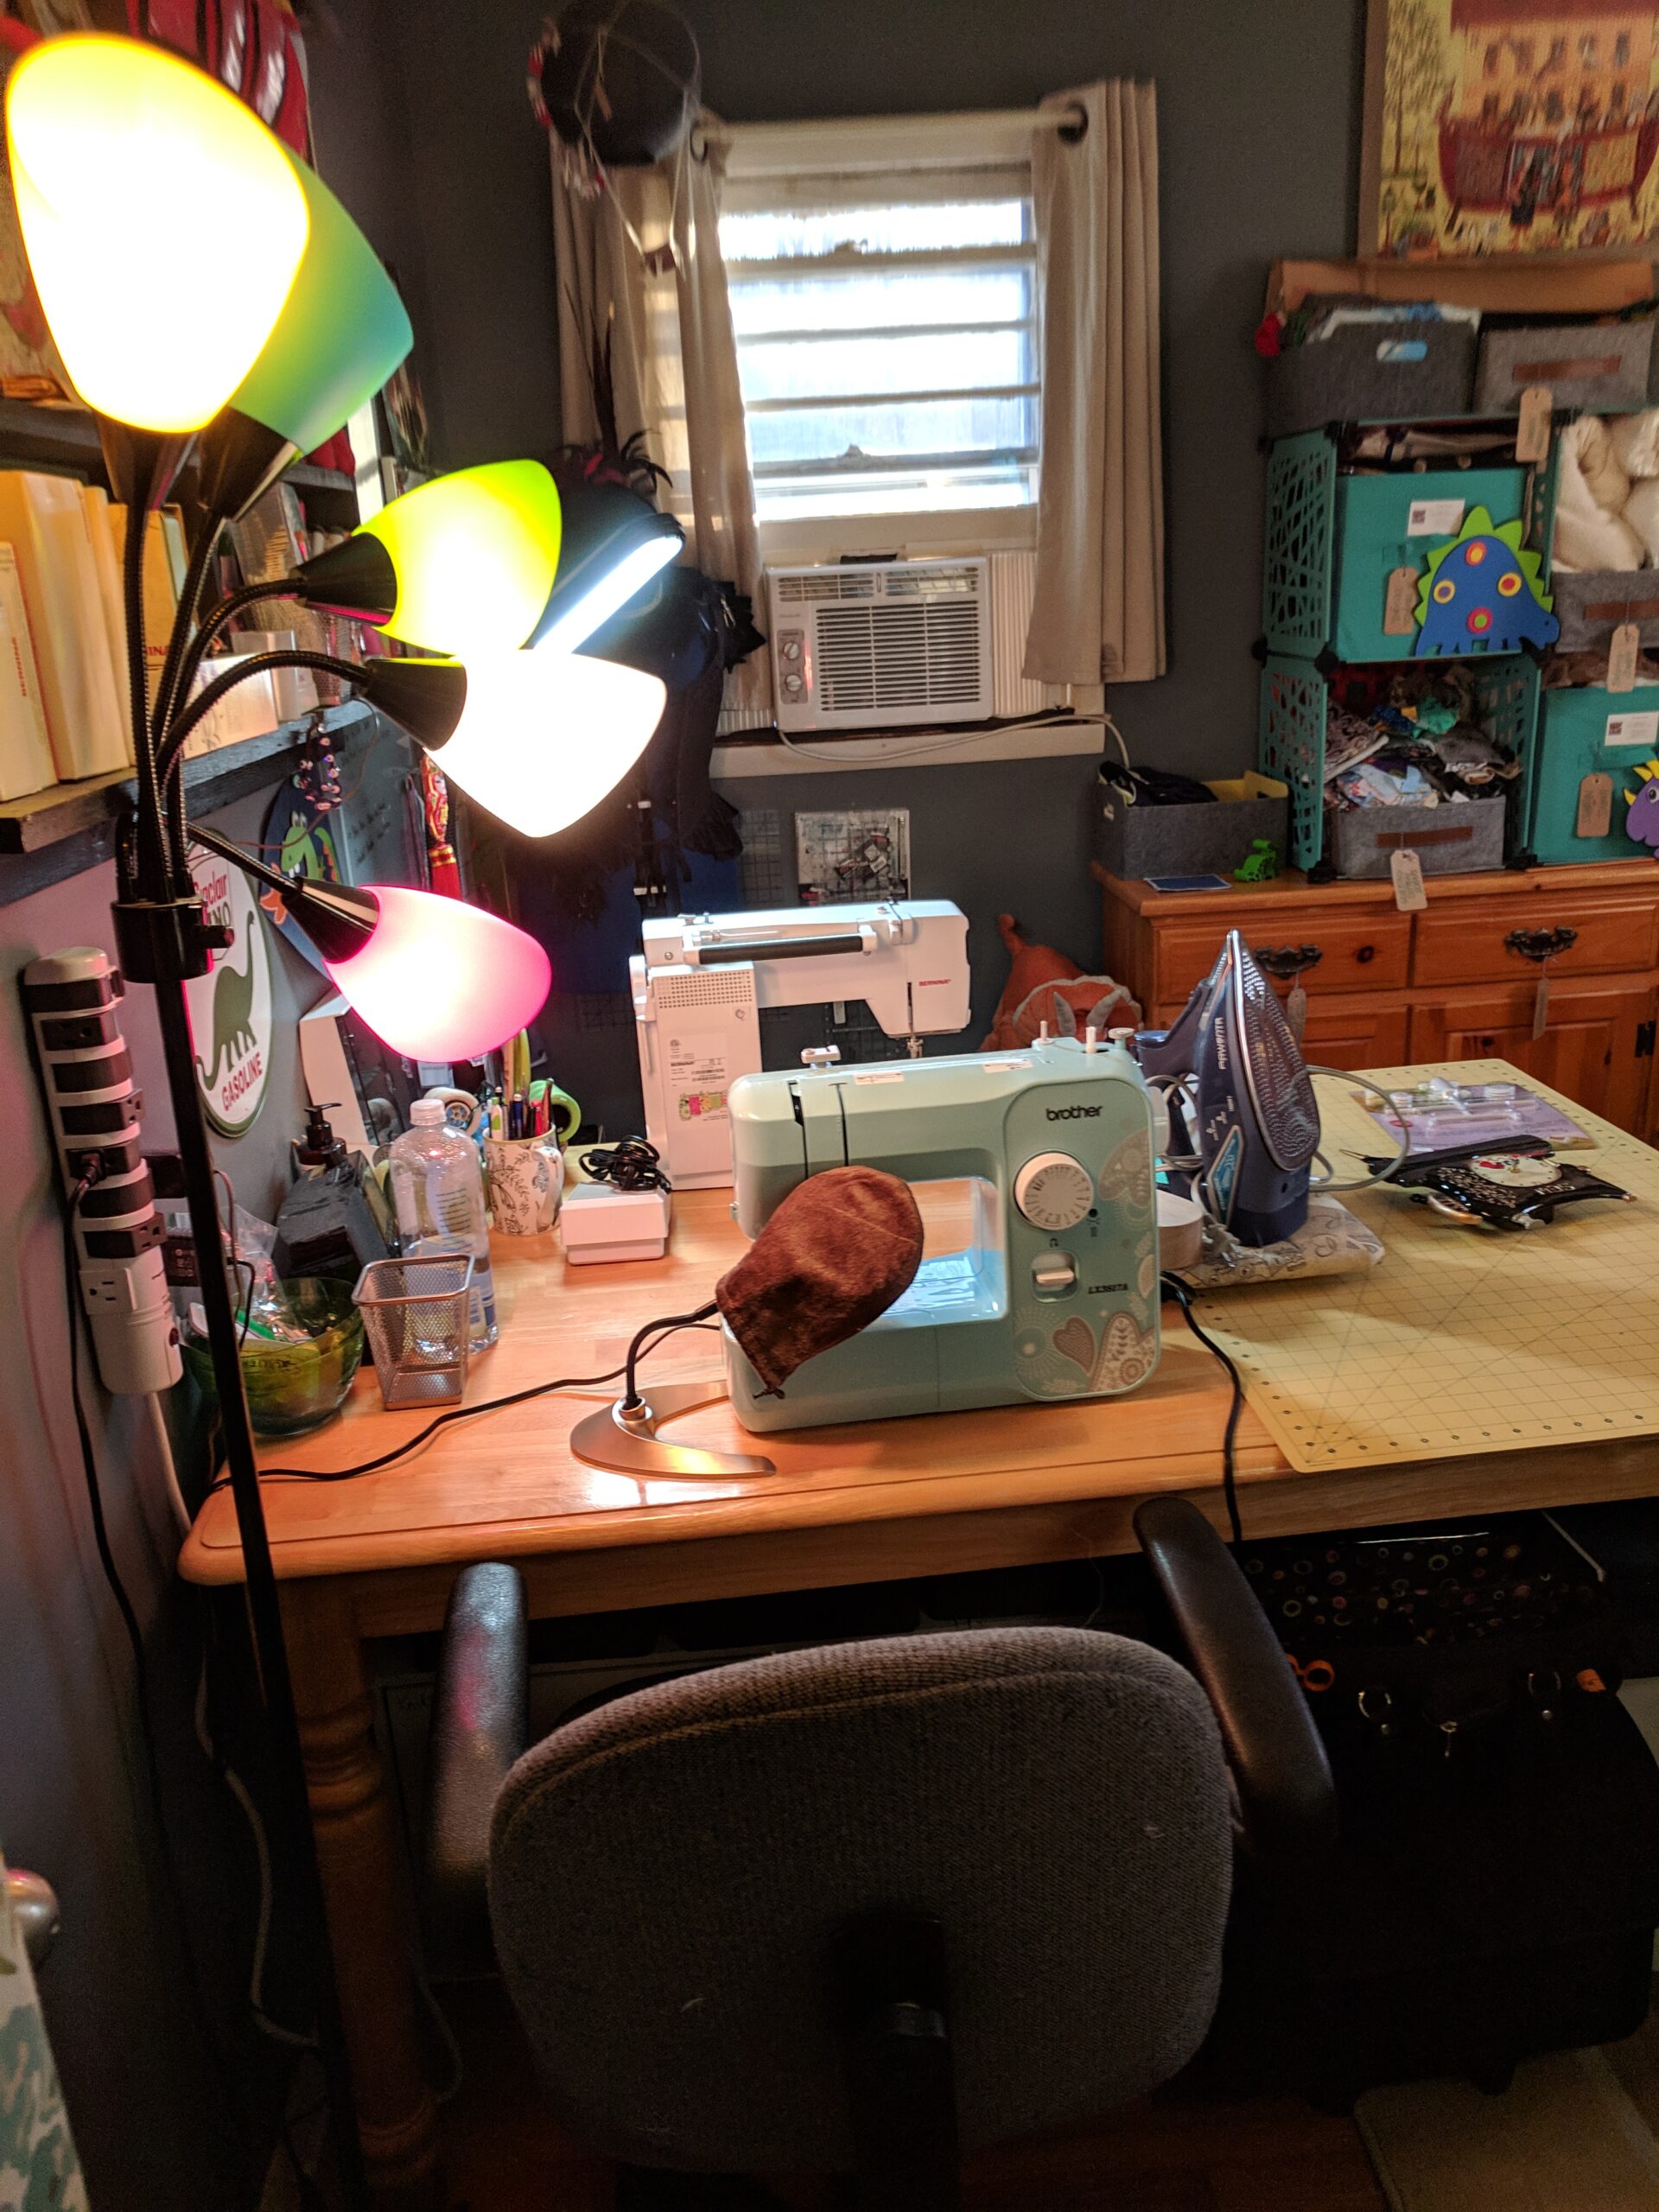
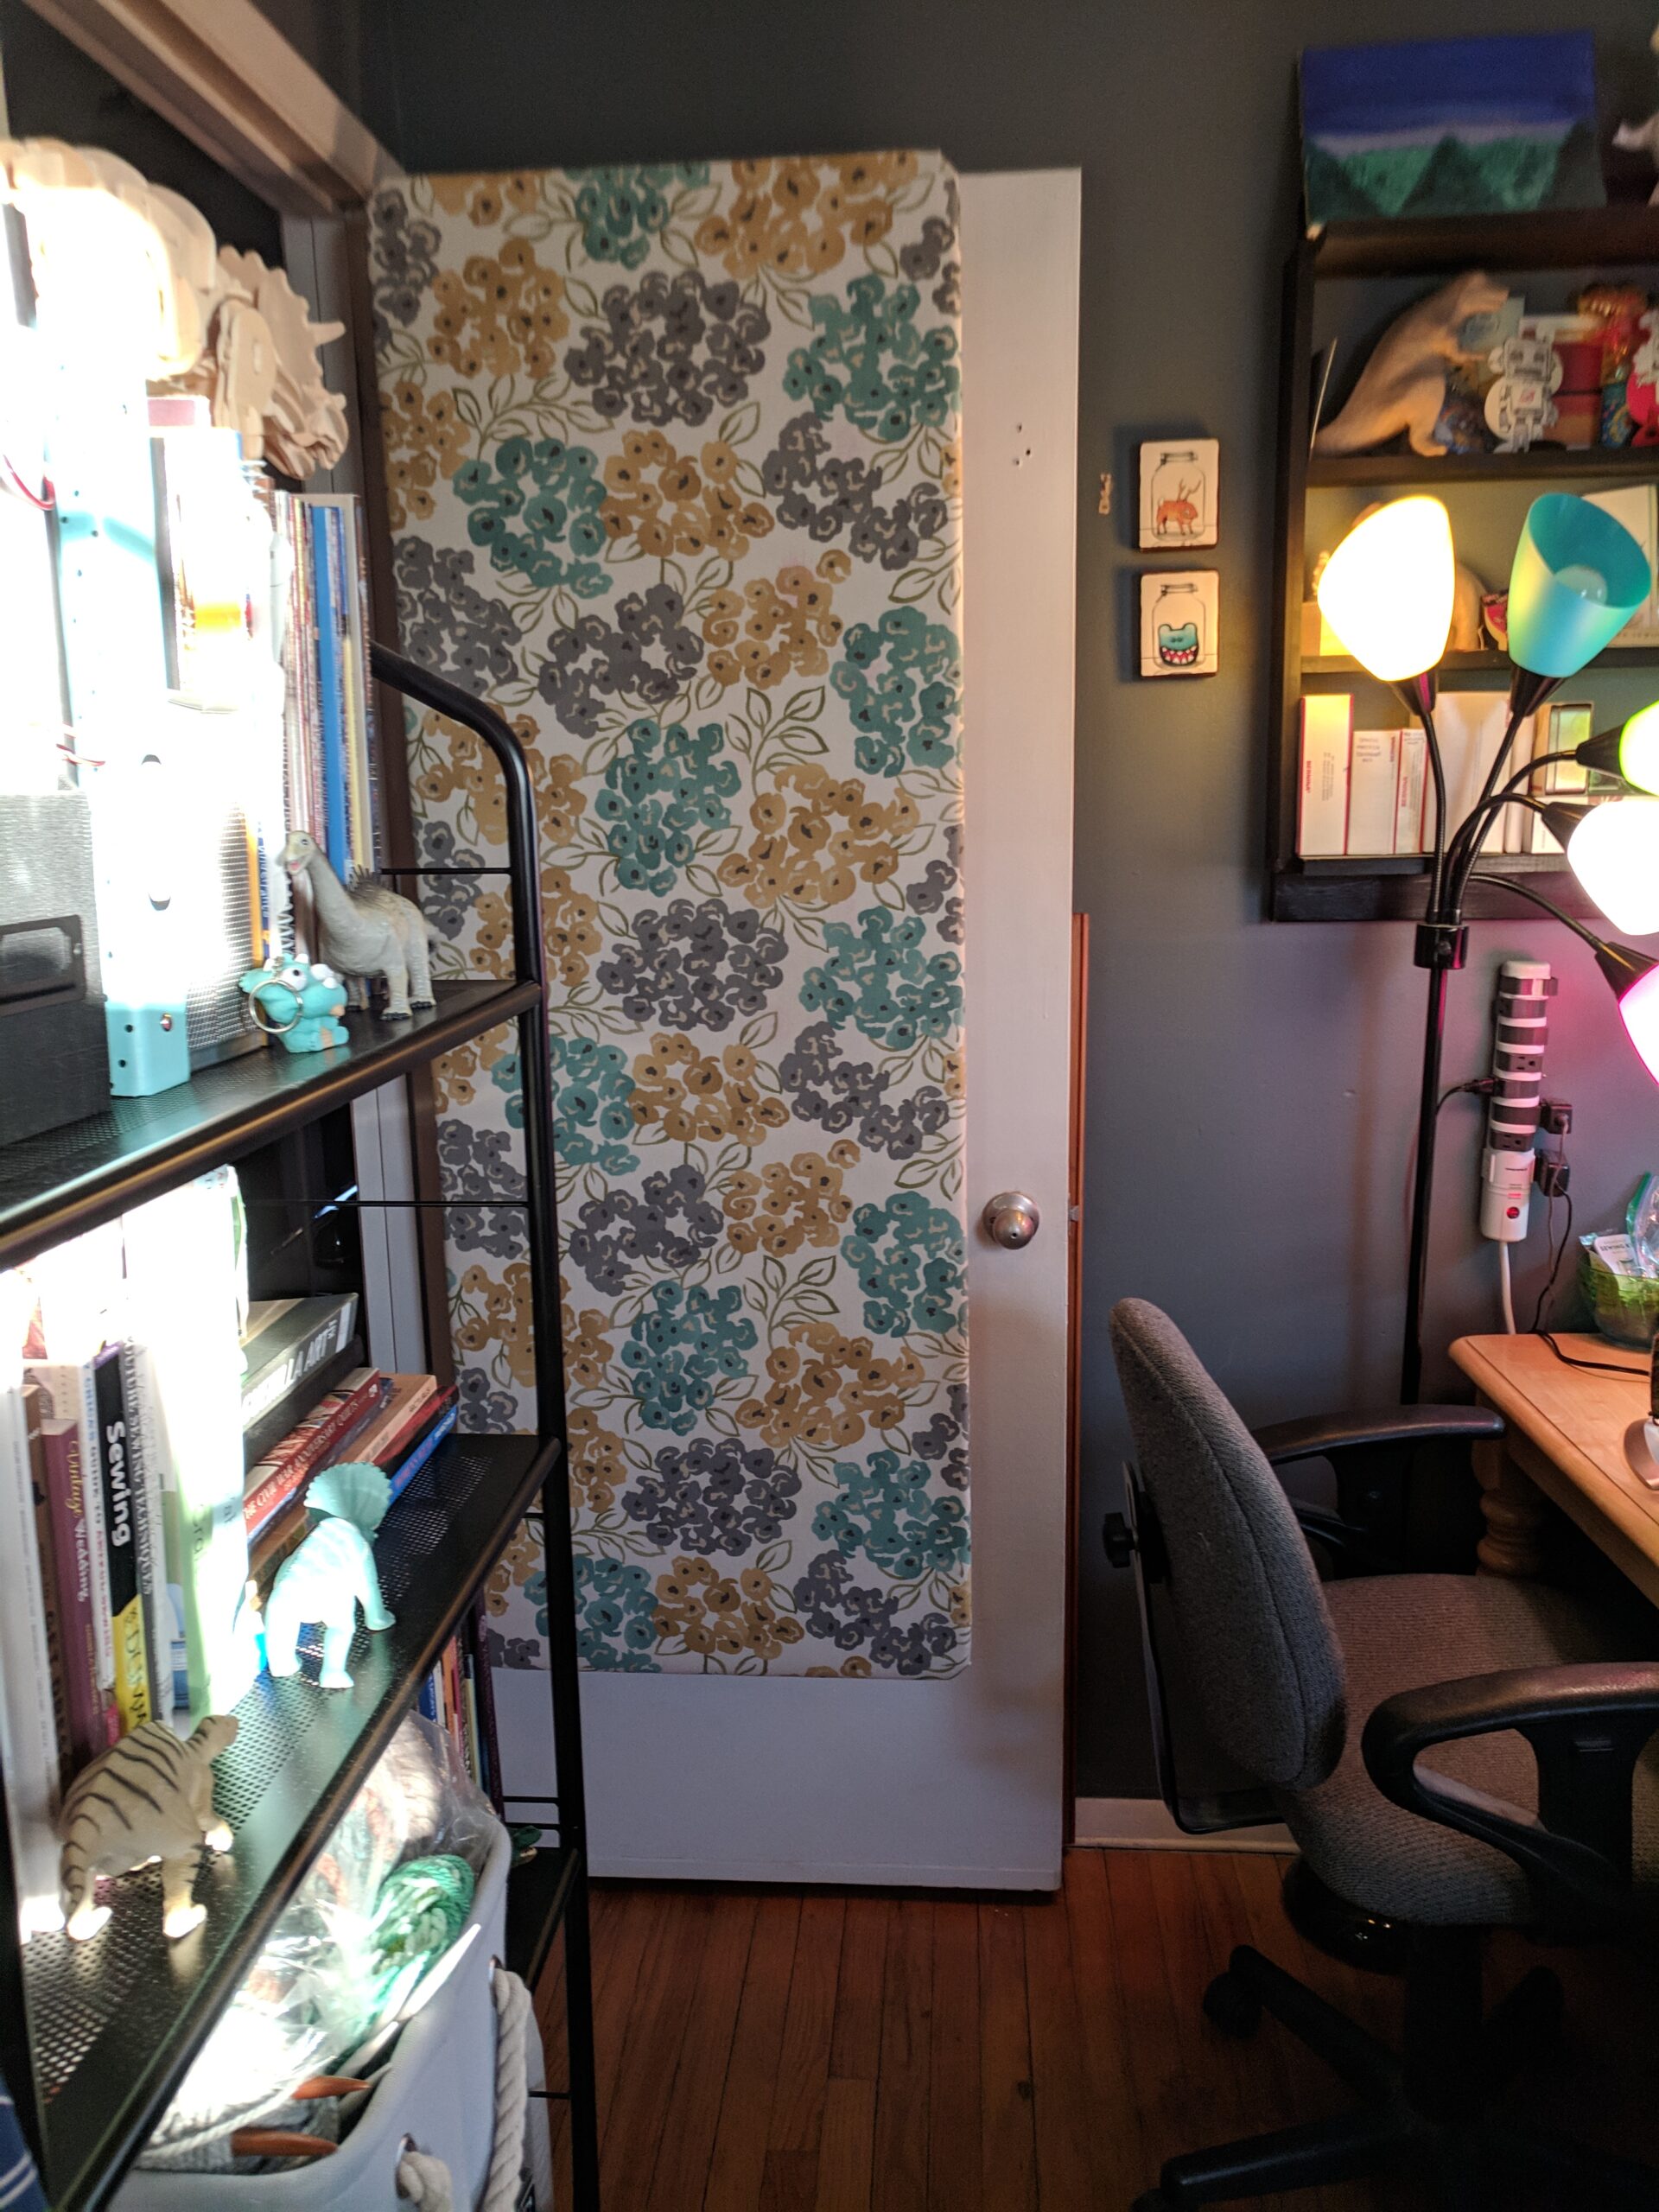
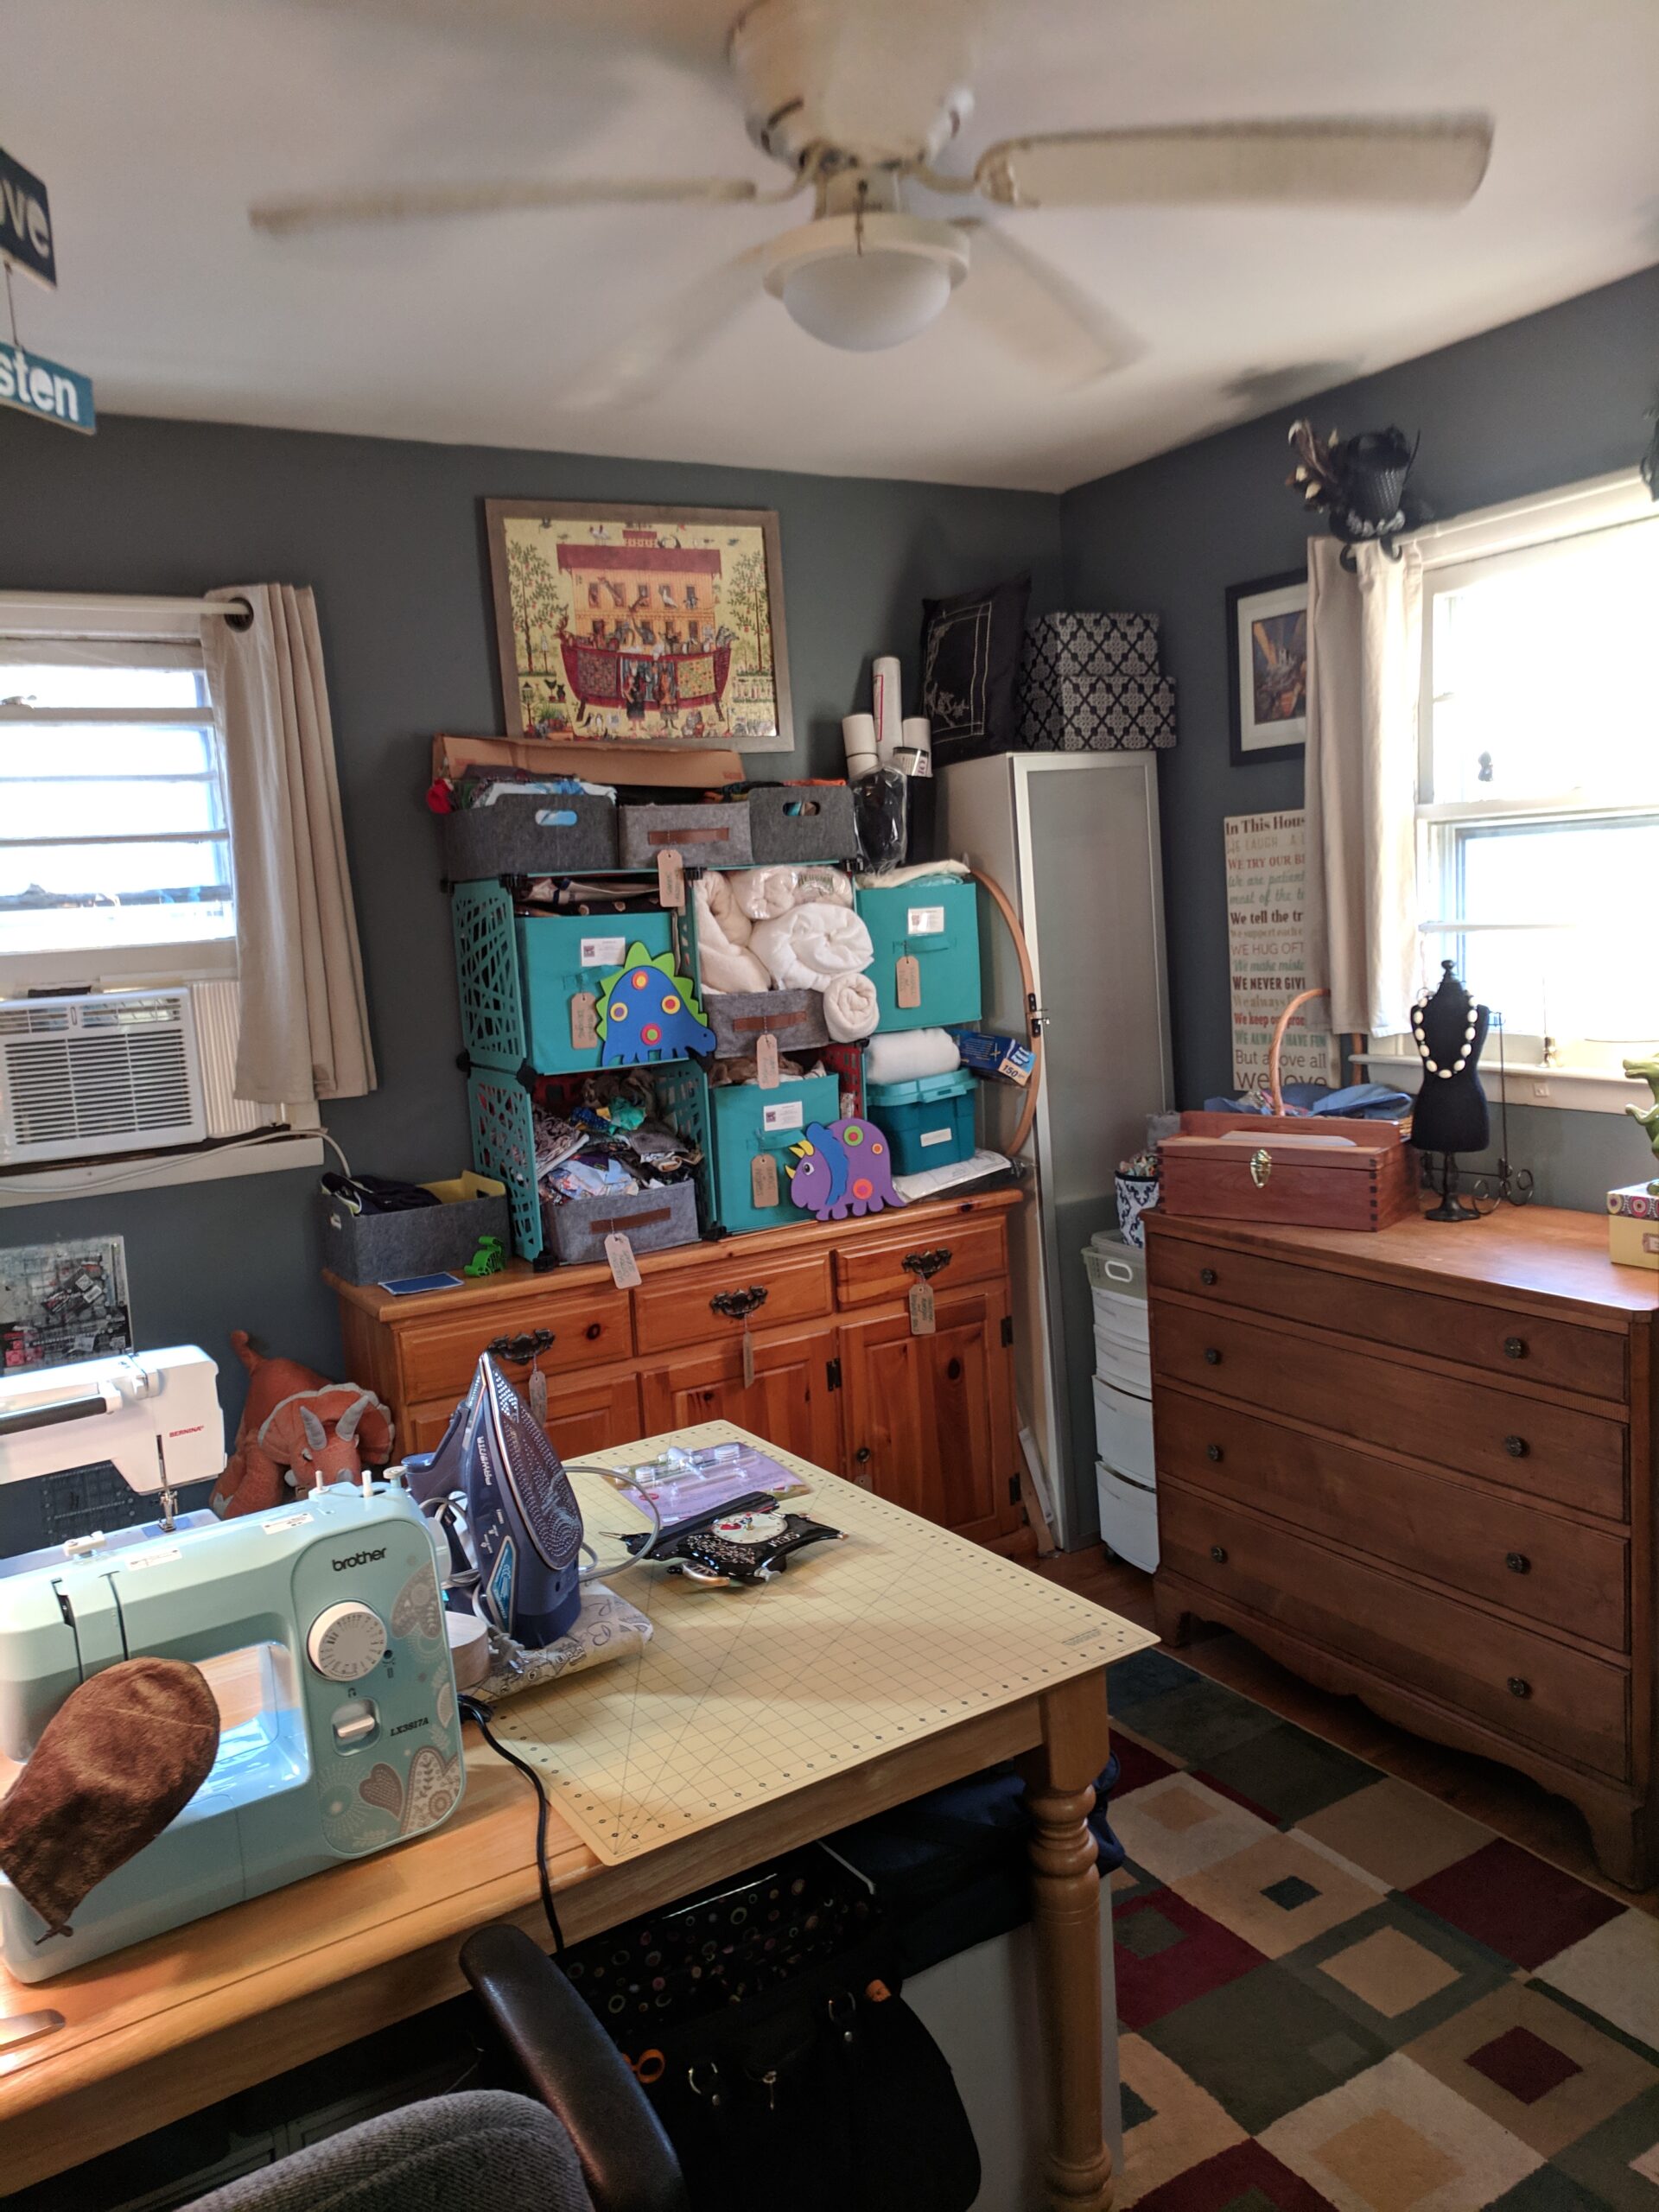
Left photo: this is the view upon walking in to the Studio space. I’ll get into the details in later photos. Center Photo: This is the work table (a dining room/kitchen table that was acquired for free) with two machines on it. The blue Brother in the front is a cheapy machine my husband is learning on. He’s afraid to learn on the Berninas. lol He uses the magnifying glass to help him thread, as this machine doesn’t have an auto-threader. I have a power strip mounted right to the wall for the machines and the Rowenta iron. Photographed is Betsy, the Bernina B560. Right photo: Hanging on the door on some hooks is my large pressing table. You can see it takes up almost the whole door. I love this thing. It actually mounts right onto a regular ironing board and gives you a sturdy, flat space to press. On the other side of the door is my bookcase.
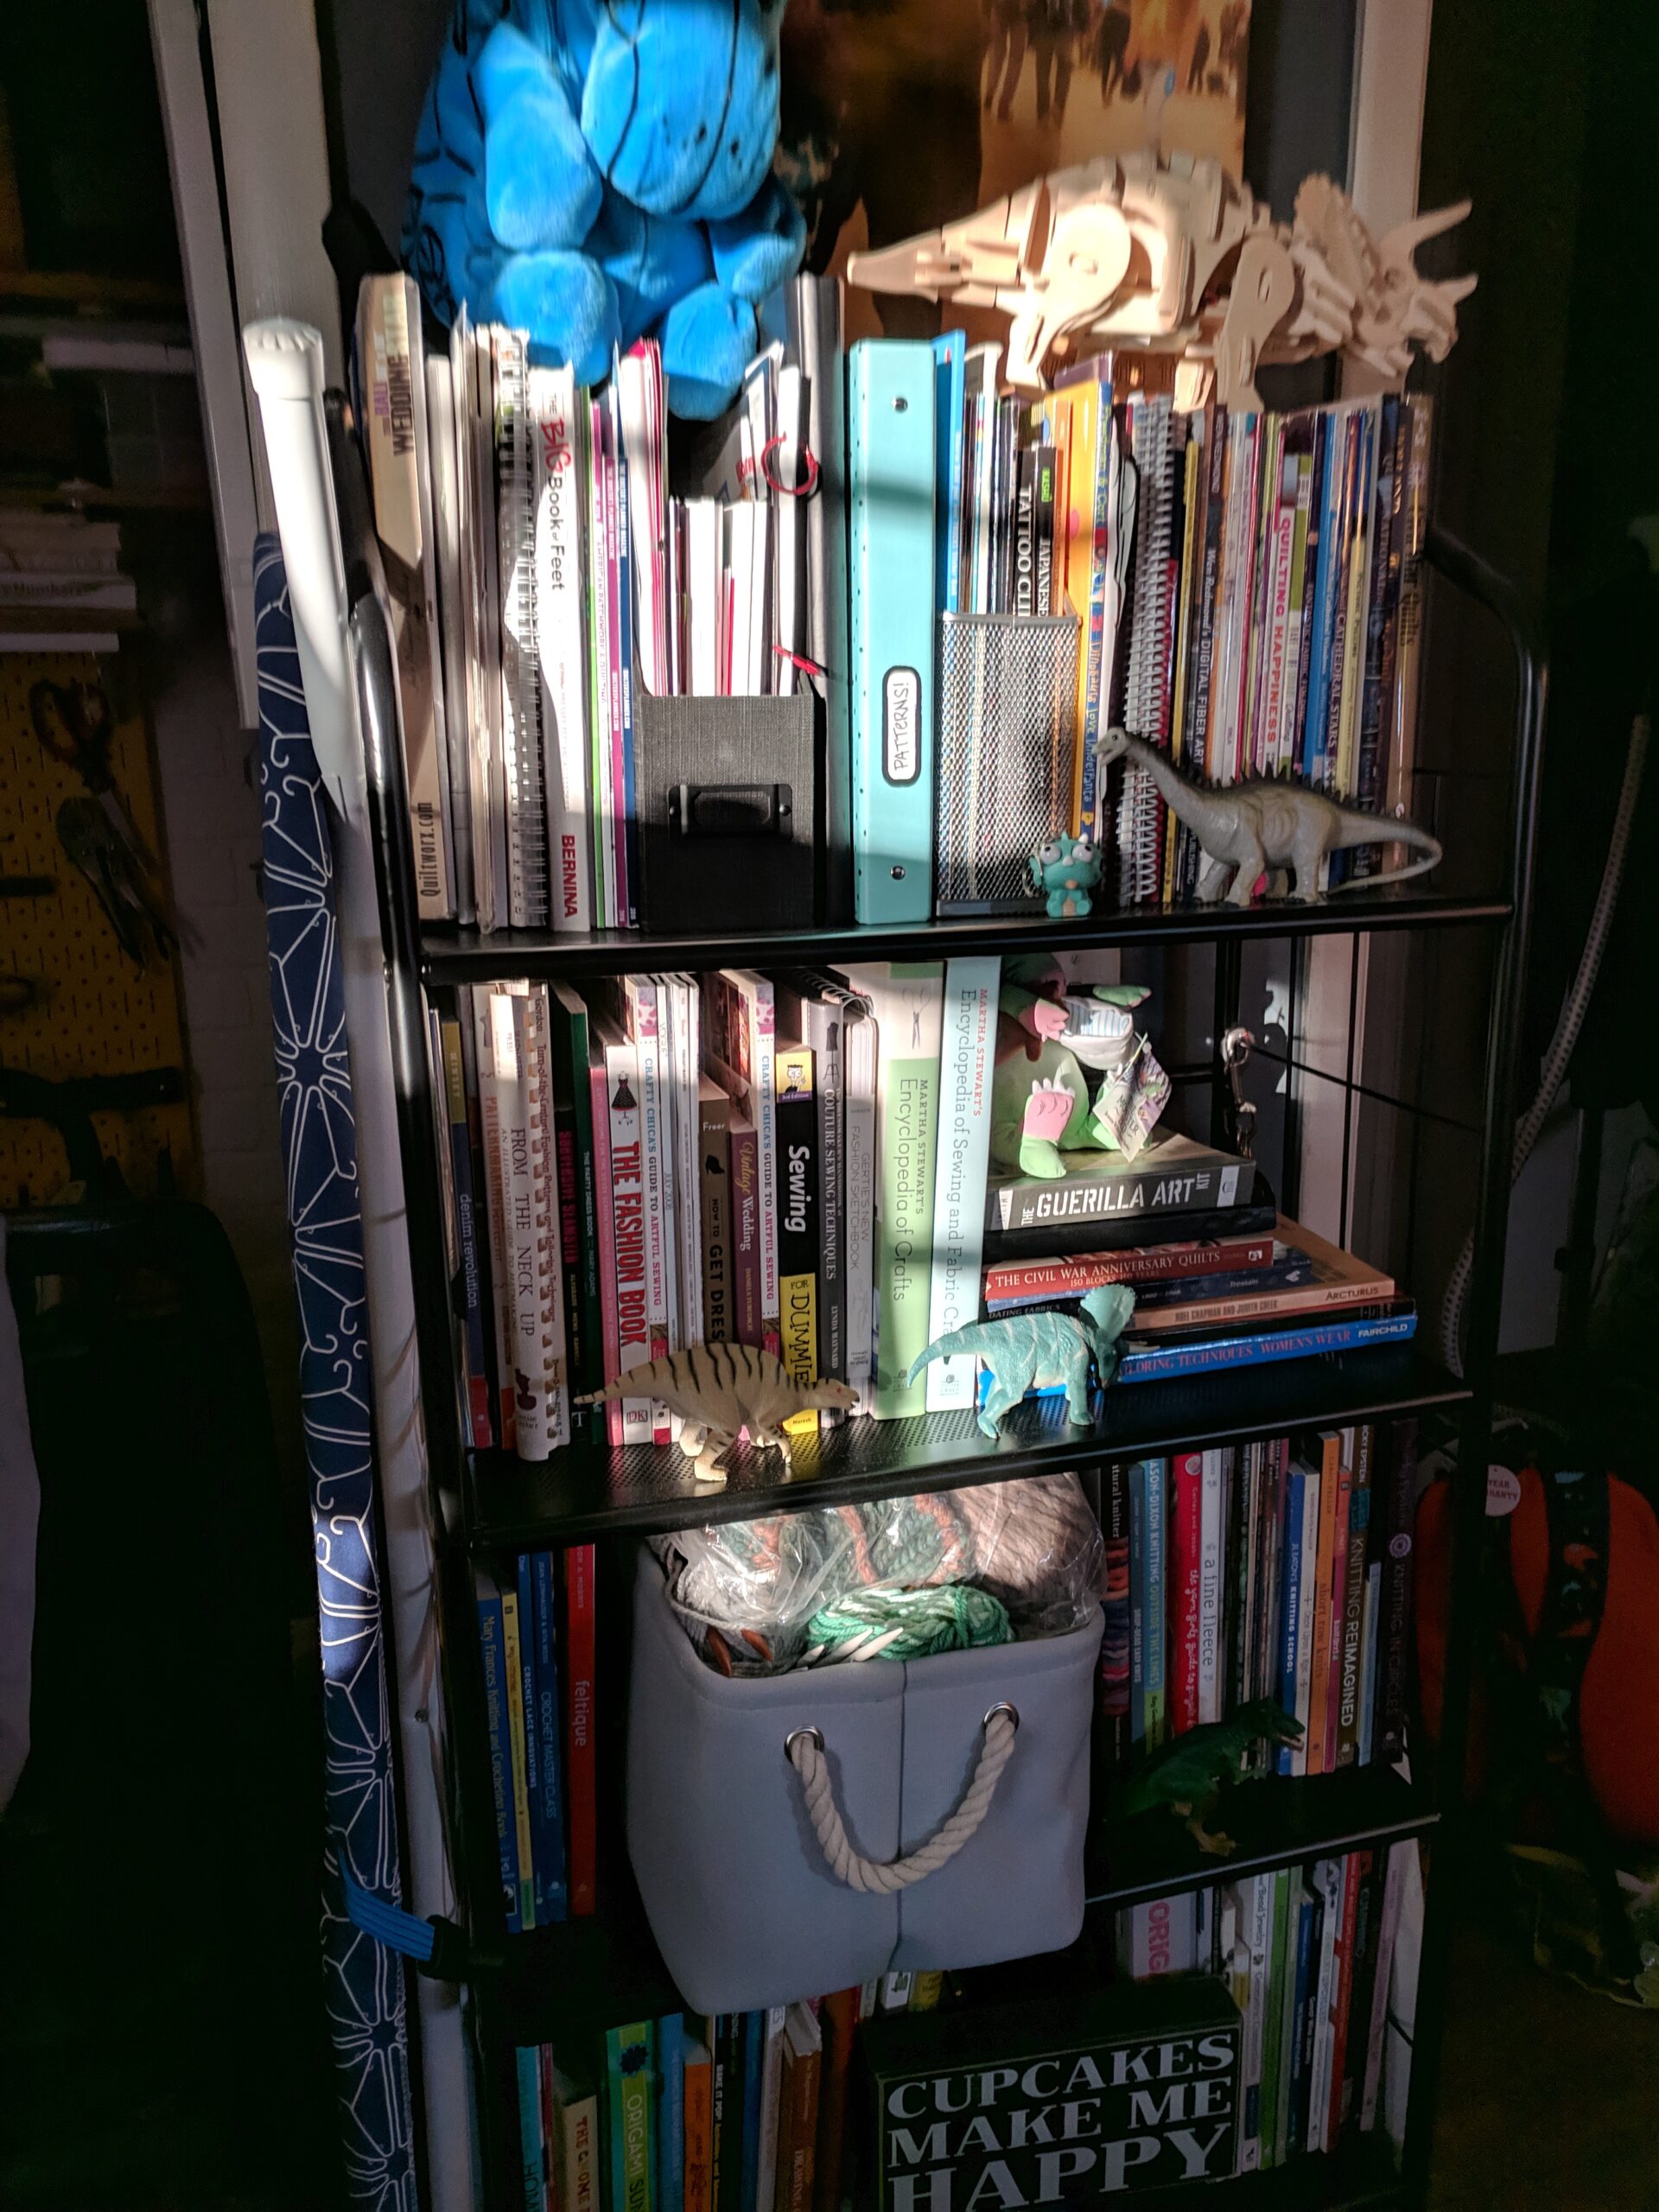
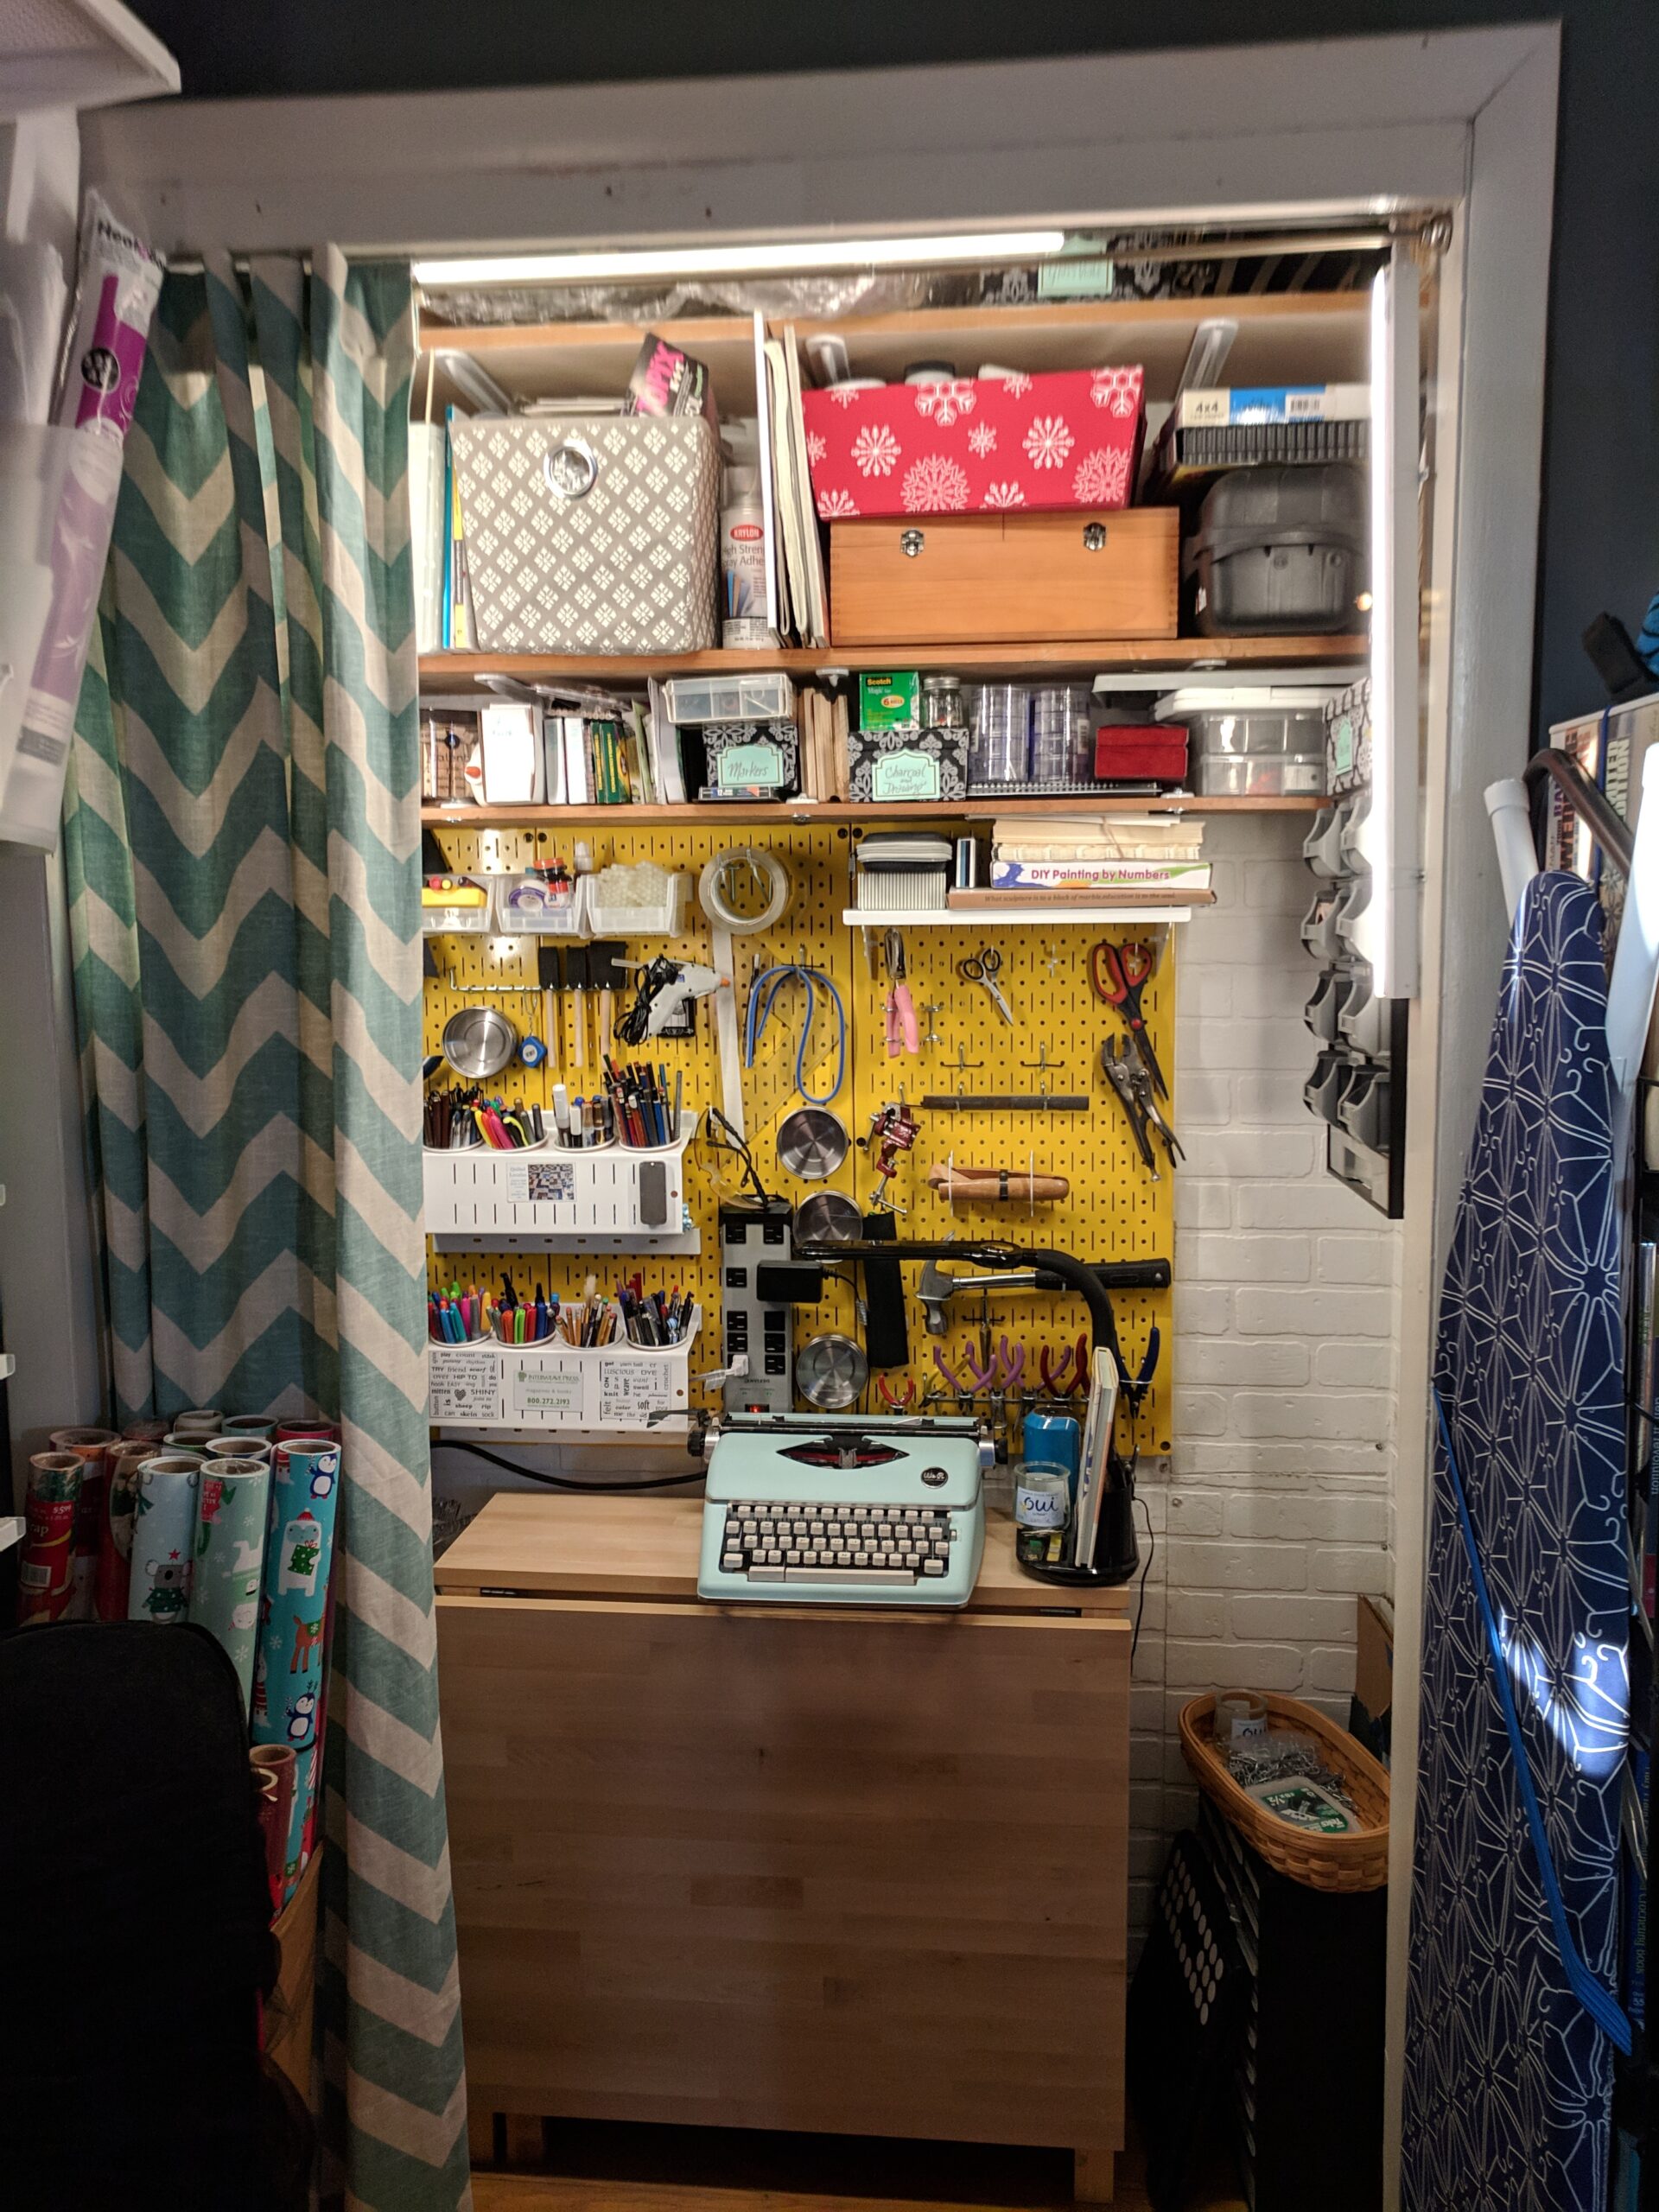
Left photo: the Bookcase up close. On the top is William the Hippo from the Metropolitan Museum of Art and a remote controlled Triceratops. These are Studio staples, if you ask me. From top to bottom on the bookcase: top shelf is my go-to sewing books, manuals for my machines, my own patterns and my go to references for sewing. next shelf down is my garment sewing section. Below that is knitting books on one side, a basket of in-progress yarn projects and then crochet books. The bottom shelf are other art books that aren’t sewing related: this includes, drawing, painting, jewelry, paper, etc. I also have my ironing board and circular knitting needles stored on the left side of the book case. Right photo: The closet!! This thing is really cool! My husband and I custom made this closet. We finished it with brick face for a fun look and then fitted it with bright yellow(yay!) pegboards. These are fancy pegboards called the “Wall Control” System and they are amazing. You can use regular peg board things on them, but they sit off of the wall a bit so you don’t have to worry about framing out wooden pegboards. Also, their inserts lock into place so you can’t bump into them and knock them out. The gate leg table is from IKEA and is super useful. On the table is my typewrite, used for tons of thing, but mostly filling out paperwork for the various companies my husband and I have and for crafts. The Ott lite turns on just by touching the adjustable lamp part and holds a few pens and a pencil sharpener. This space is for non-sewing projects. I don’t put any other craft onto my sewing table, because things like jewelry have oils that would ruin my sewing table or soil my fabrics. On the left of the closet is my wrapping paper. Lets take a closer look into the closet, shall we?
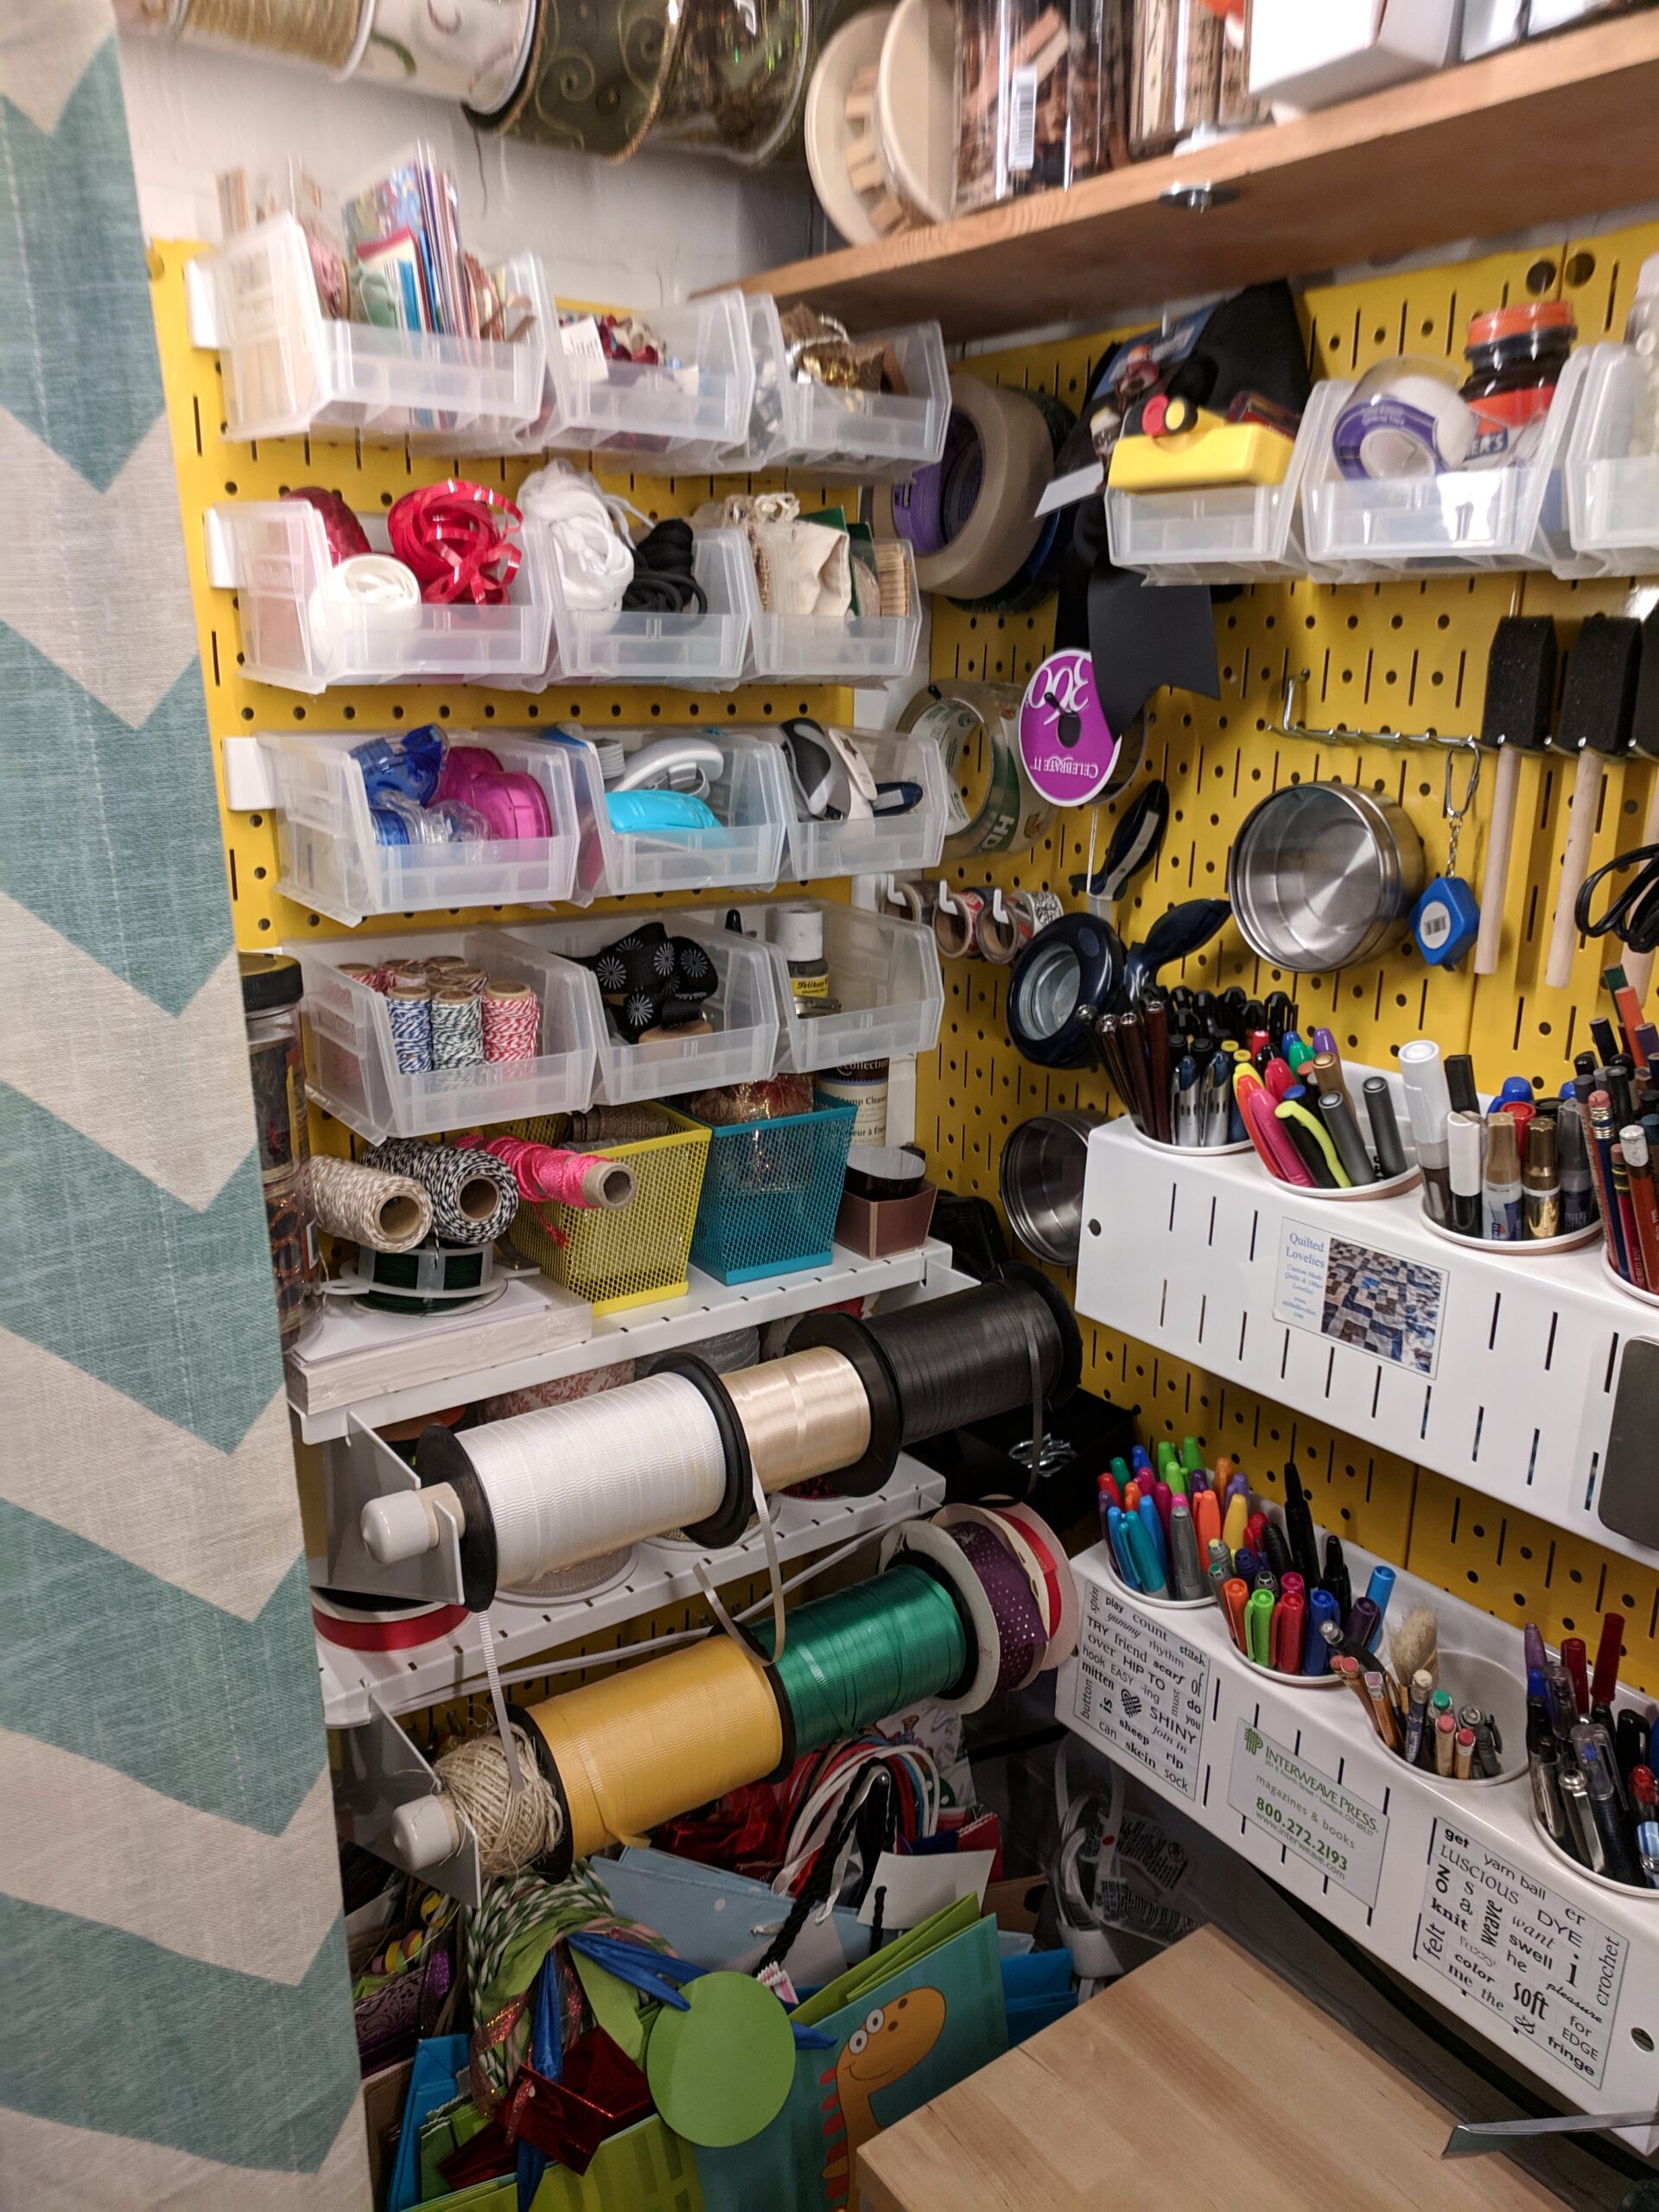
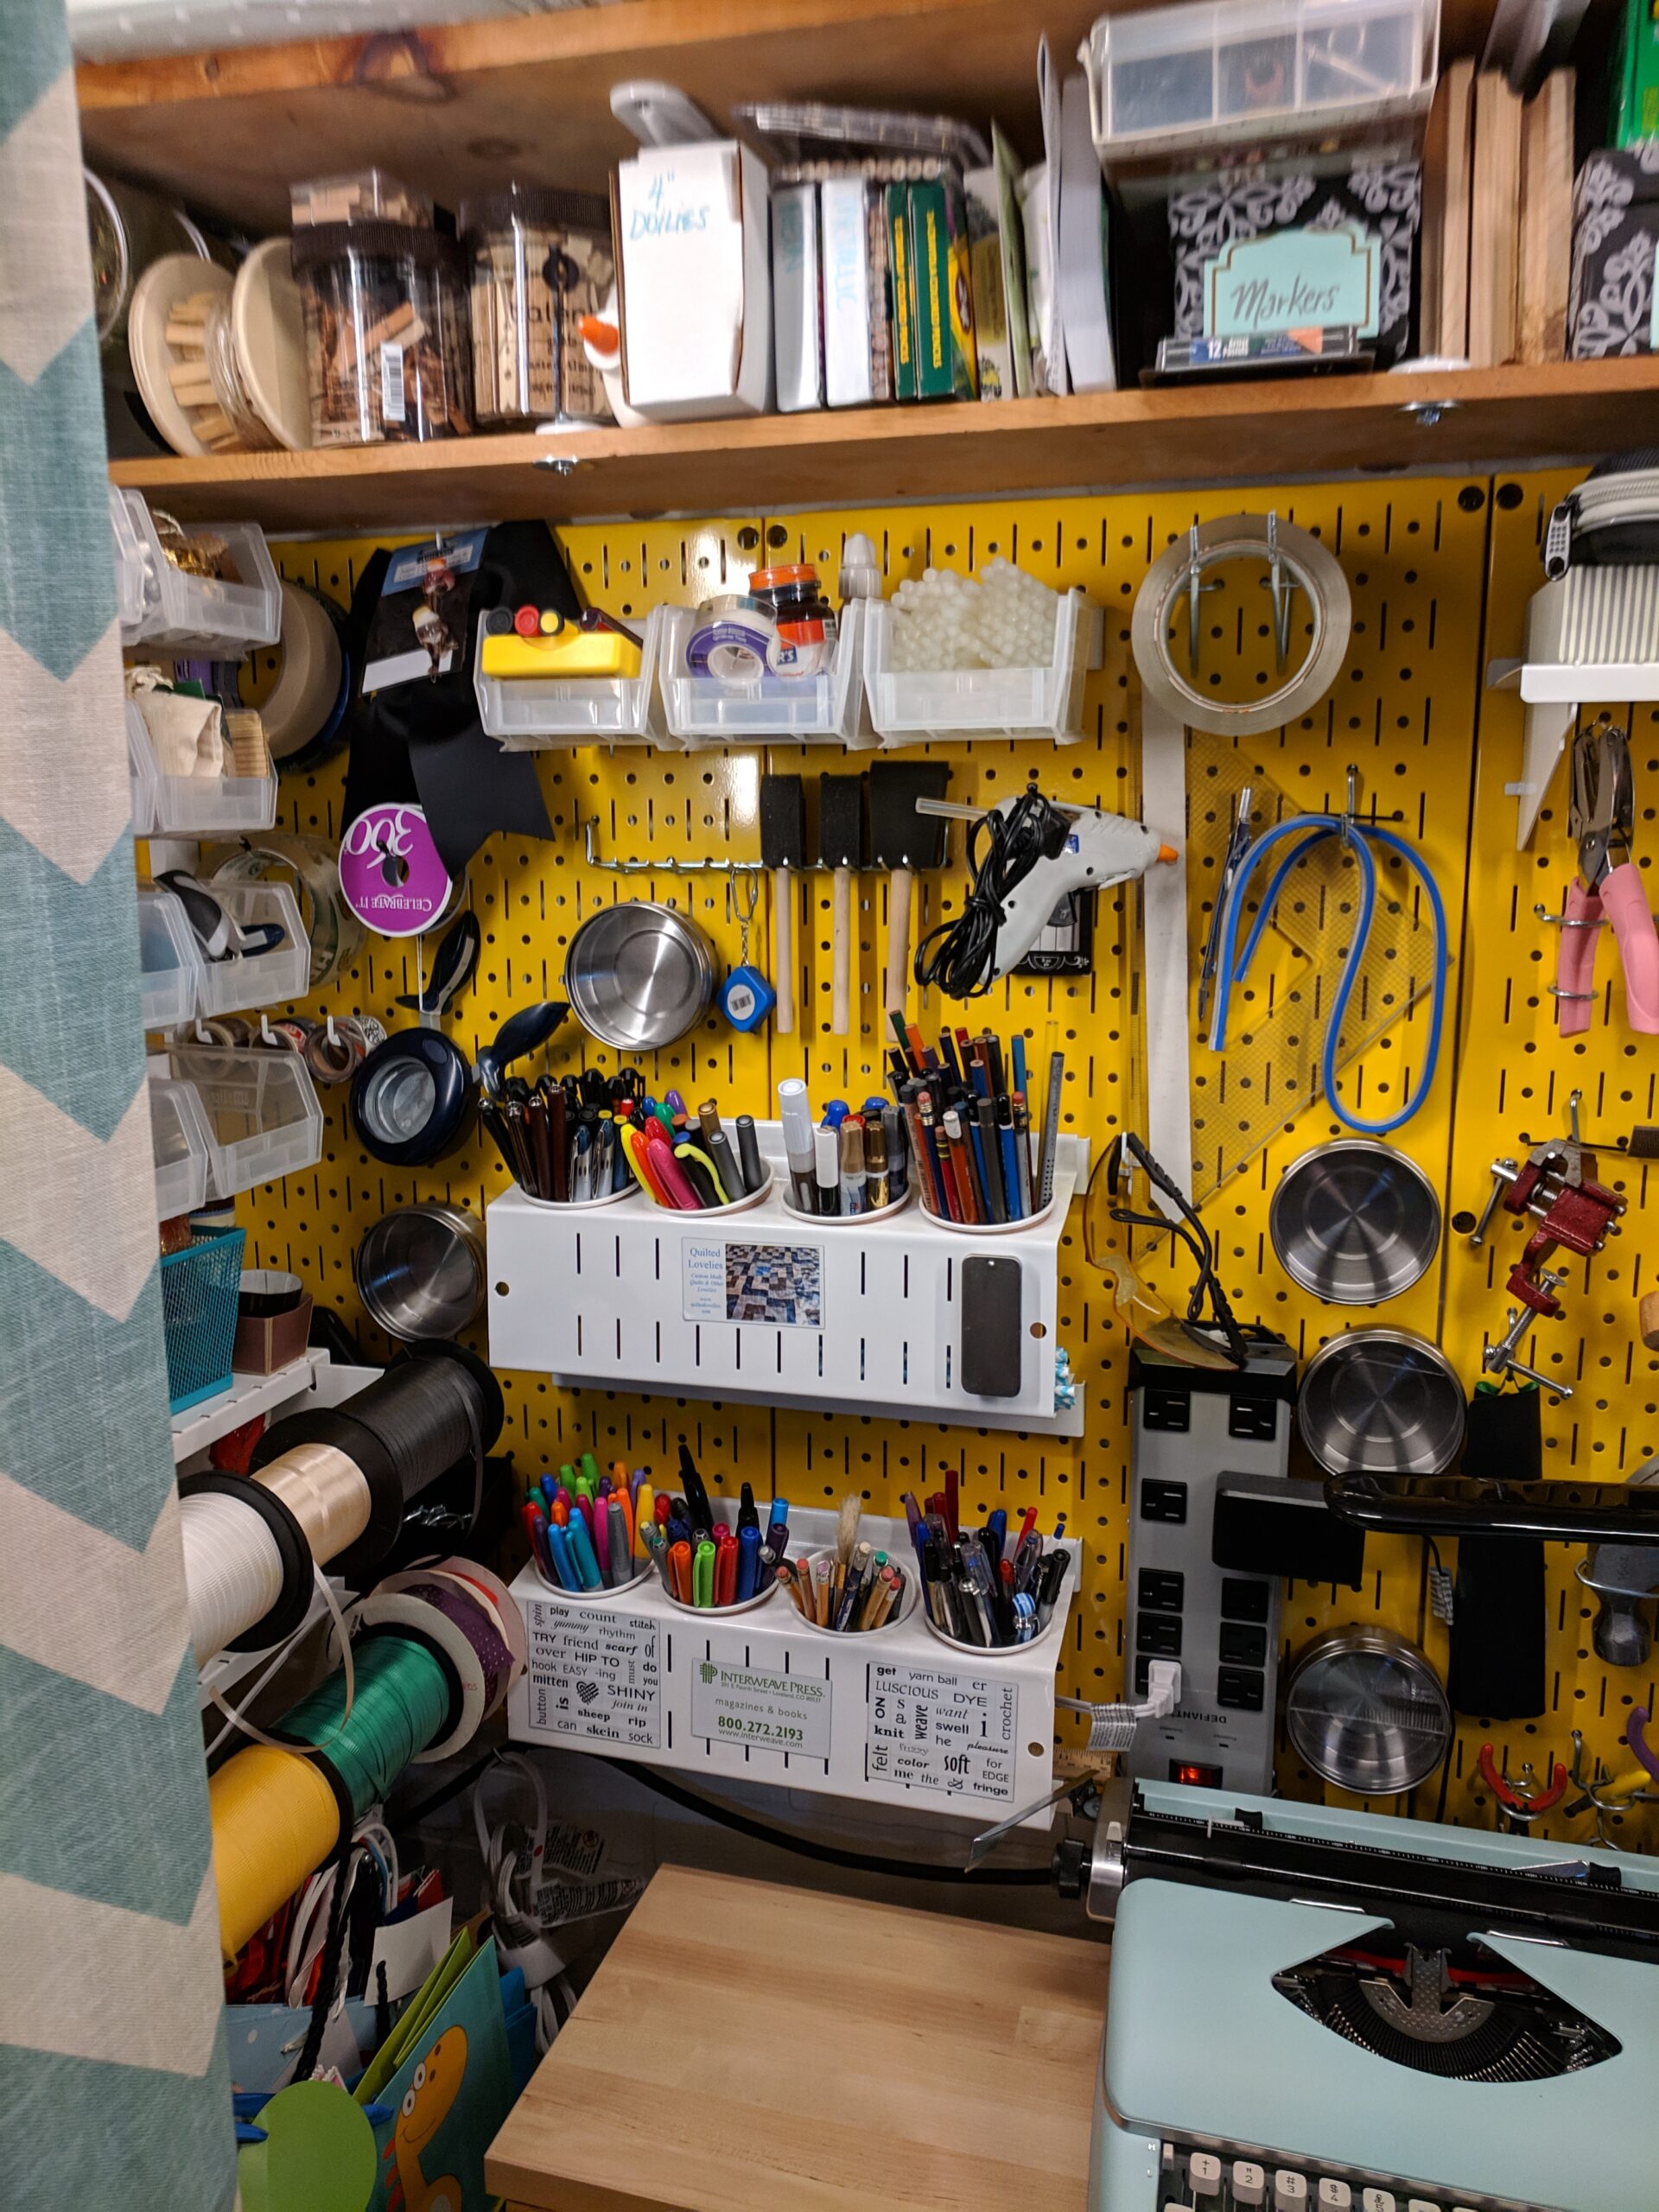
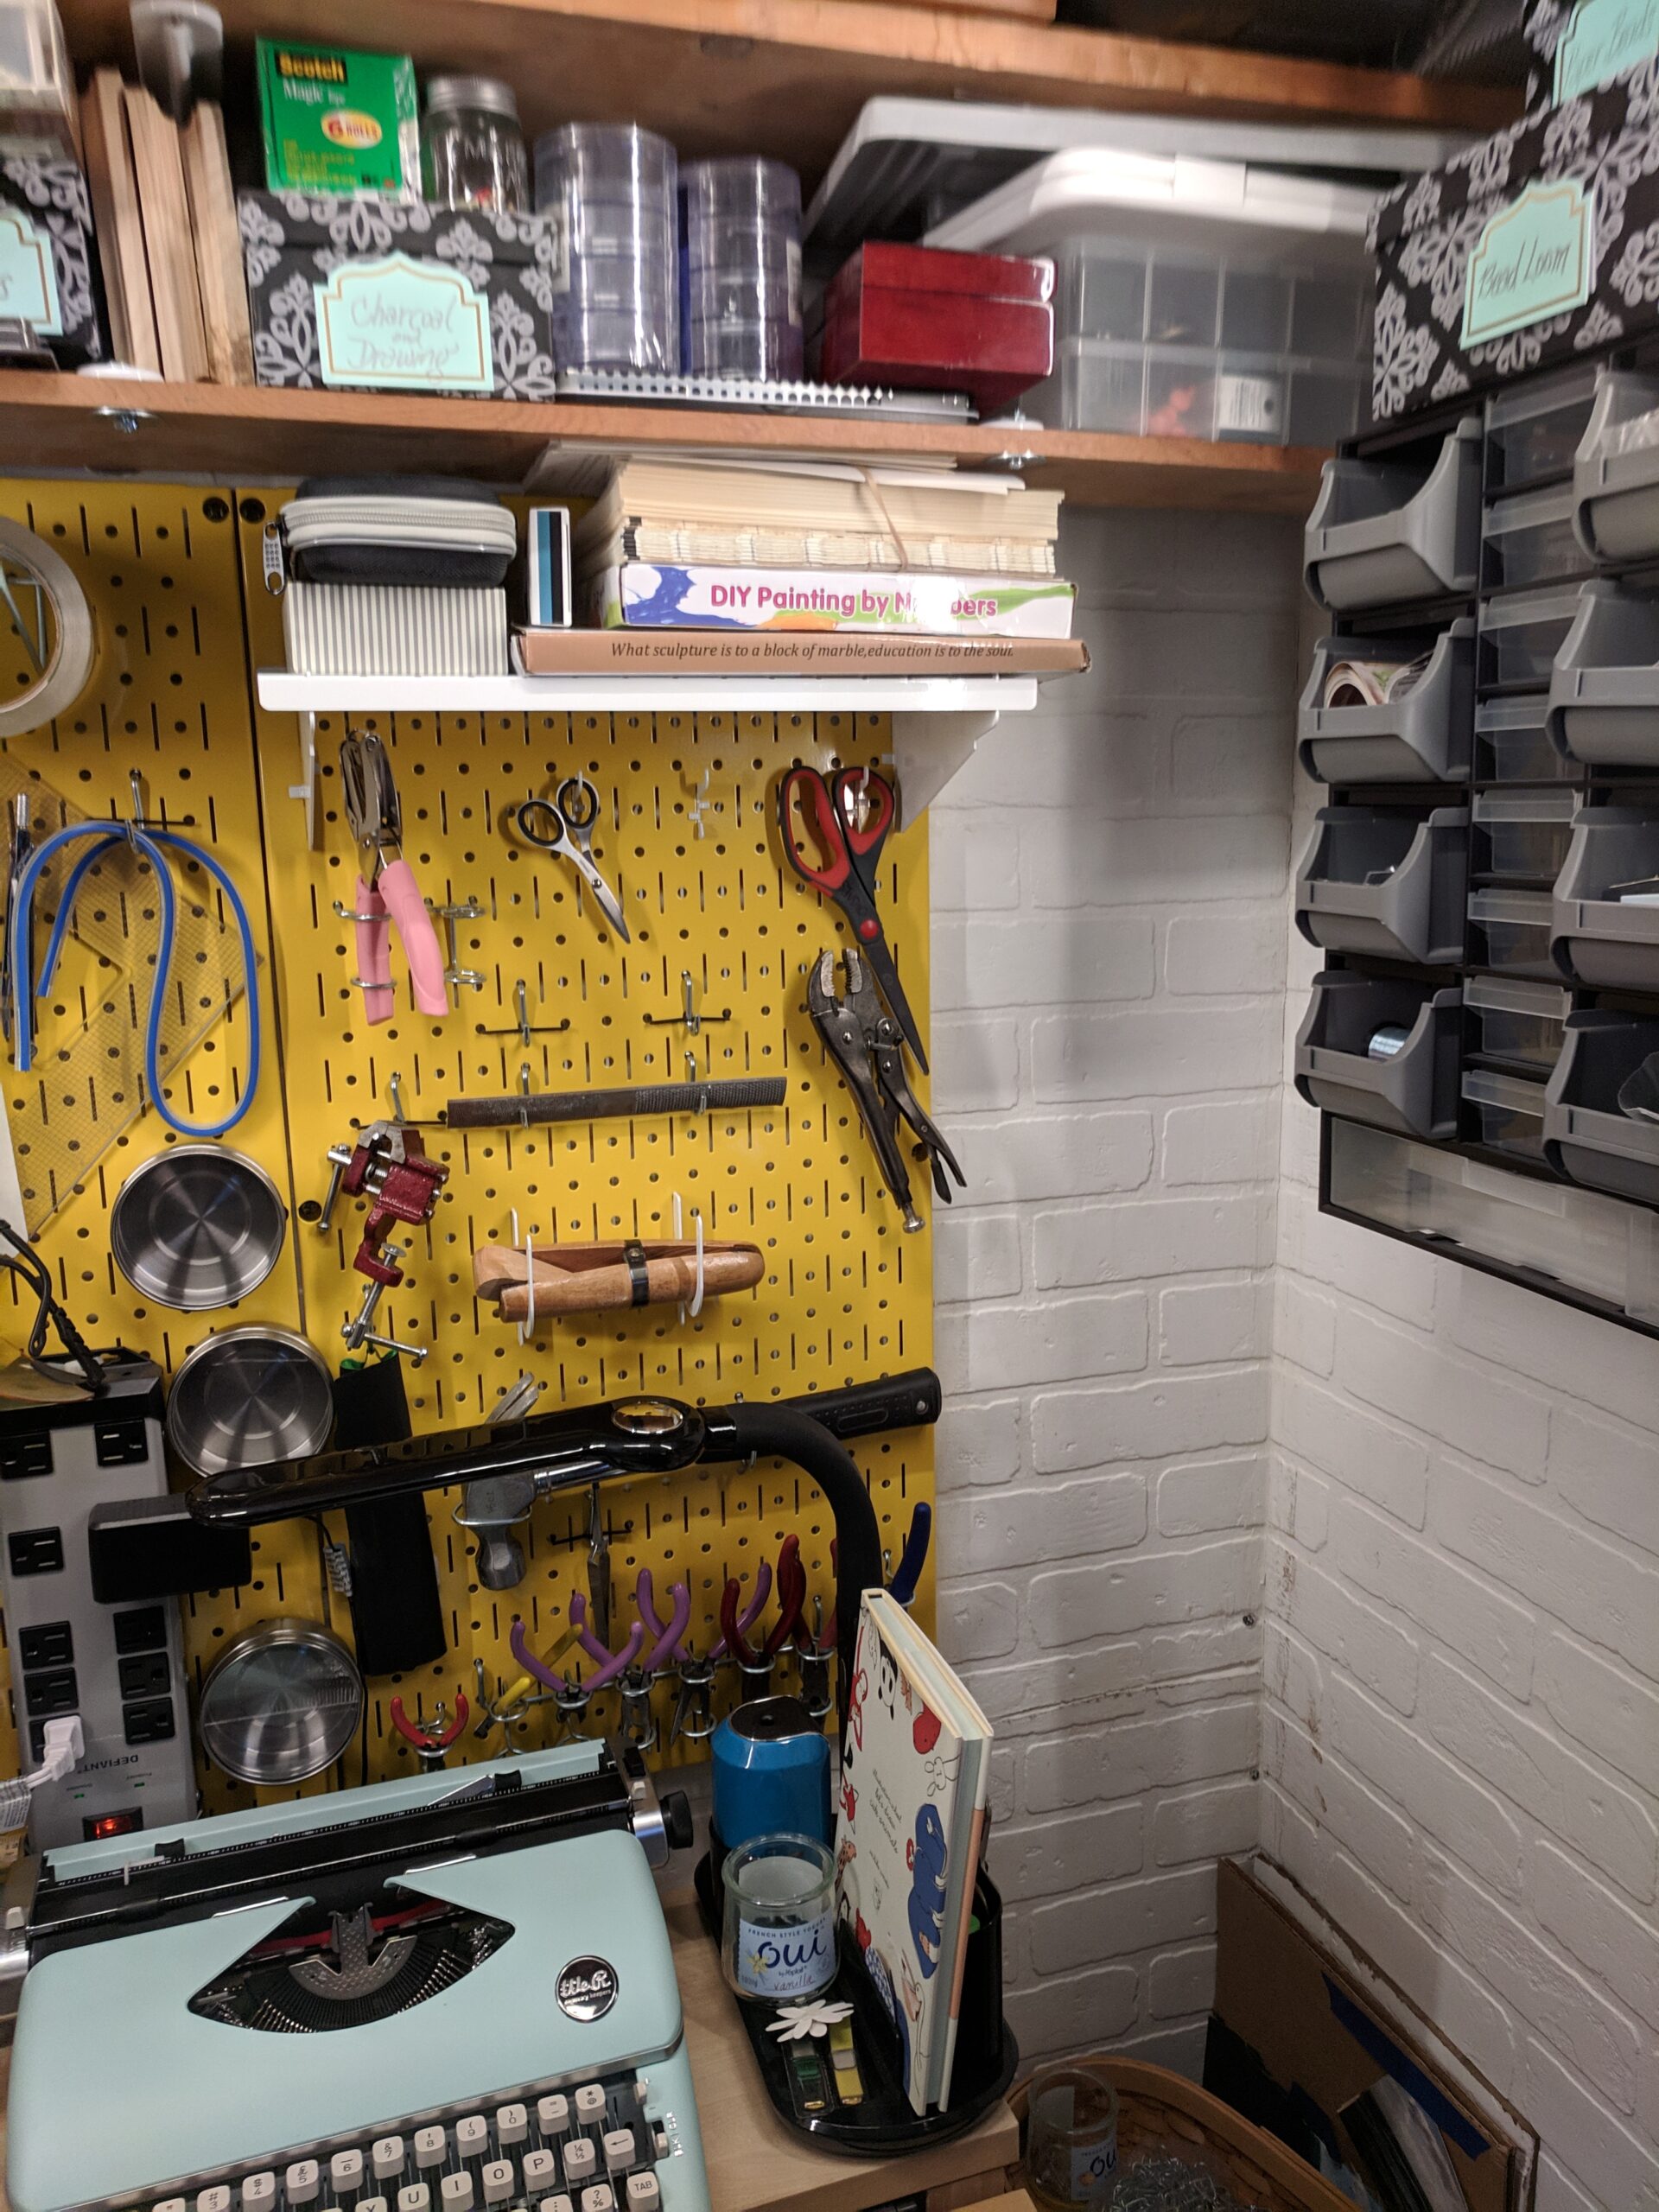
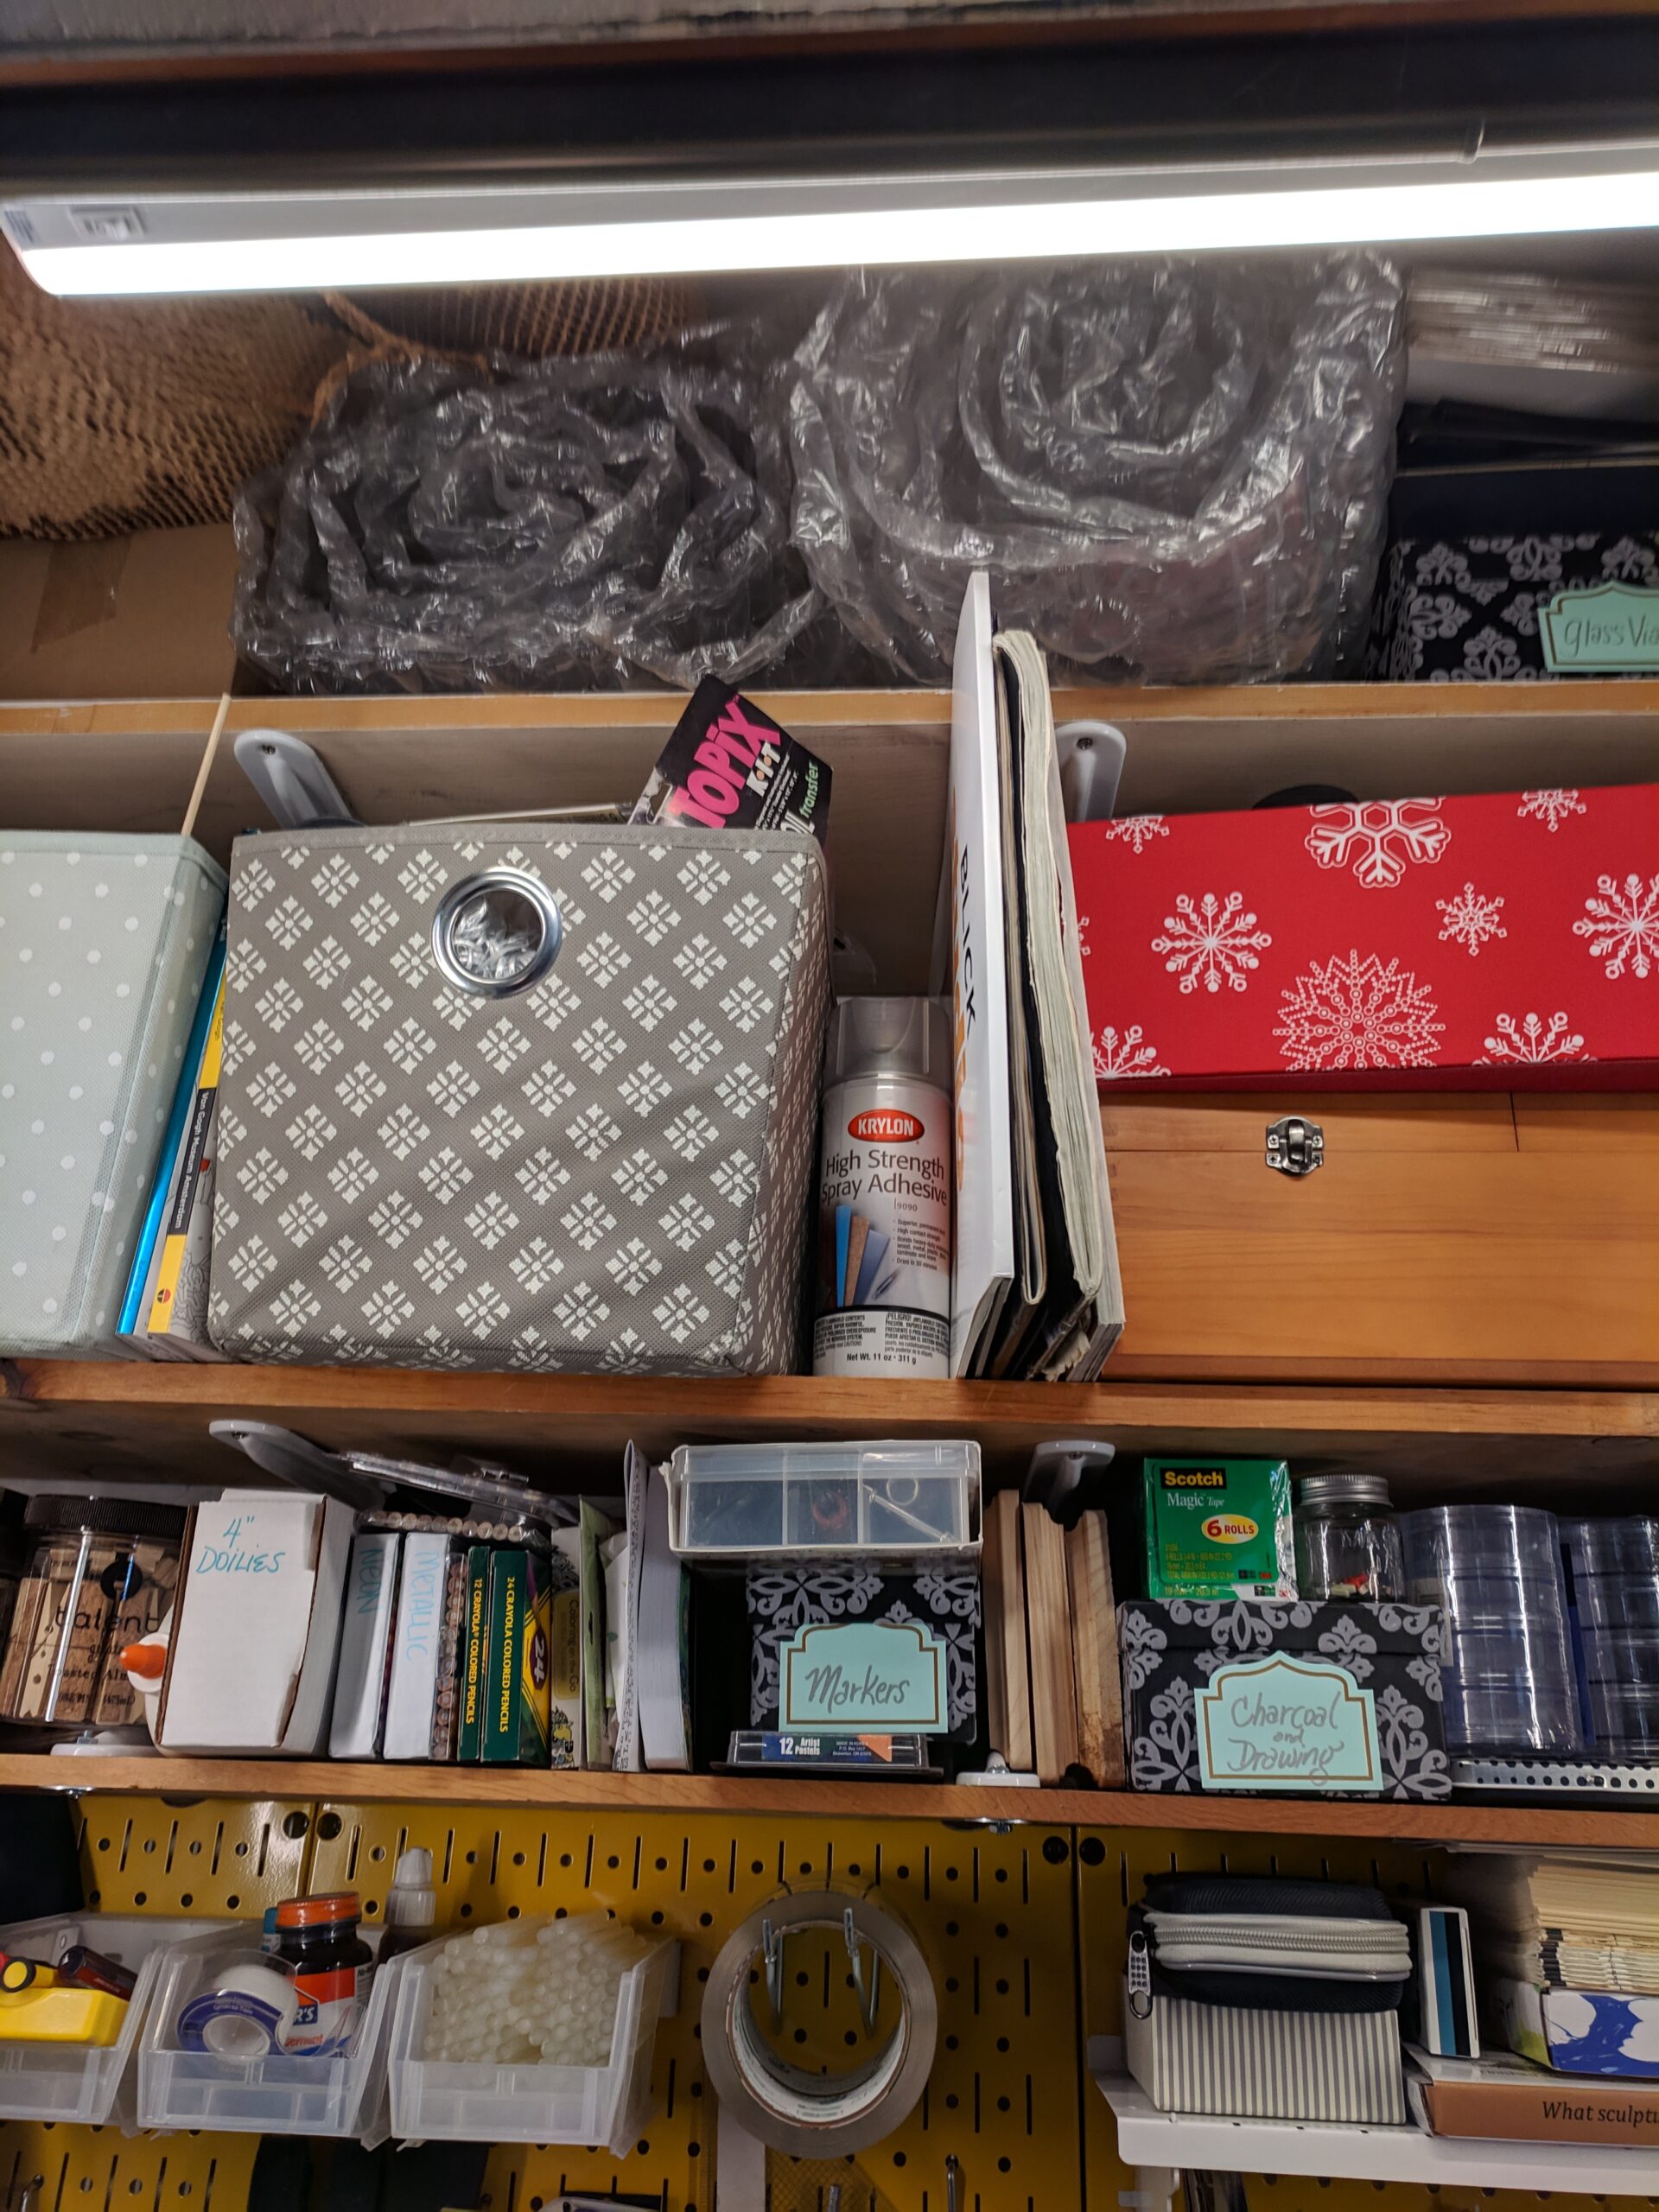
Top left photo: On the left wall was all ribbons, tags, labels, inks, strings, tape, and gift bags. Mostly, this is used for packaging finished products and then plain, old gift wrapping storage. Top center photo: The main wall was all of my pens, inks, drawing pencils, markers, glue, glue guns, metal tools, rulers, scissors and blades, and of course, another wall mounted power strip. Top right photo: The right side of the closet had my jewlery supplies mounted directly to the wall. Bottom photo: The top shelves of the closet are stocked with packing supplies, various craft supplies, paints and art supplies. Let’s see some more features of the studio…
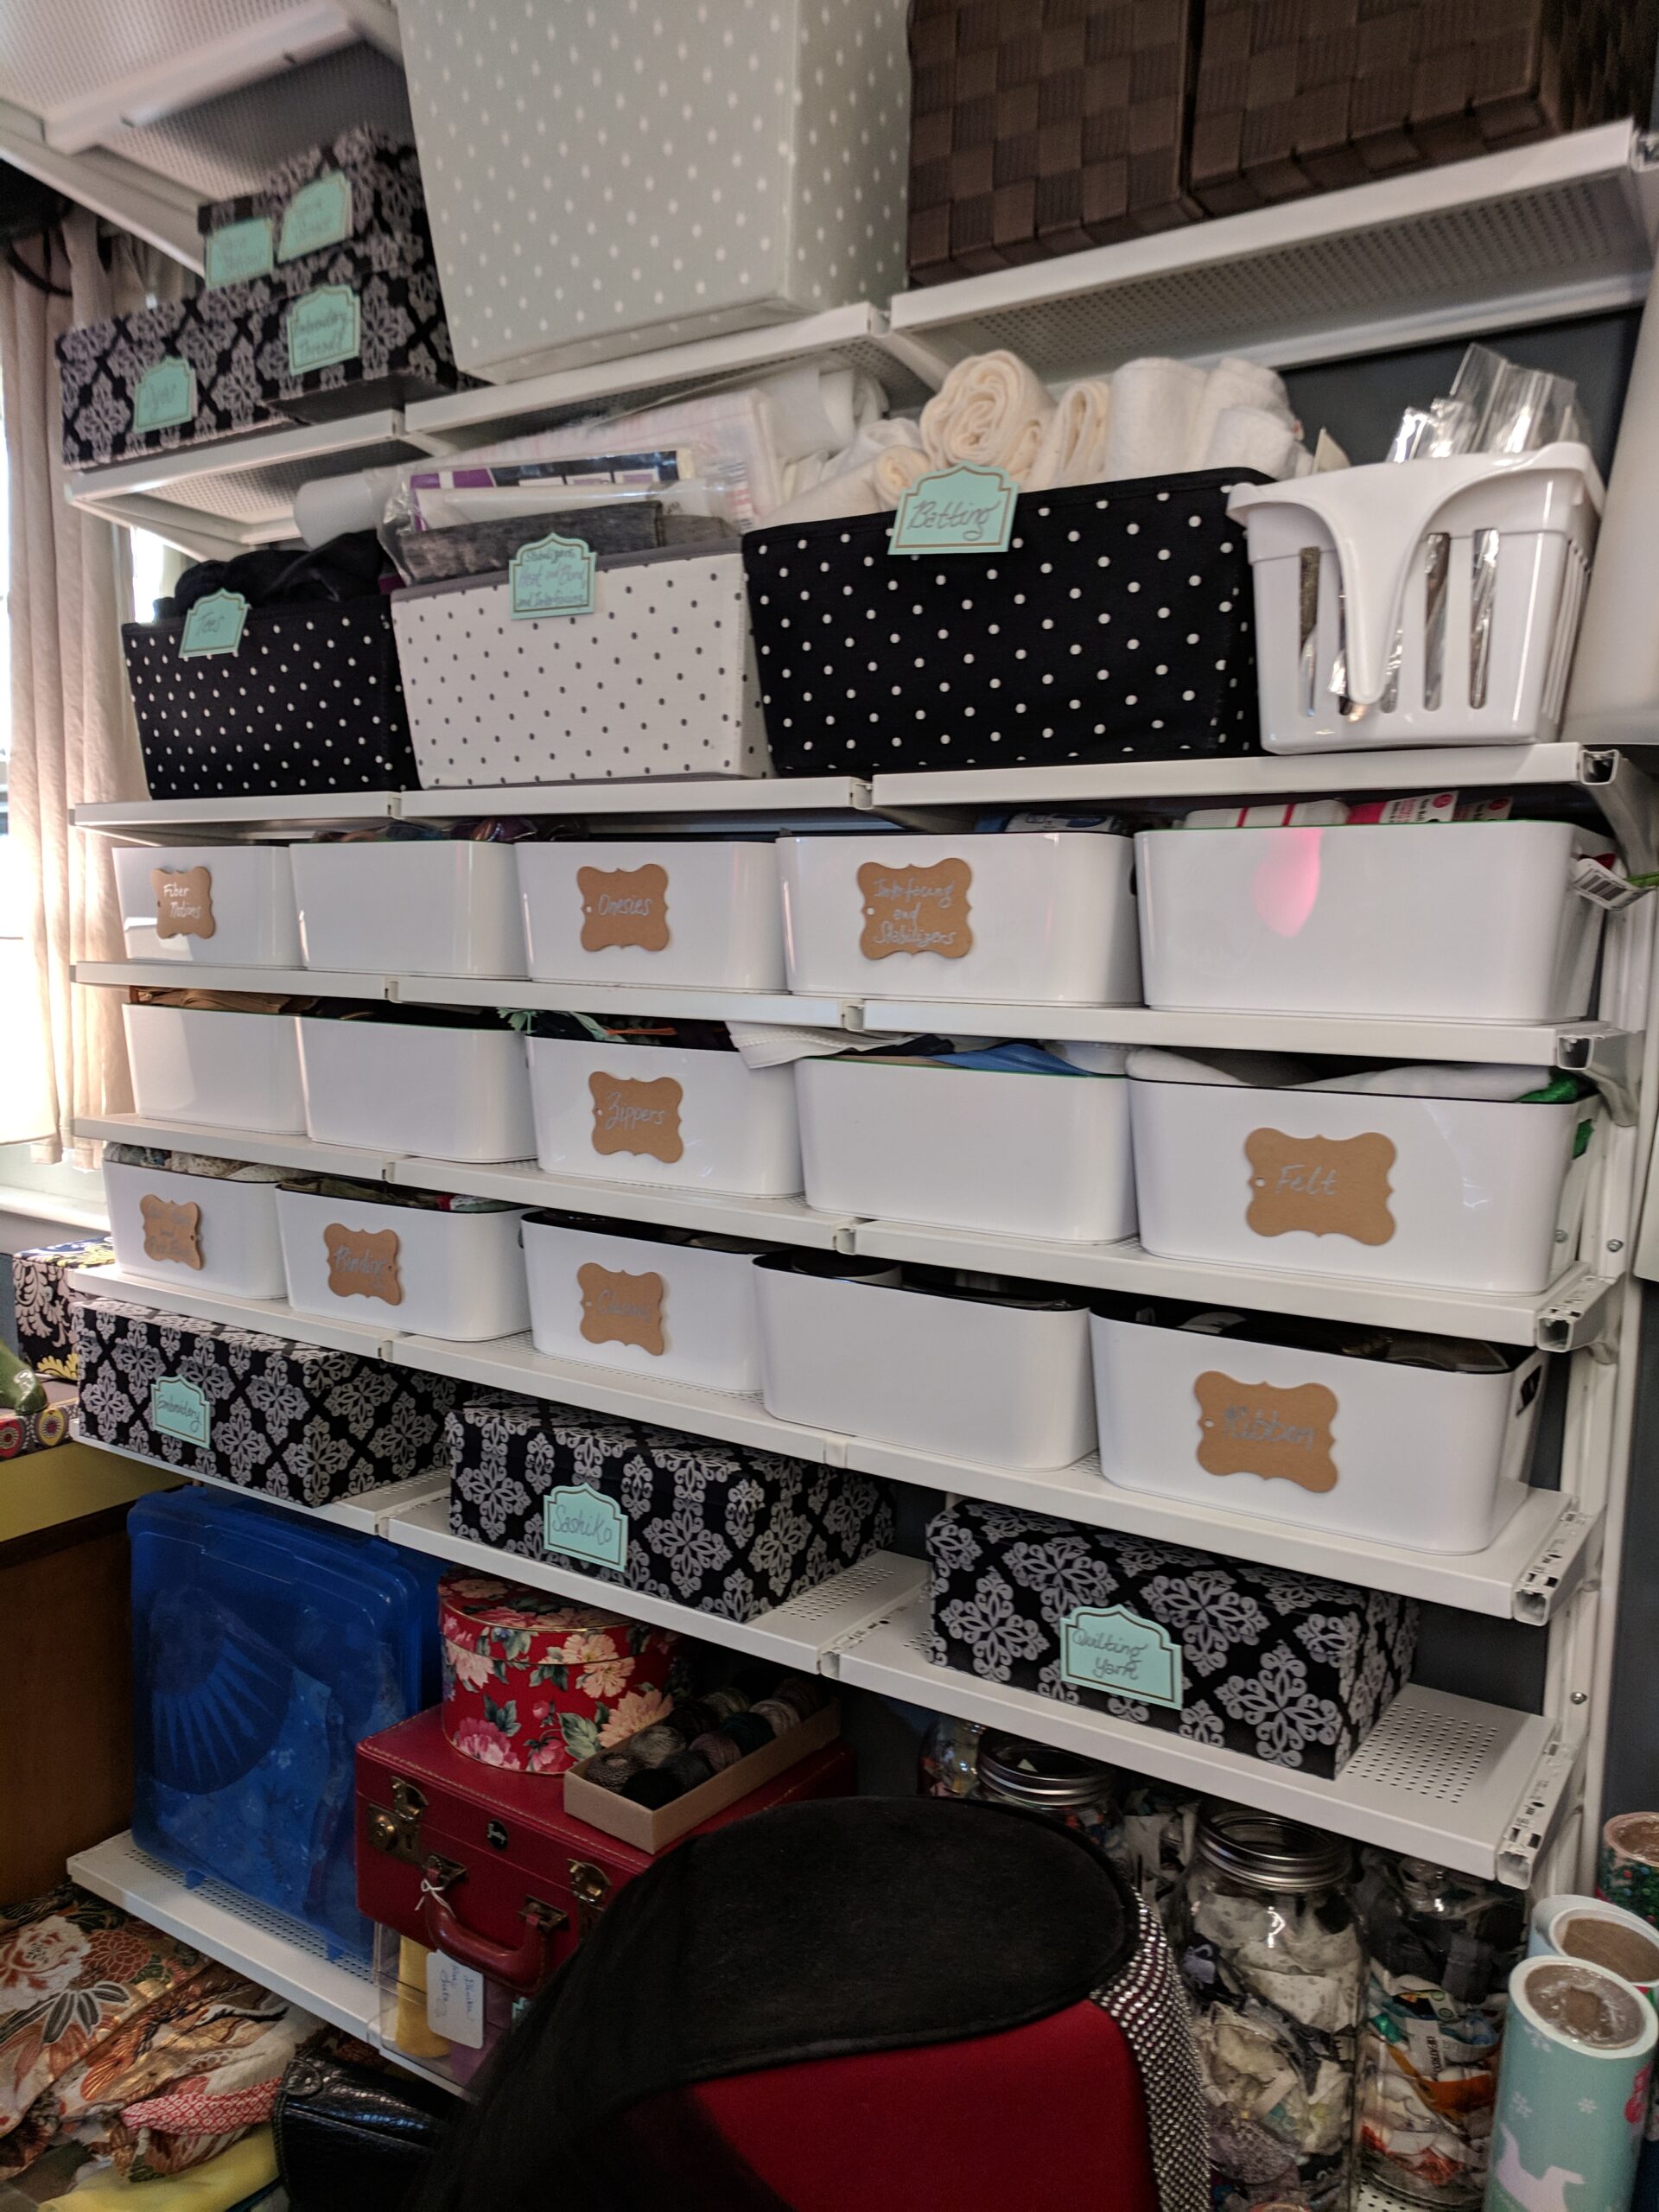
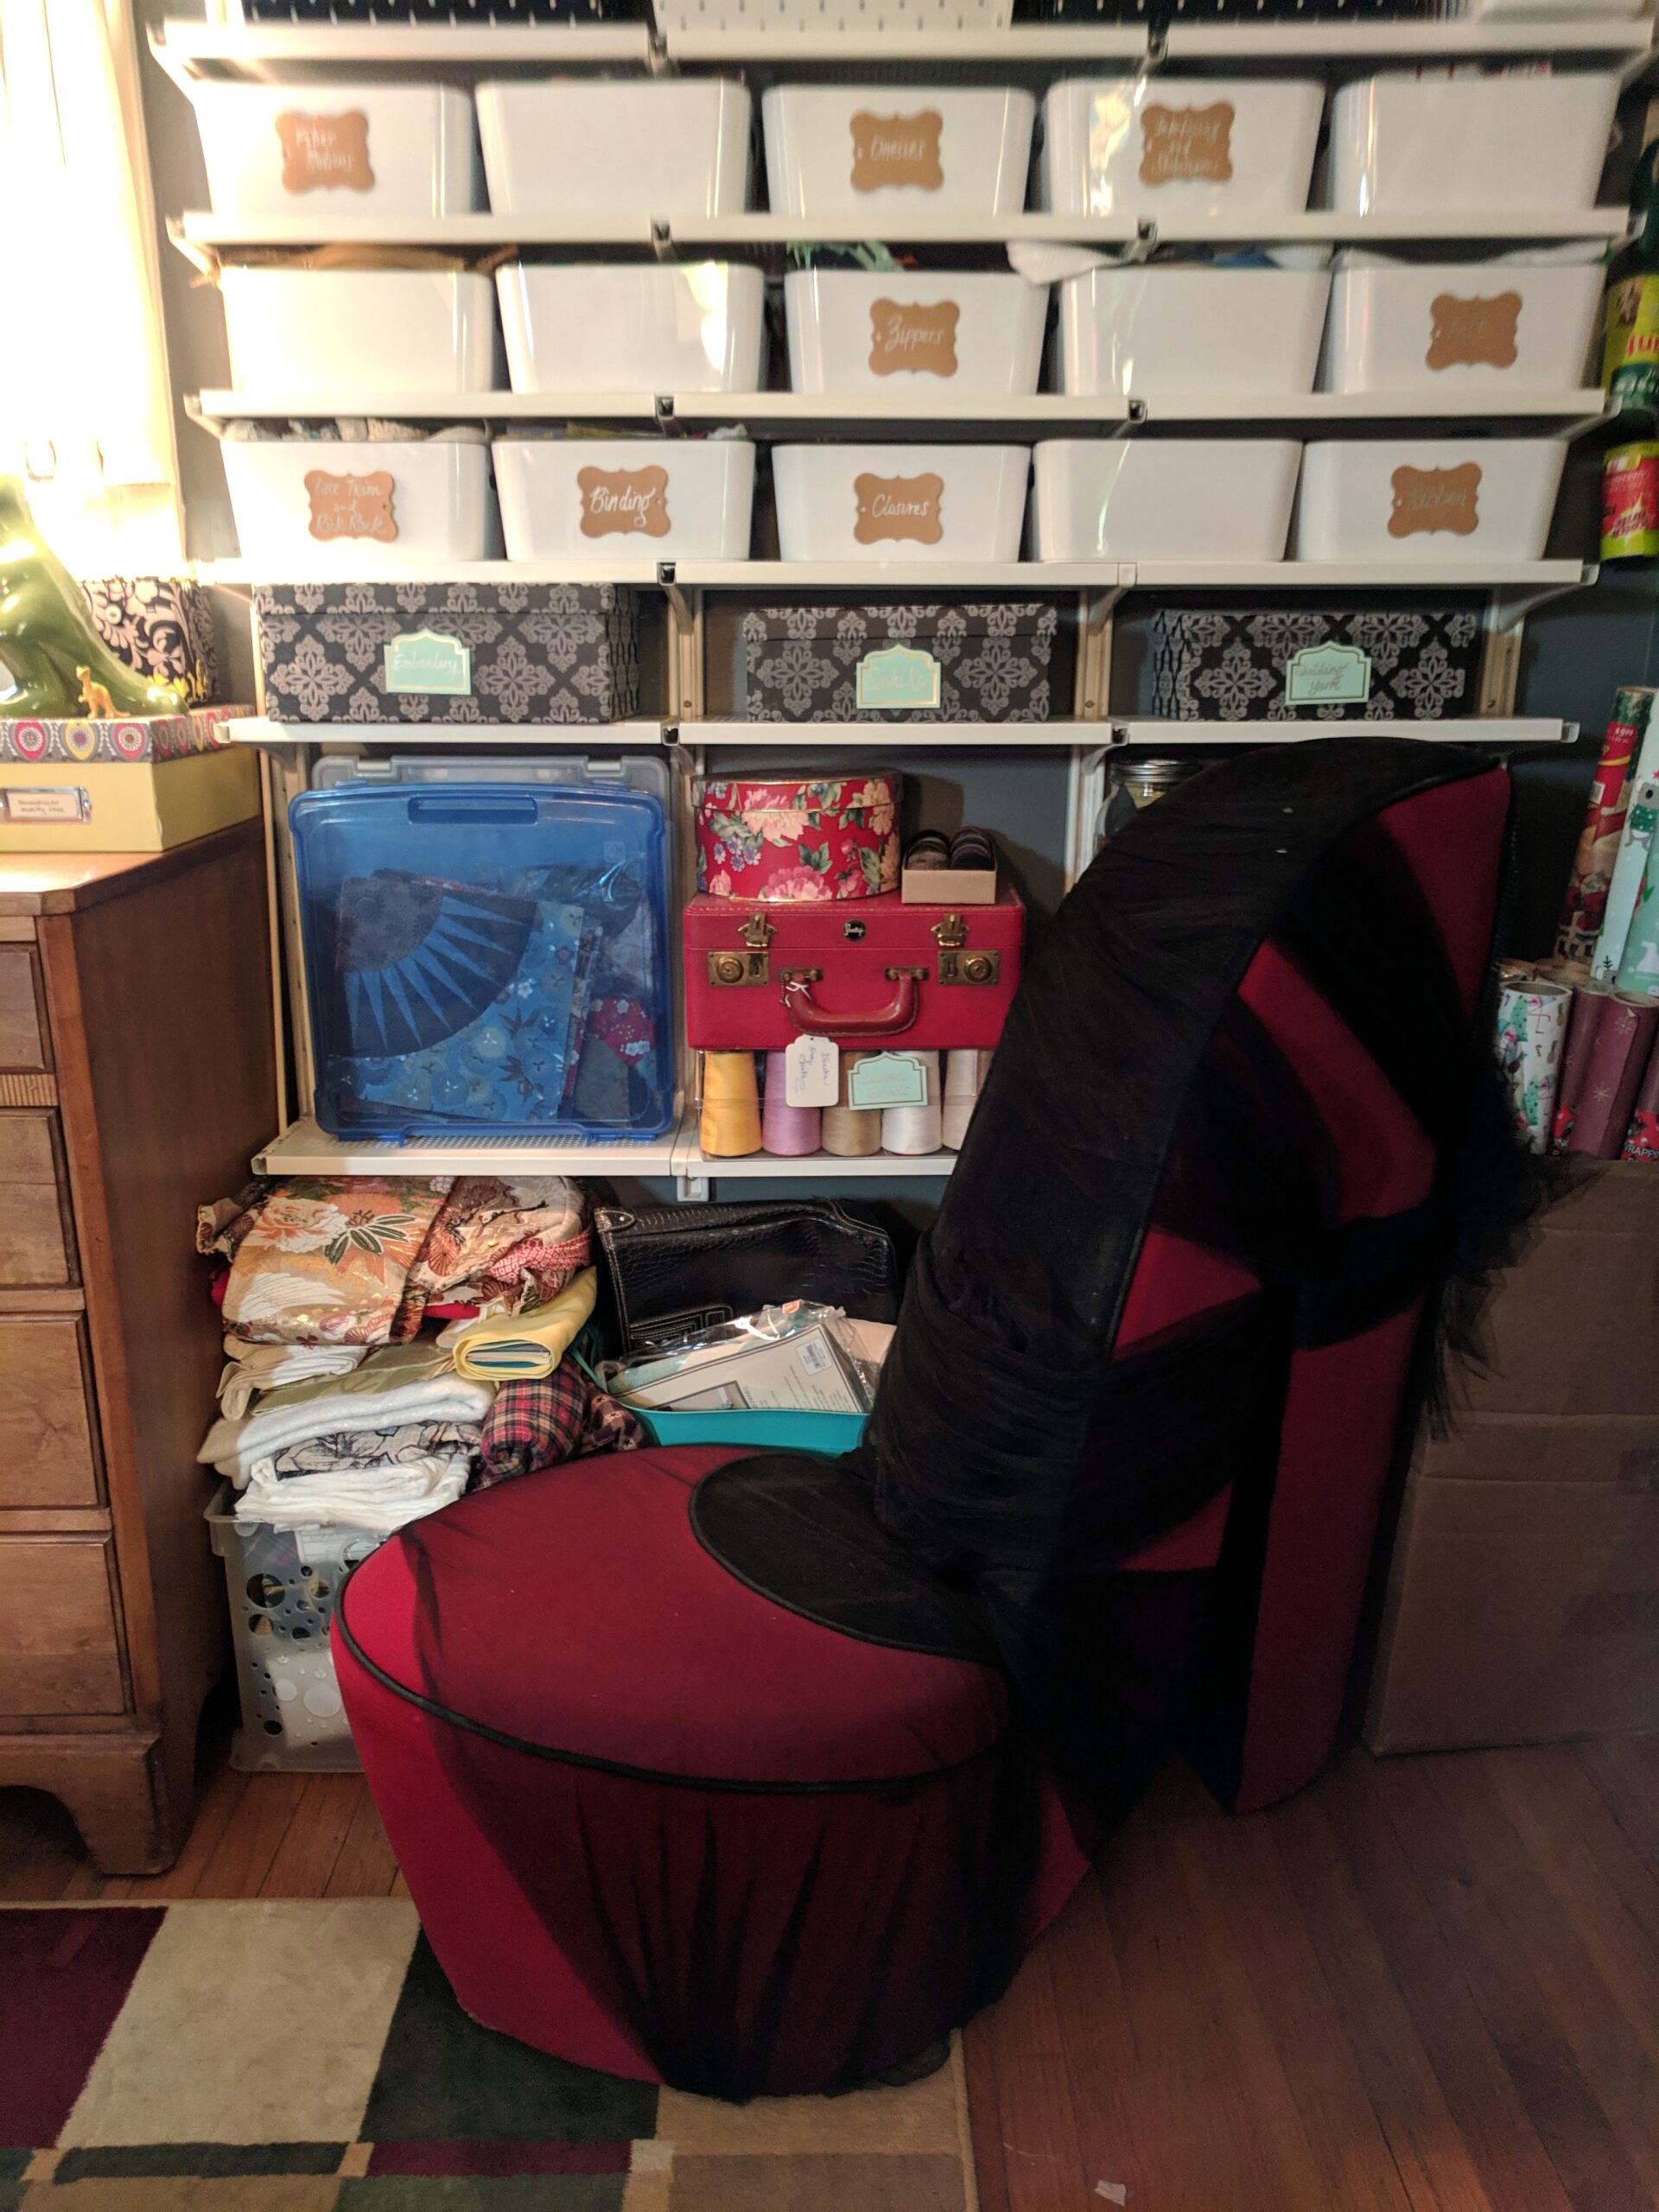
The start of the next wall is another IKEA hack. We installed floor to ceiling shelving on this wall. Except for the very top shelf, these selves aren’t very deep, so they don’t overtake the room, and more importantly, things can’t get lost on them. Left photo: On the floor is some works in progress in bins. The next shelf up is some more WIPs and glass mason jars of scraps and selvages. Also, I have my vintage suit case and hat box stacked on top of my Valdani thread cones. Above that, in the grey and black boxes, are Hand Embroidery, Sashiko, and my Quilting Yarns. The next three shelves in the plastic IKEA bins are mostly notions. In here, I have lace trim and rick rack, bindings, closures, ribbons, felt, zippers, more zippers, blank onesies, interfacing and stabilizers. The next shelf is blank tees, heat and bond and other stabilizers, batting scraps, and cross stitch and other embroidery. The next shelf is Yarn scraps, Knitting Notions, Embroidery threads, fabric dyes, patterns, my kits and yarn. The top shelf (not in photo) is faux fur in space bags sorted by color. Right photo: my beloved High Heel chair. My Matron of Honor got this for me for my Bridal Shower. It travelled all the way from Lincoln, Nebraska! It’s actually a super comfortable chair, too.
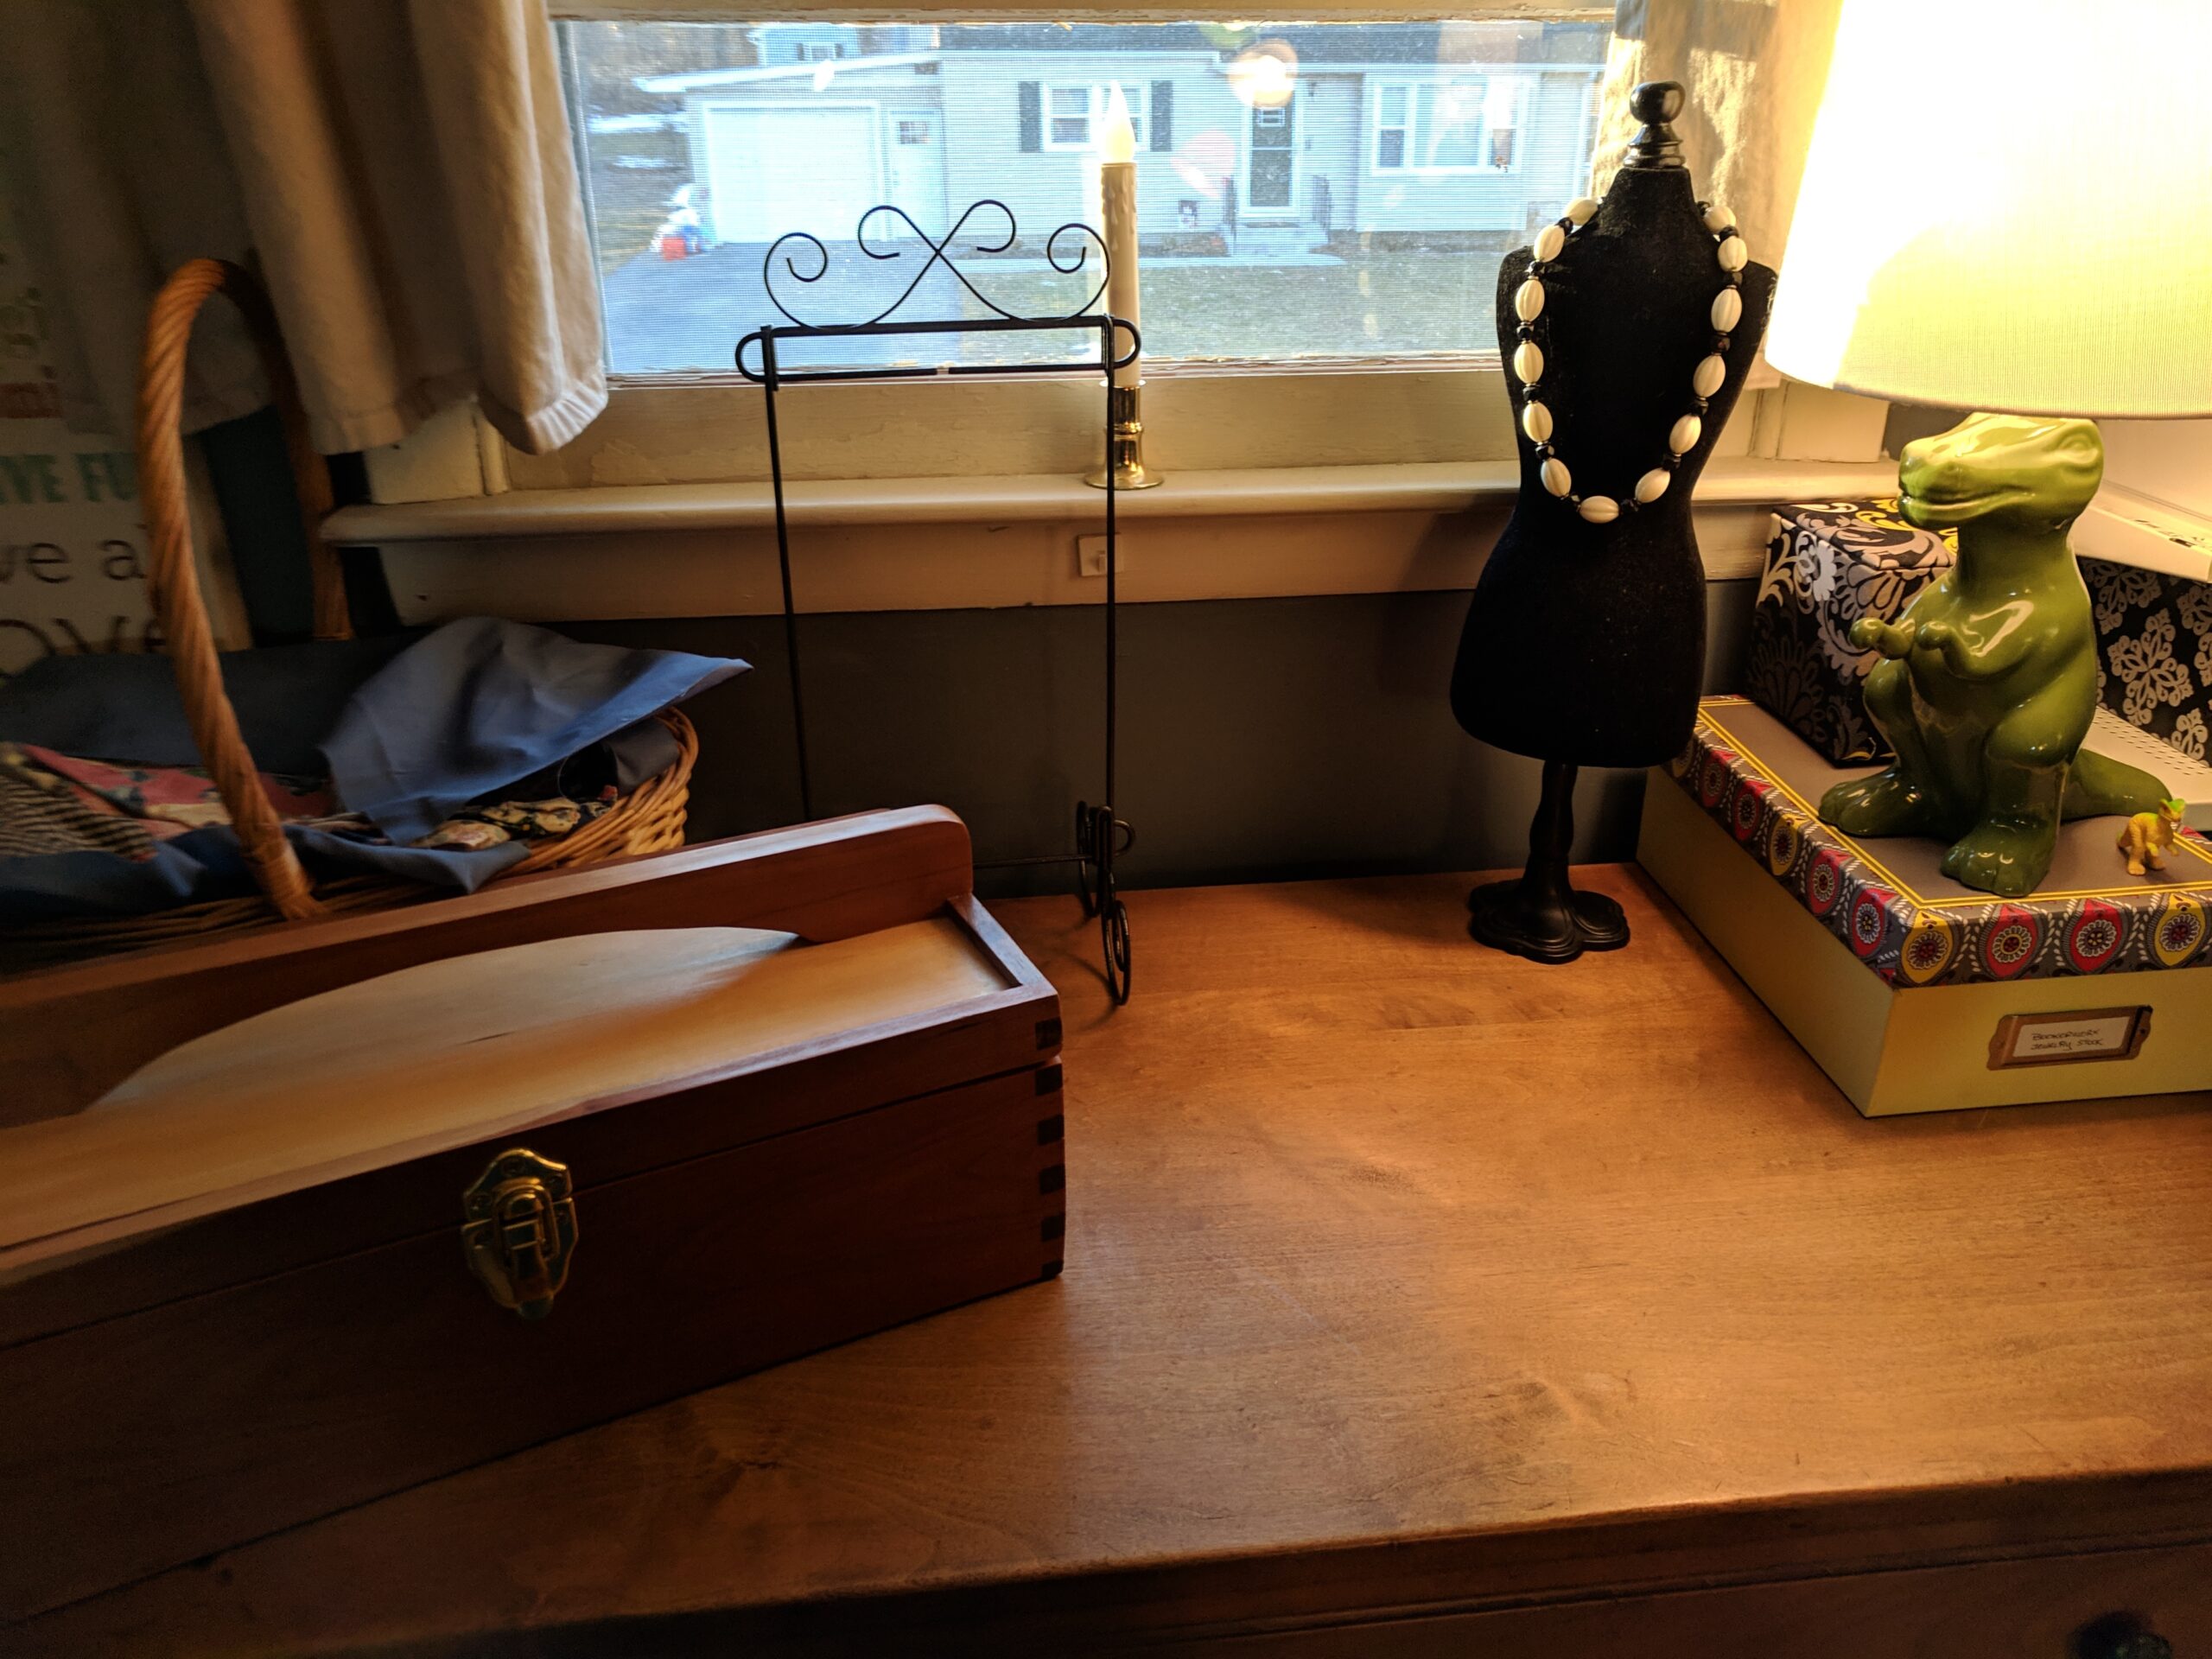

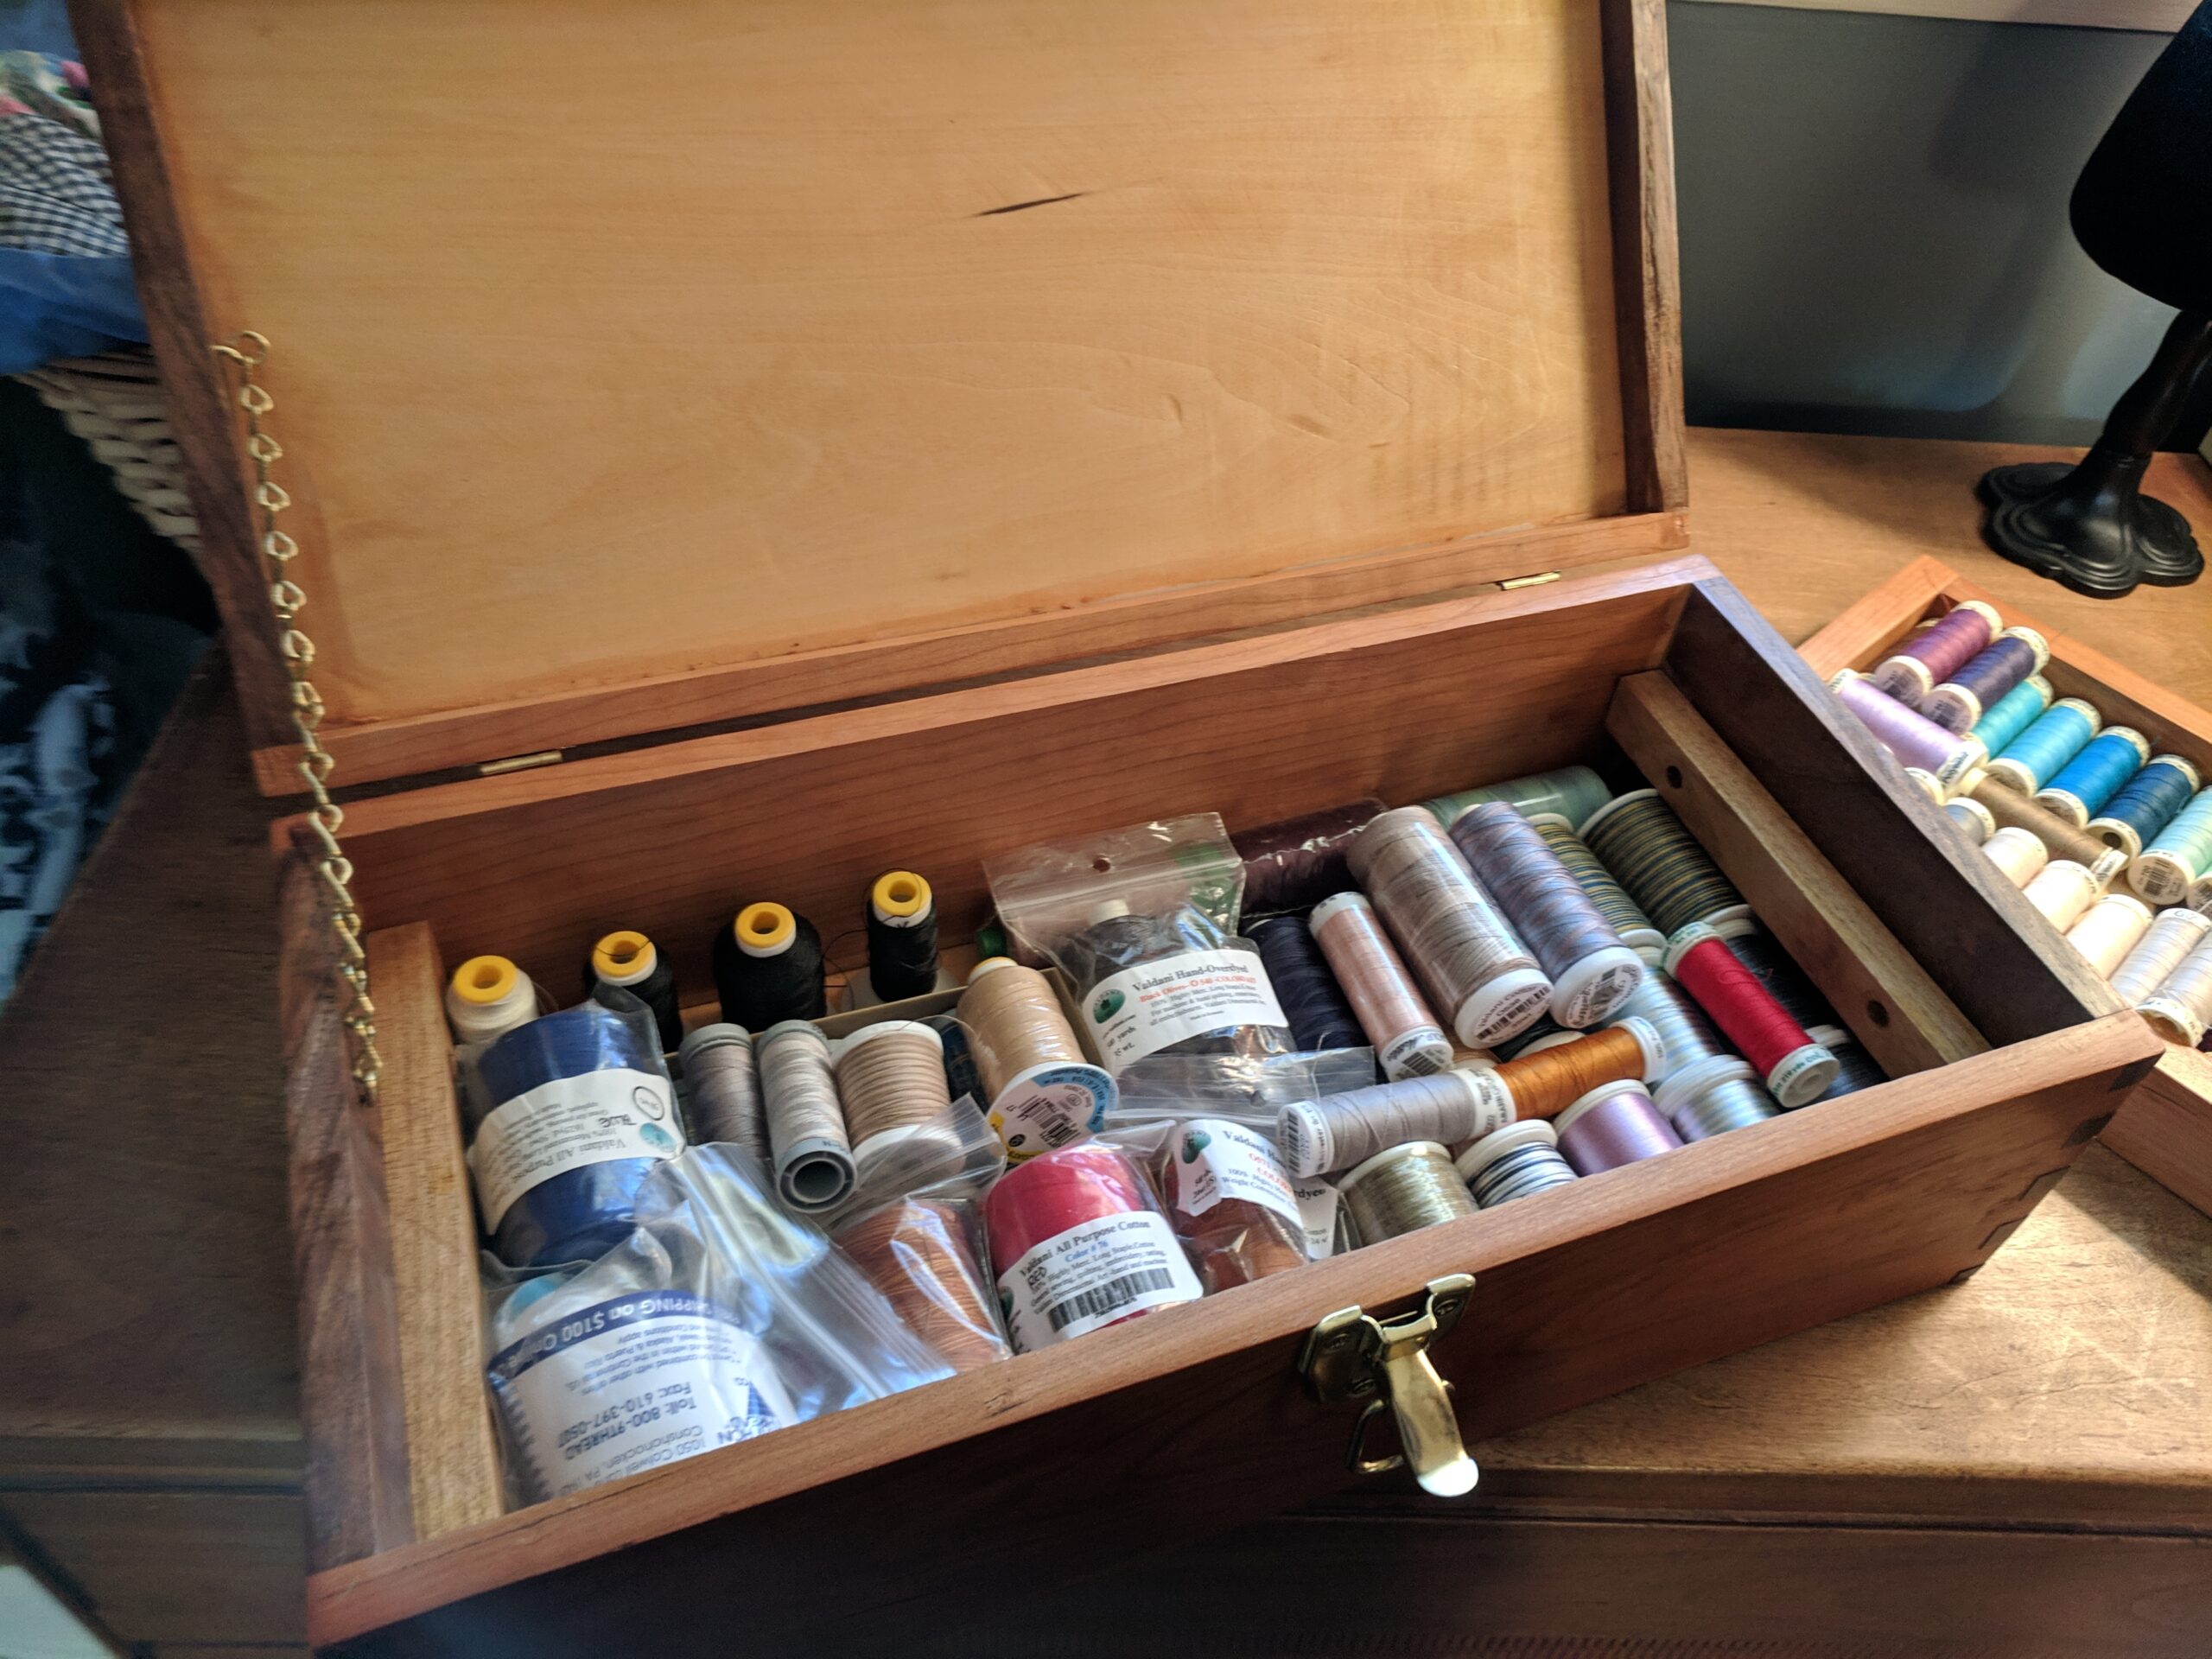
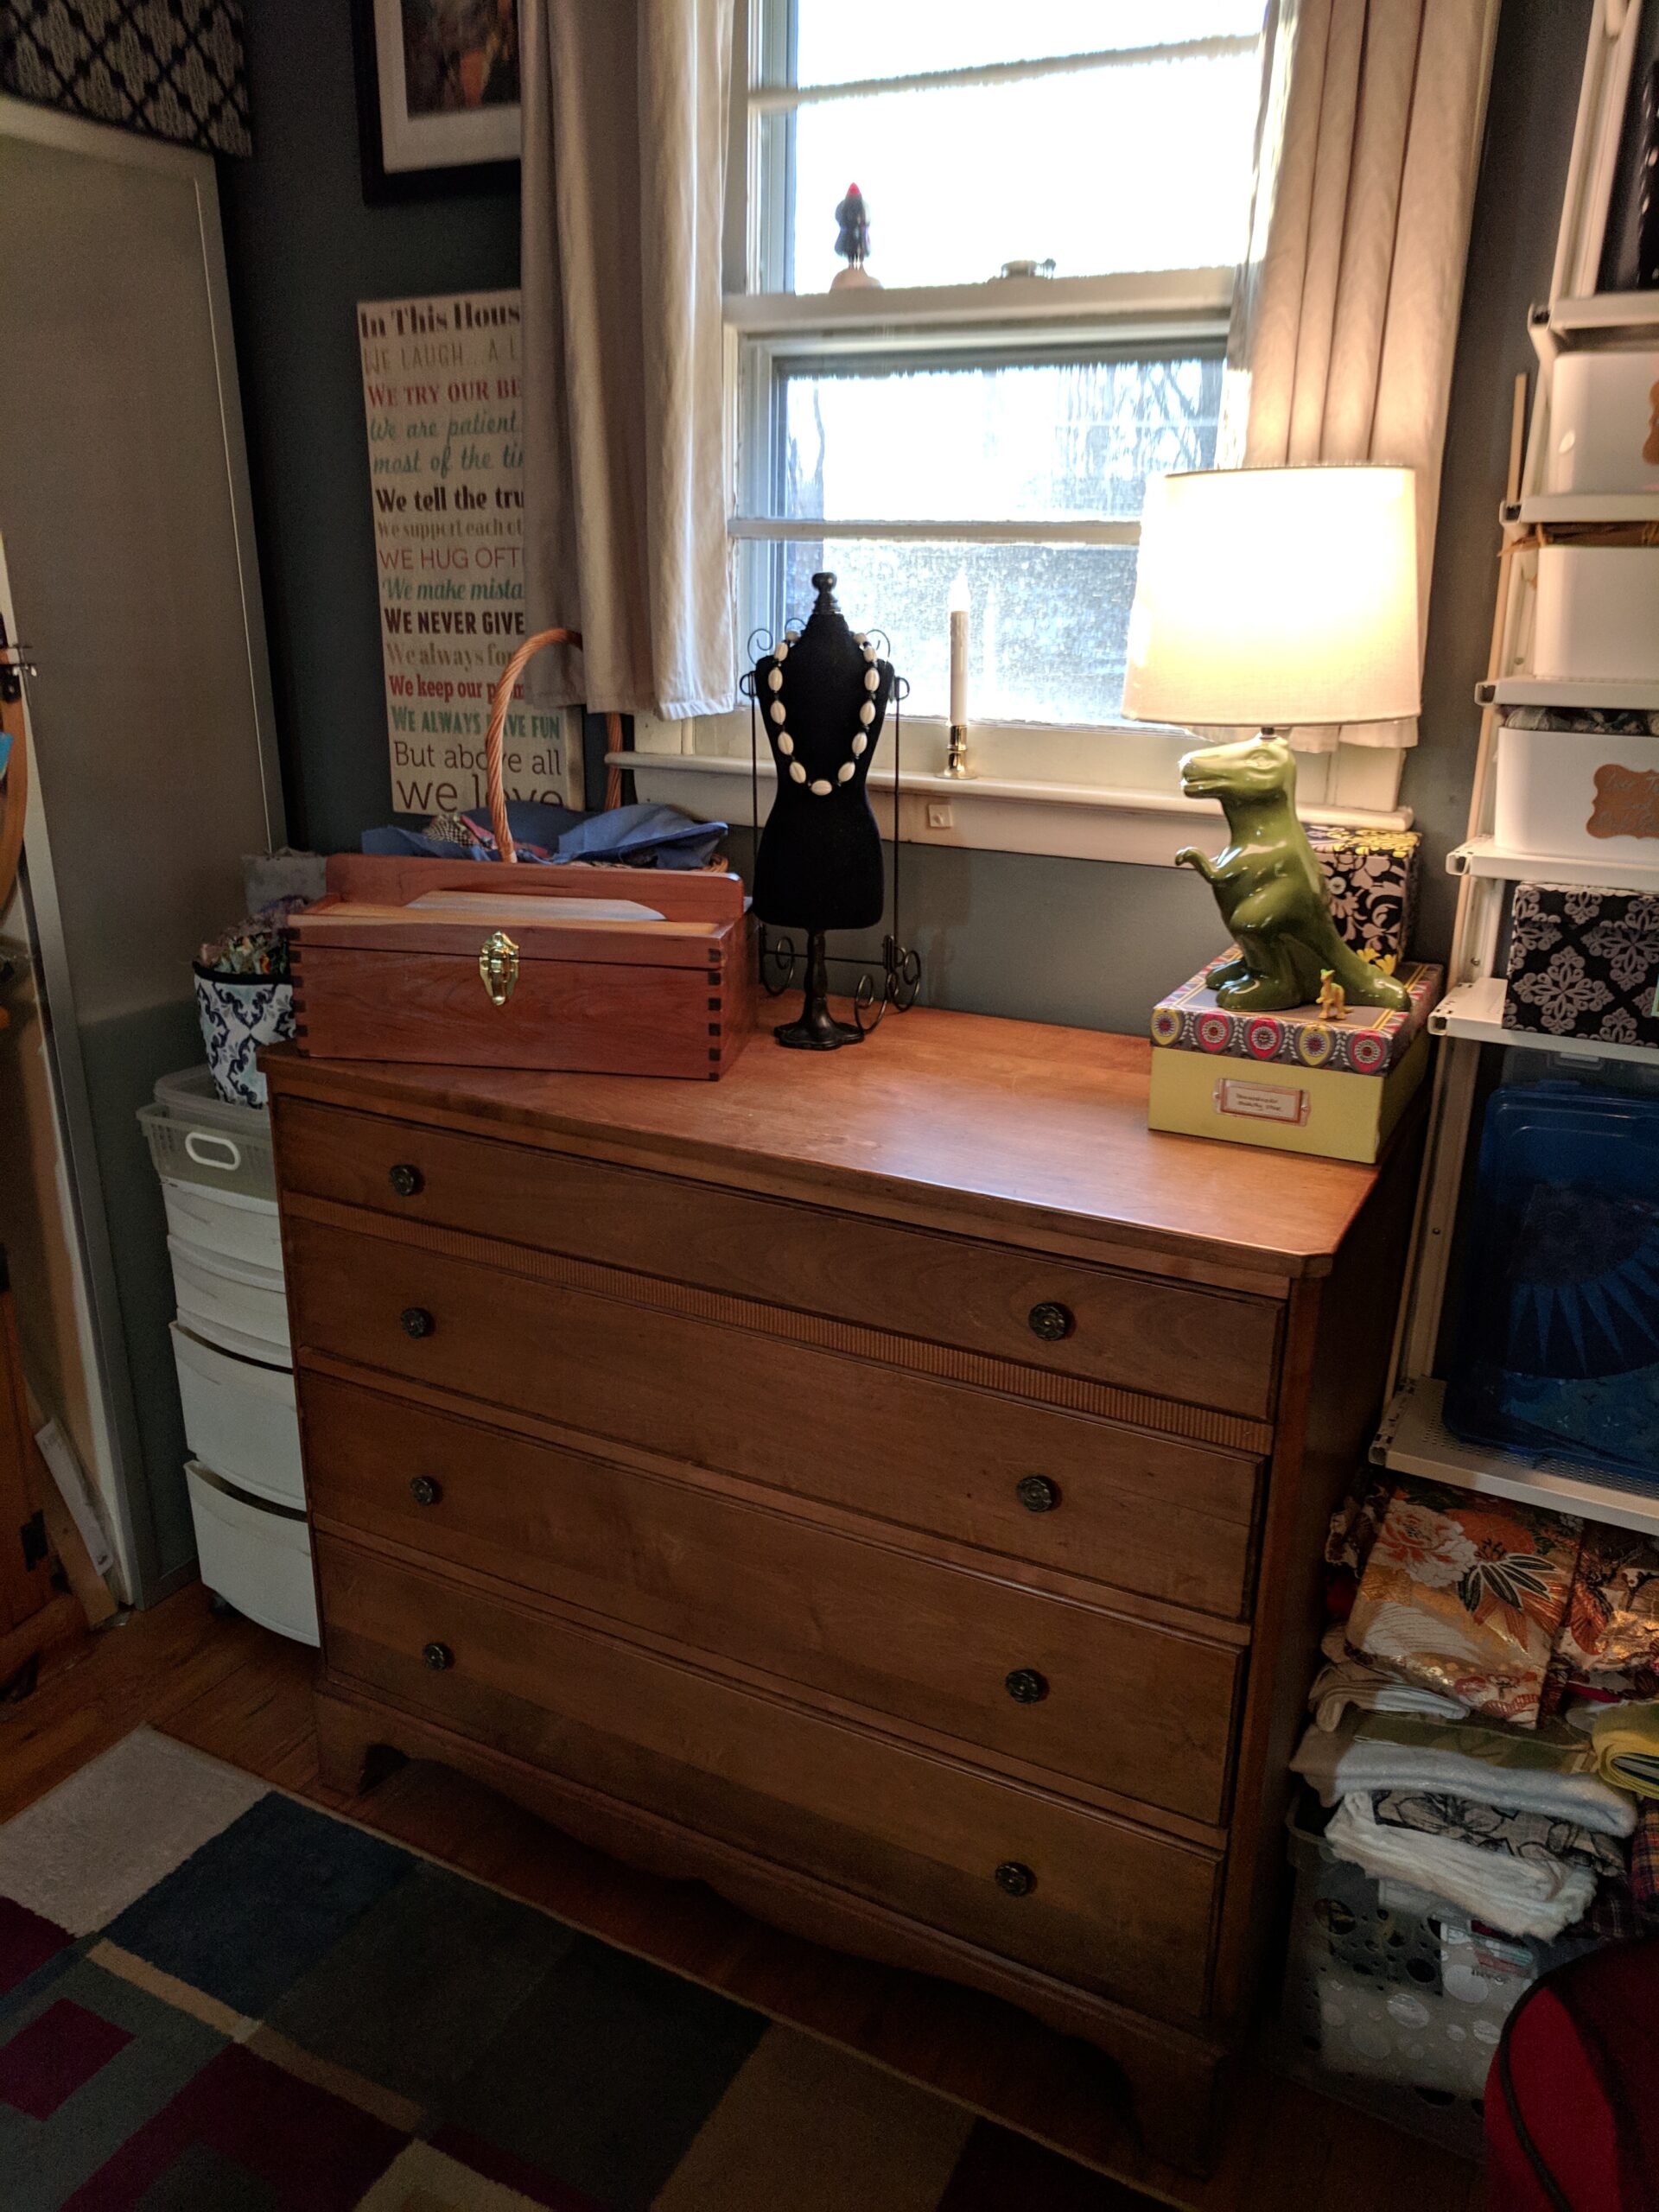
Bottom photo: This is my fabric dresser. This was picked up at a local thrift store for something like $45. It was clean and sturdy and that was enough for me. It fits perfectly under the window. On top of it is a beautiful thread box that my uncle made for me. Top left photo: This shows my vintage quilt top (stored in a basket with fabric on top so that the sun doesn’t get to it) and the thread box, a mini dress form I usually use to model jewelry and my T-Rex lamp. (told you I like fun things!) Top center photo: The top insert of my thread box with all my Gutterman thread spools in it. Top Right photo: If you remove the insert in the thread box, you’ll see the rest of my smaller threads in there.
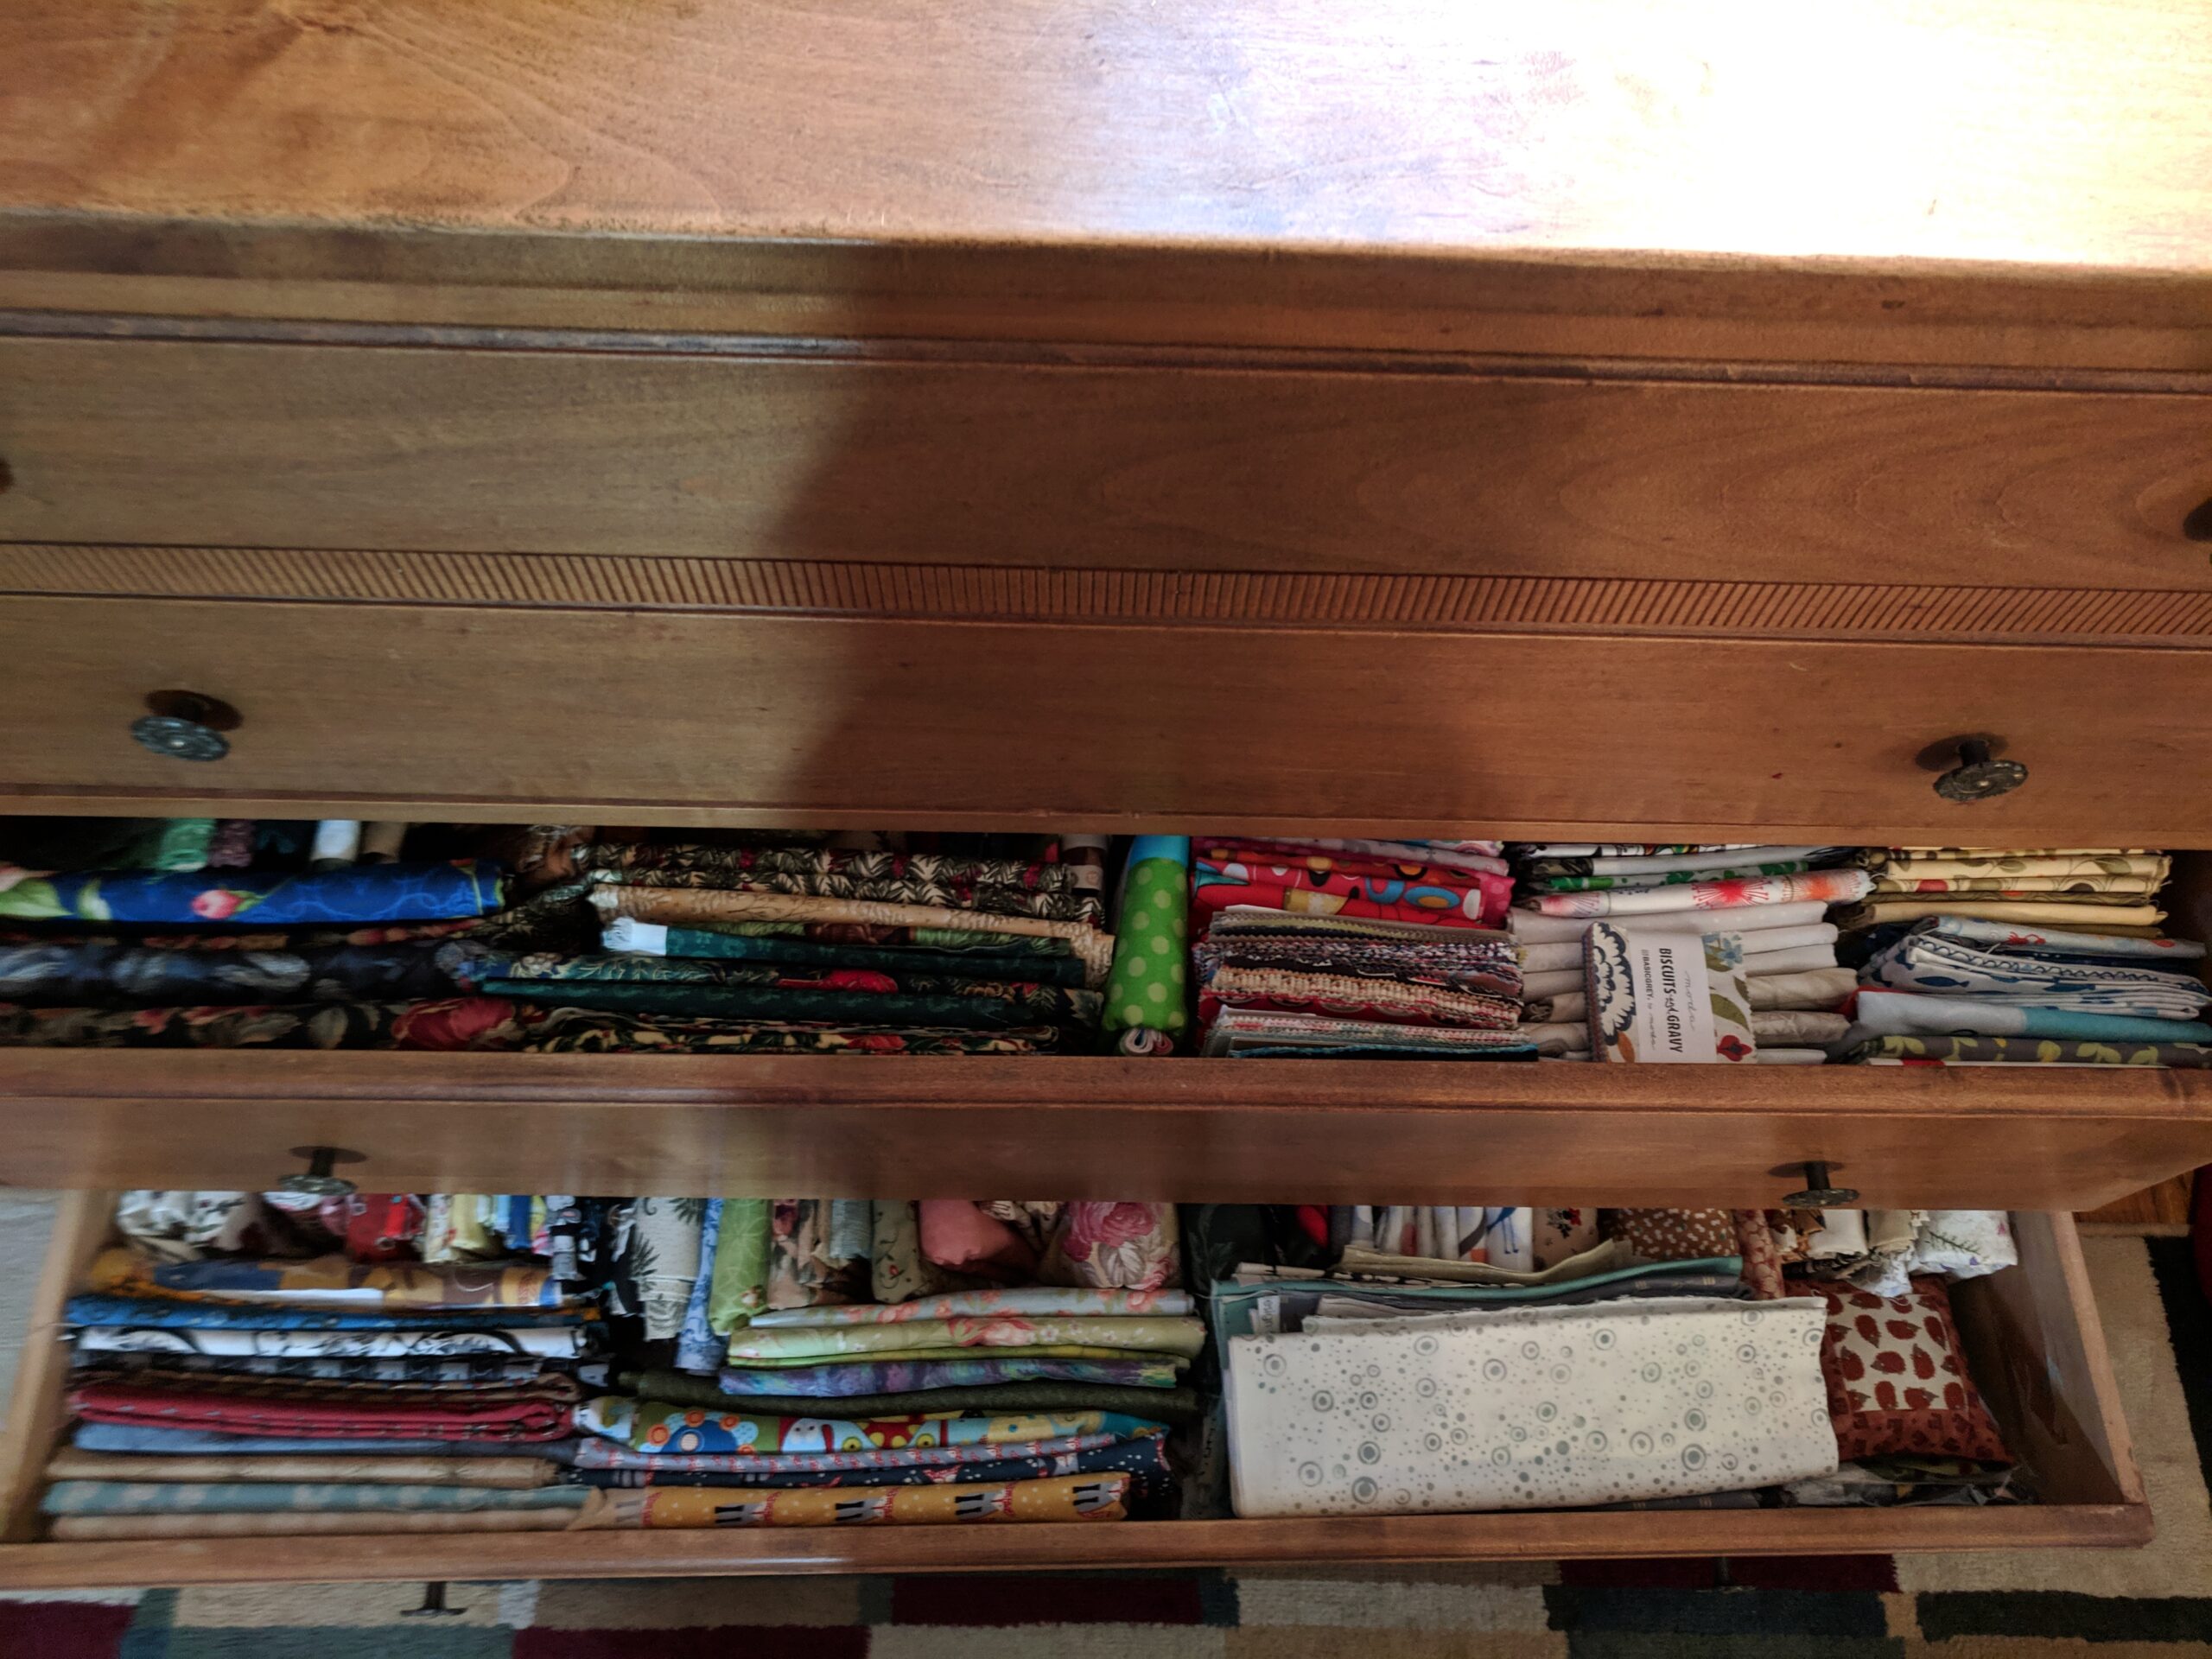
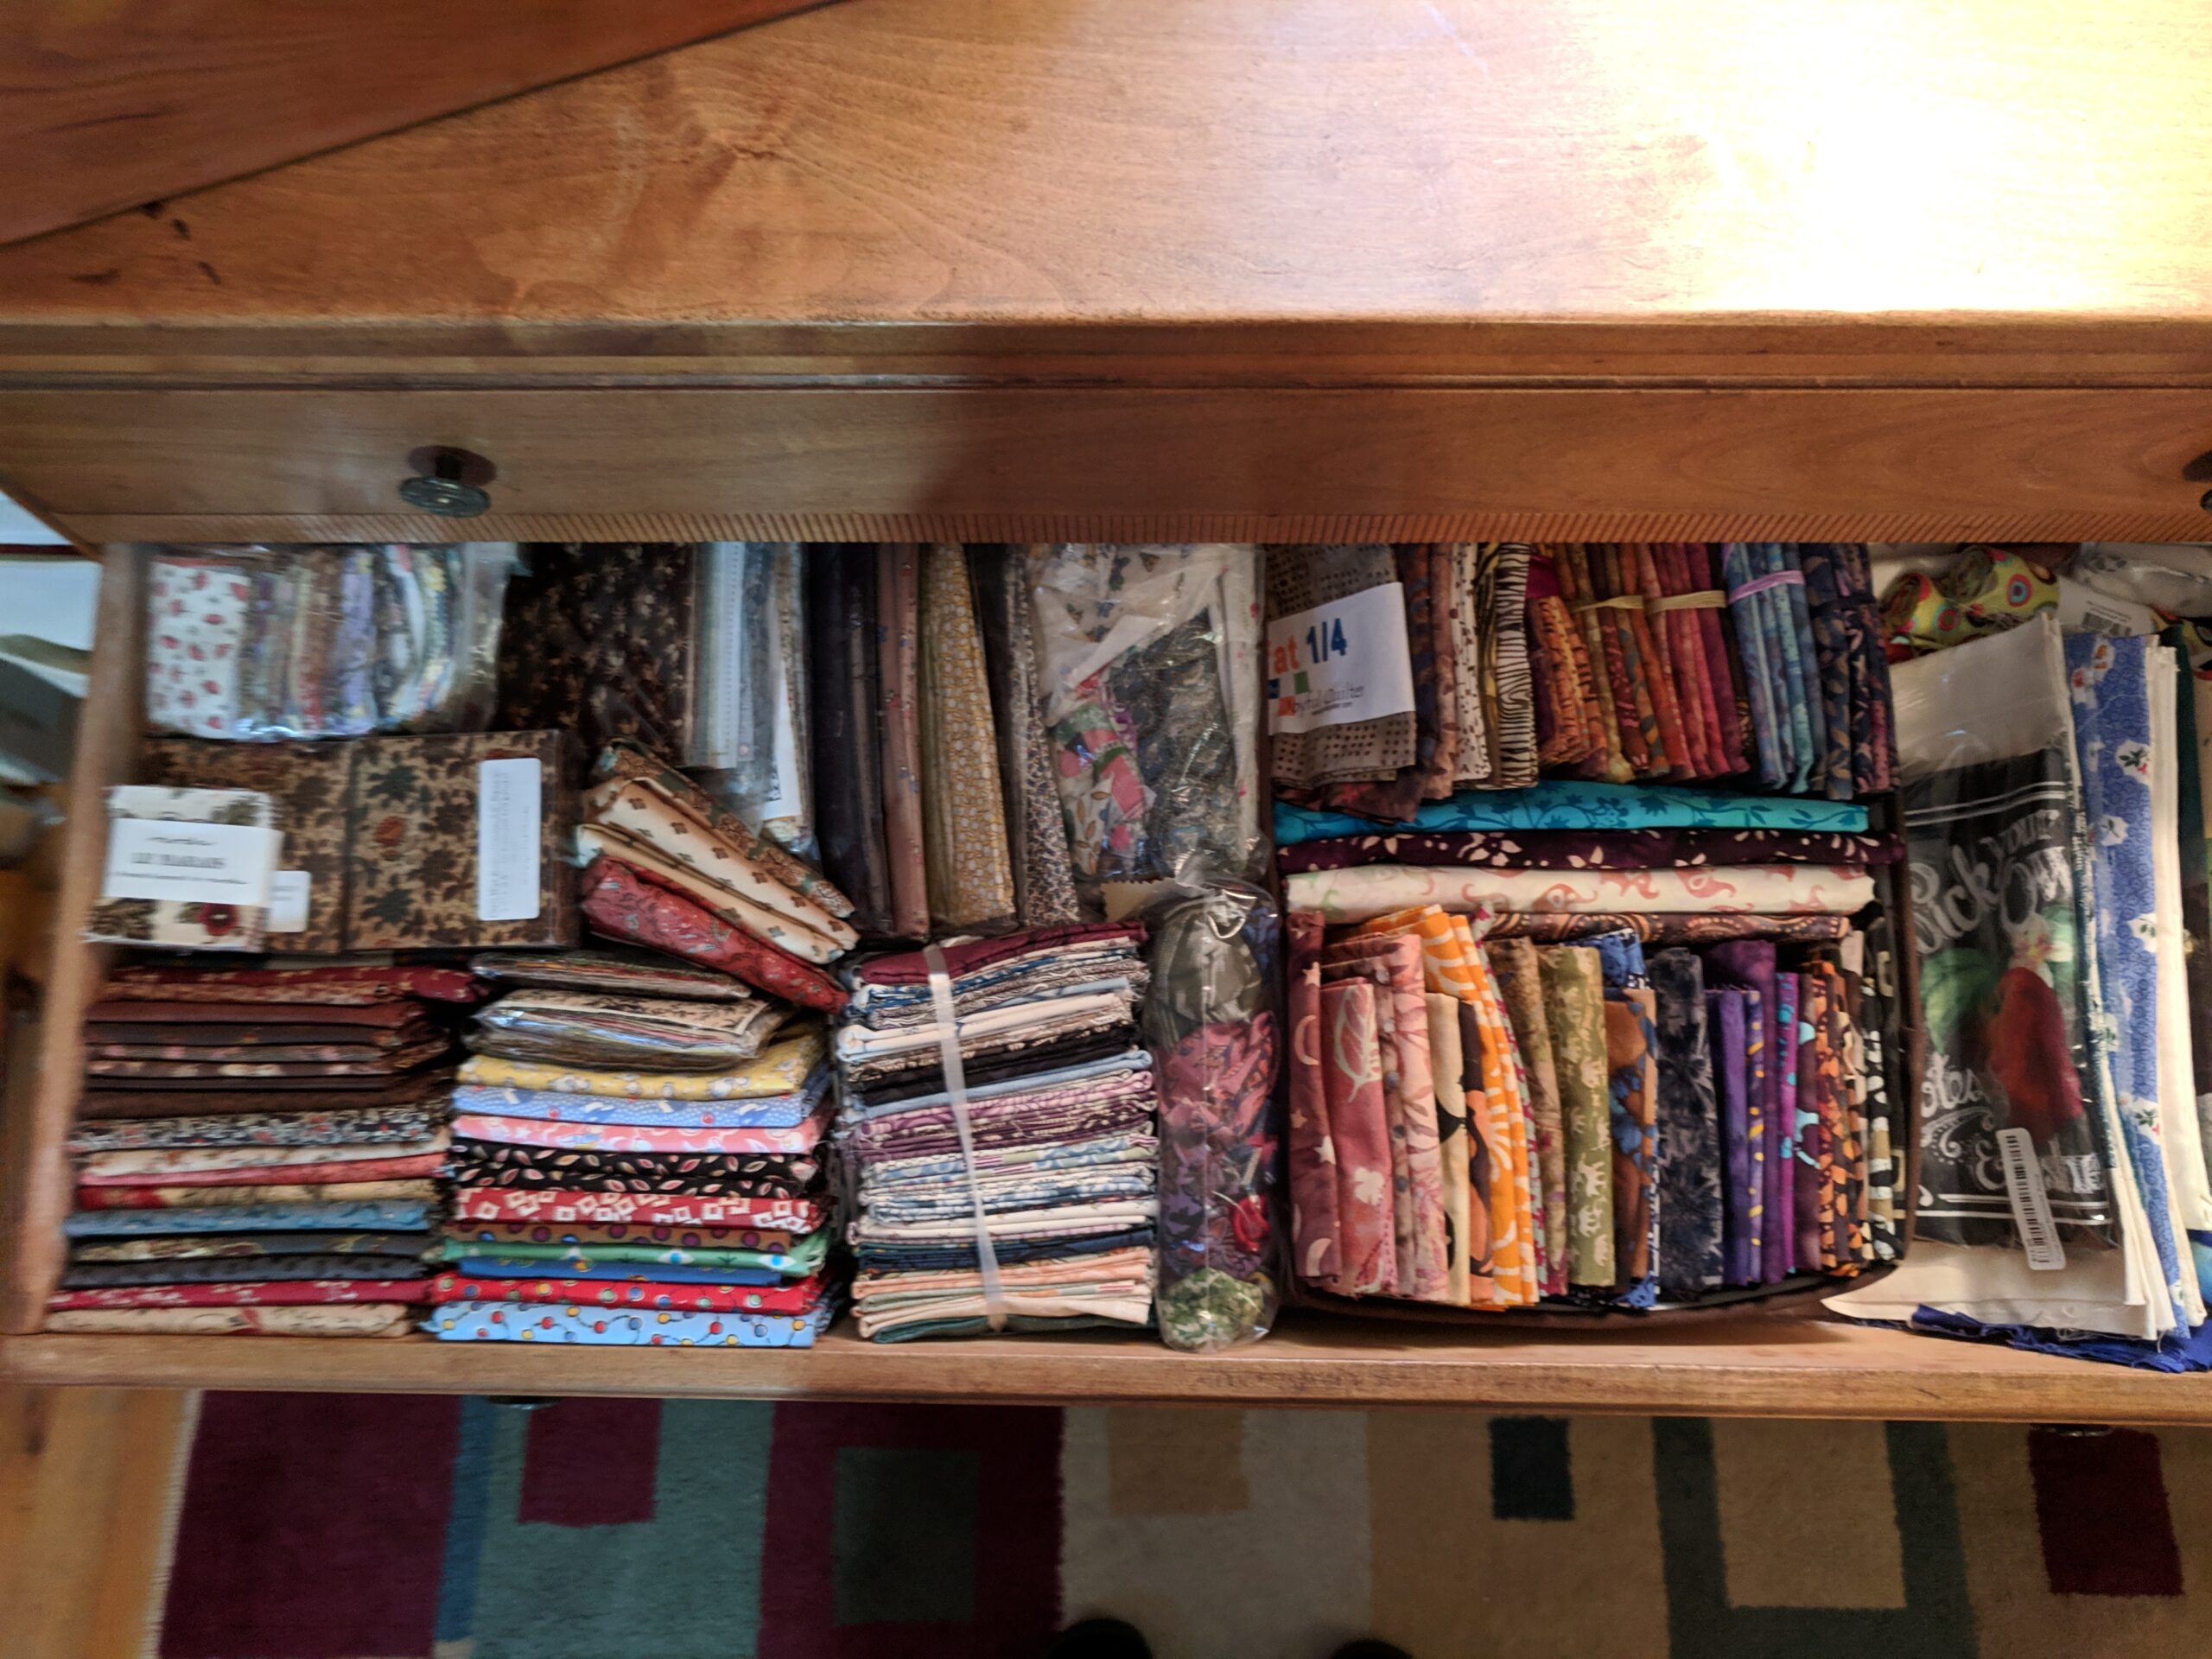
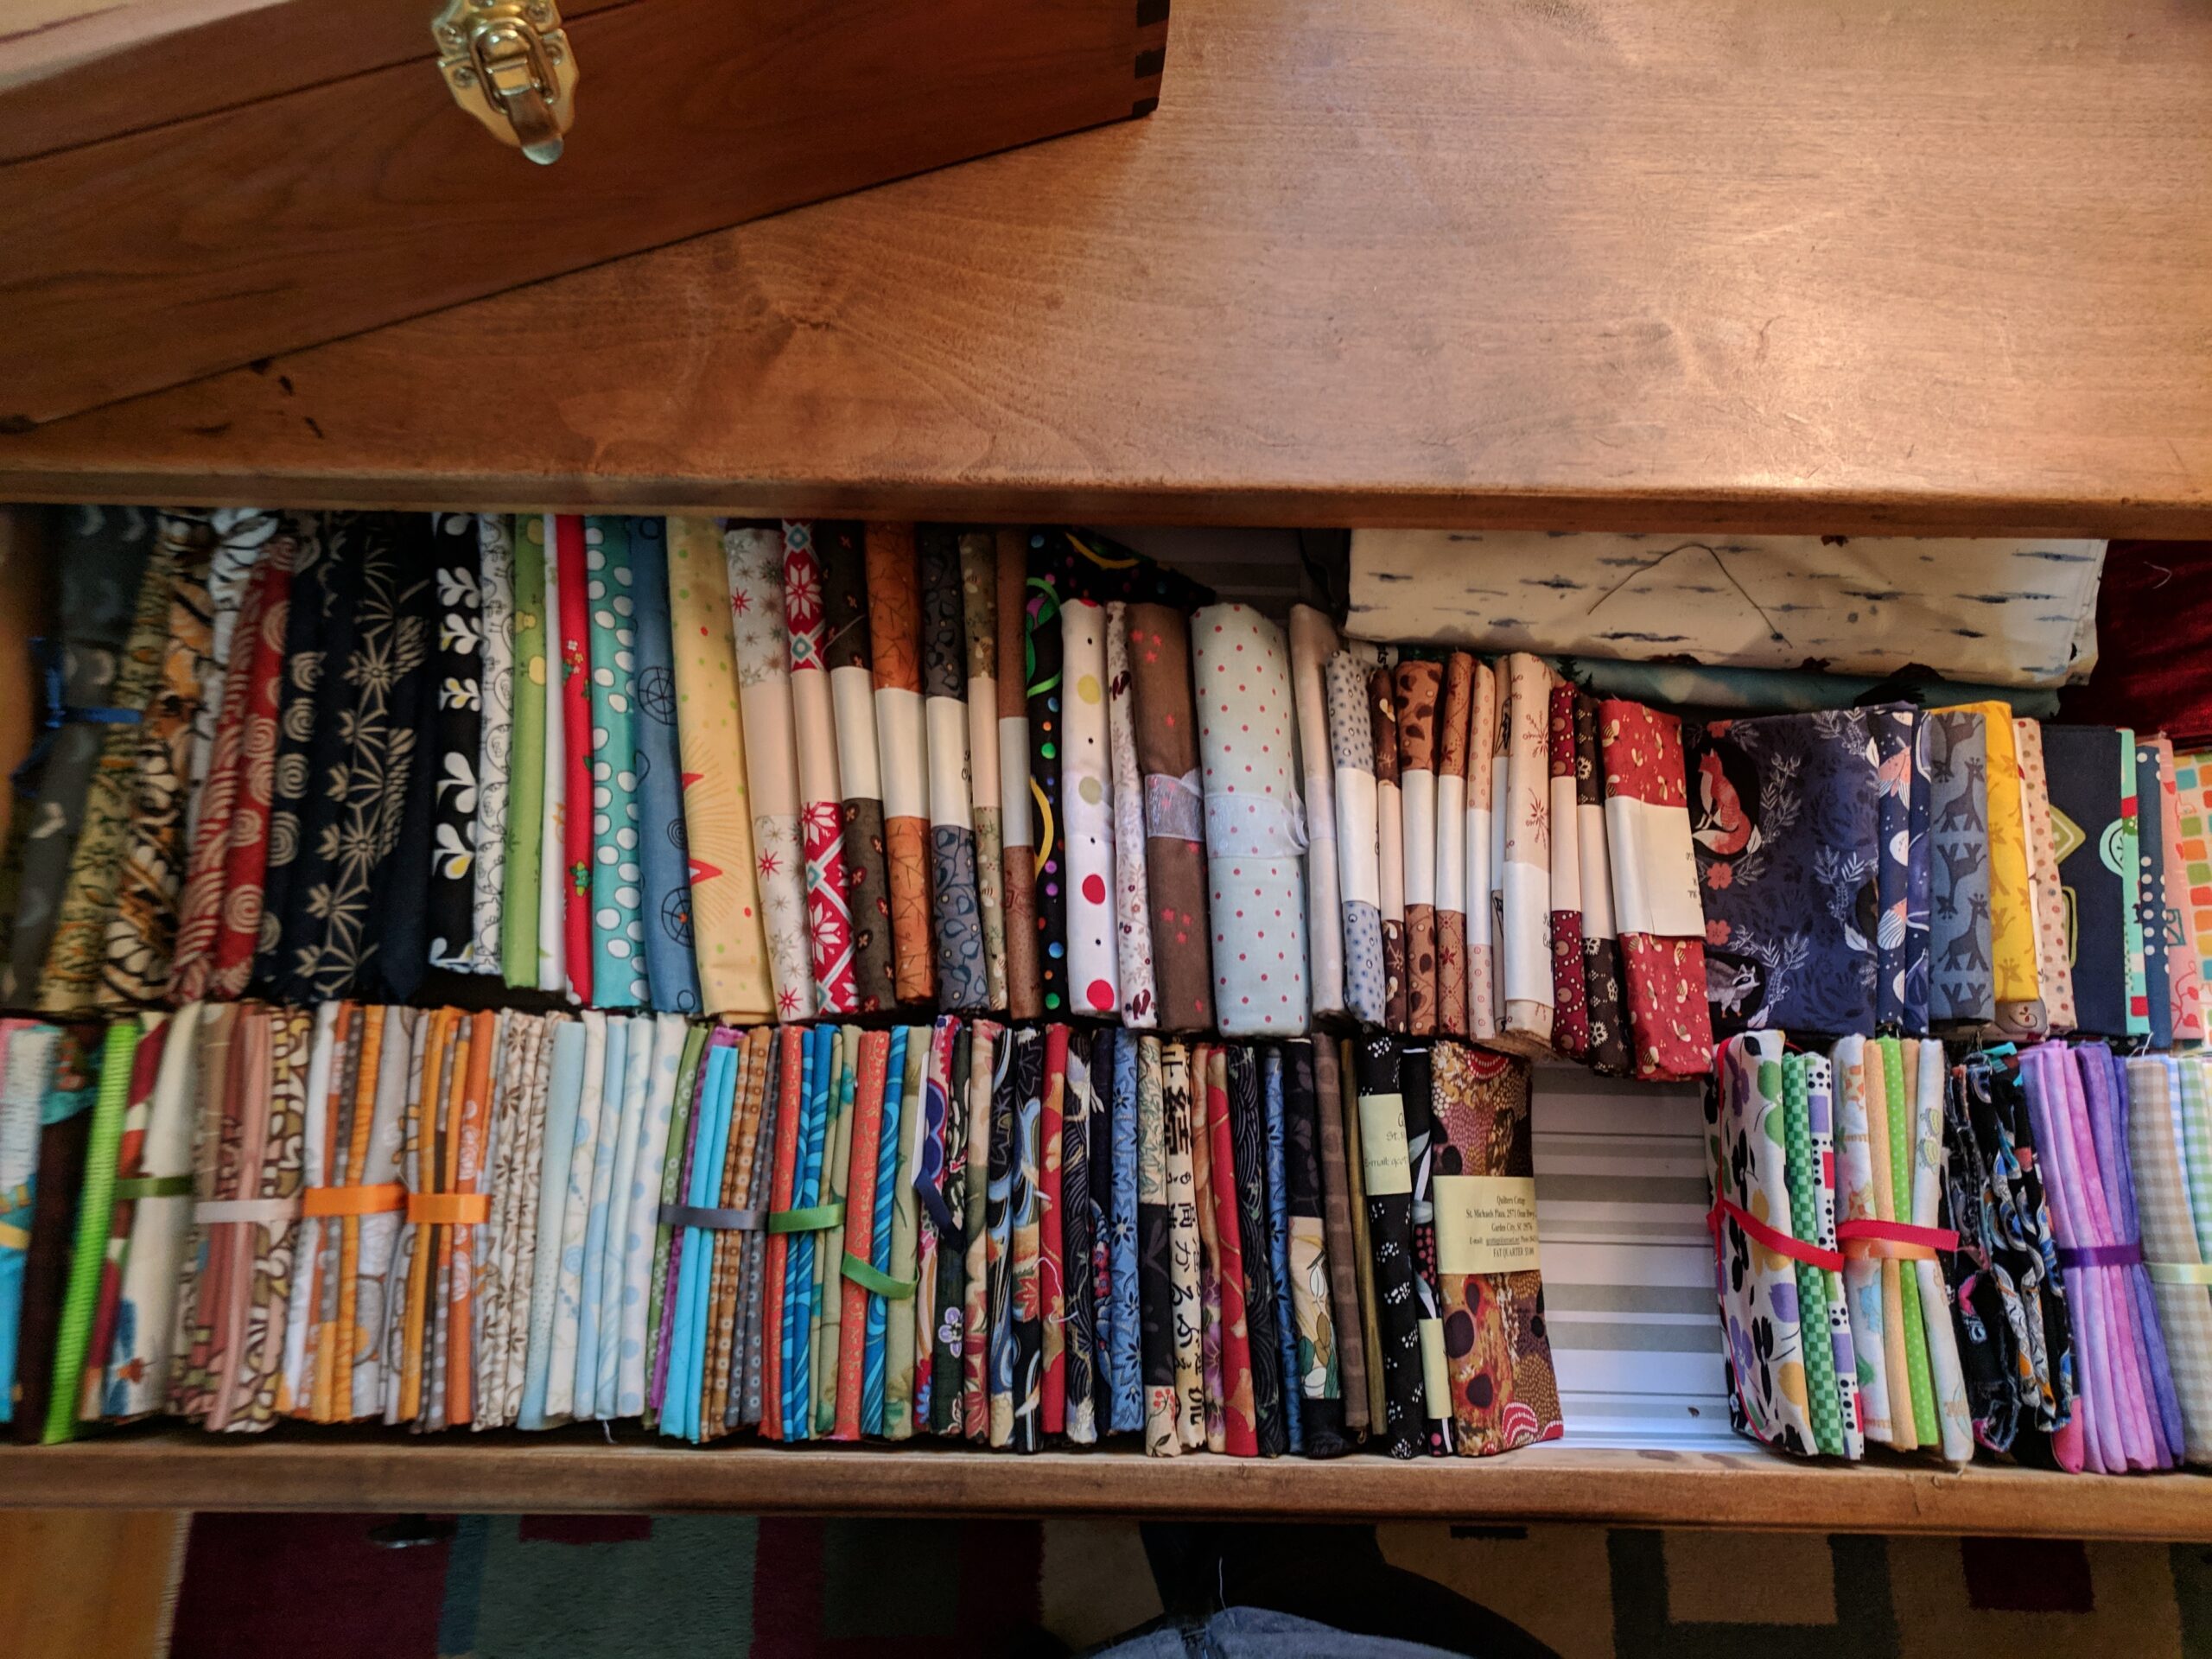
Here’s the inside of the fabric dresser…let’s be honest: there’s a lot more fabric in other places, but this is the lion’s share of the “not-ear-marked-for-a-project-already” fabric….this is the fabric that I can use without giving a thought to whether or not it was supposed to be for something else. Left photo: The bottom drawer is for my large cuts of fabric. The second drawer up is sorted by color and collection and is just regular half yard cuts. Center photo: This drawer is for my reproduction fabrics, batiks and panels. Right photo: This drawer is for fat quarters. Sorted by color and collection.
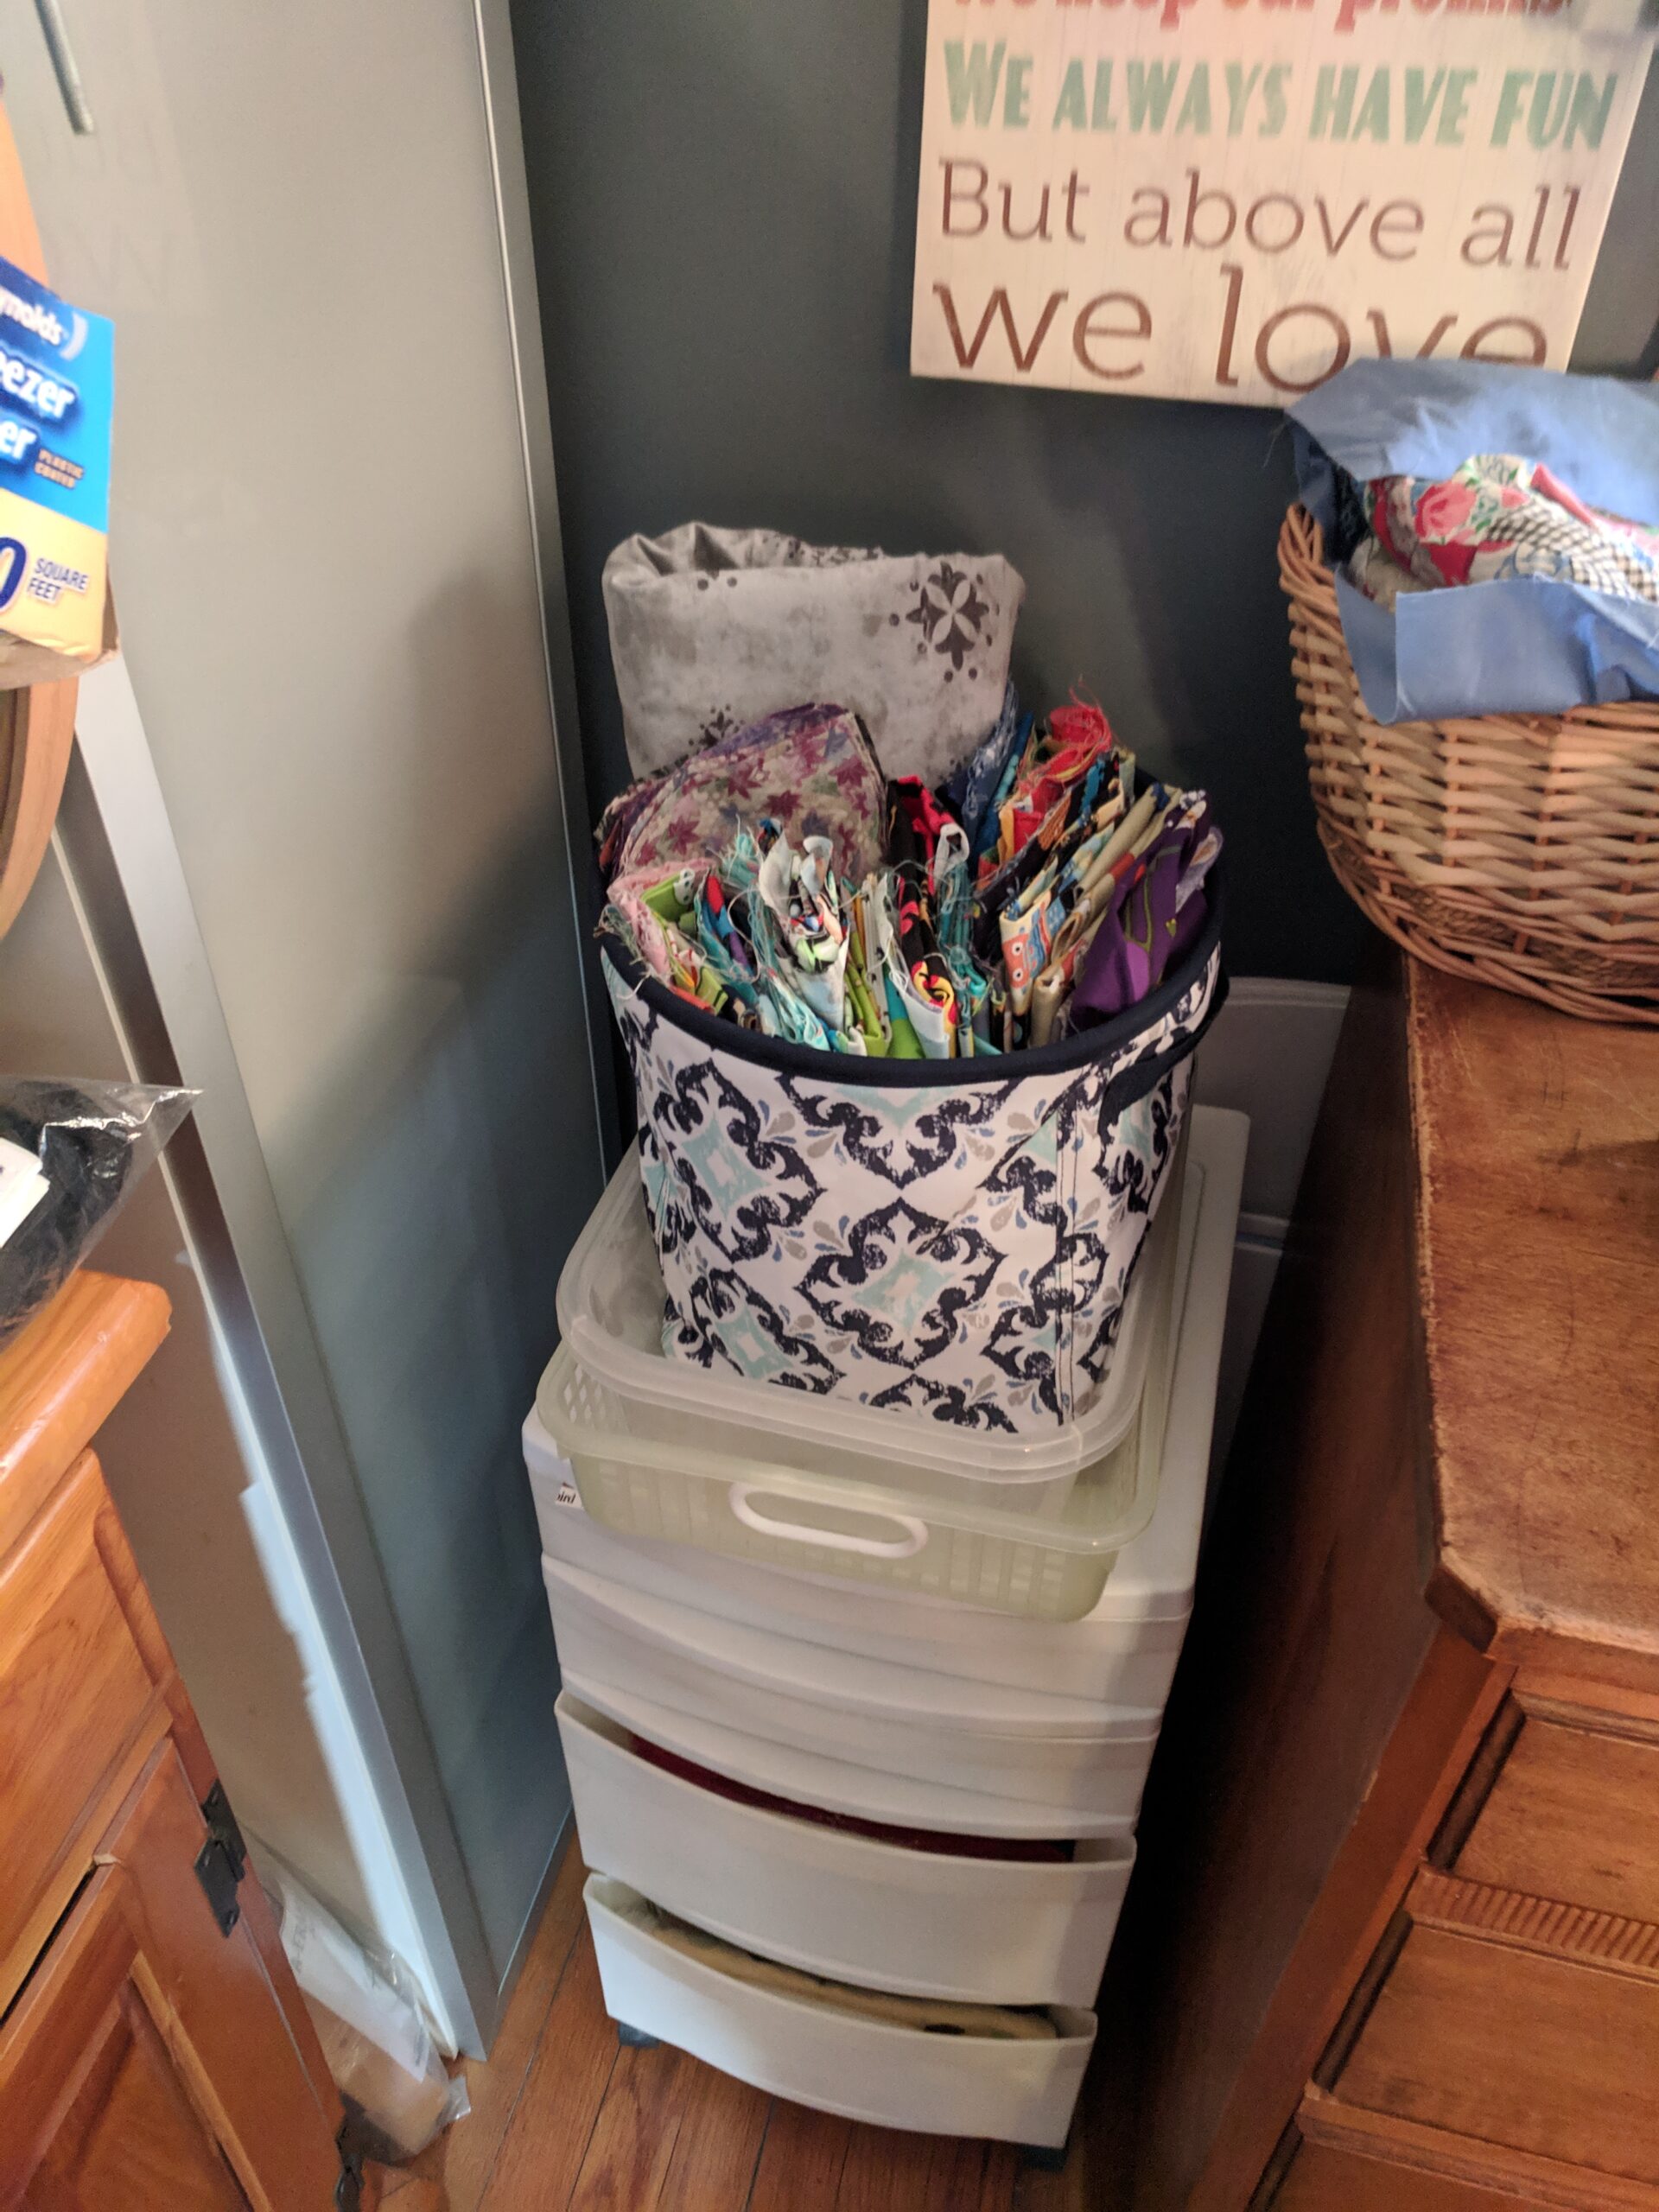
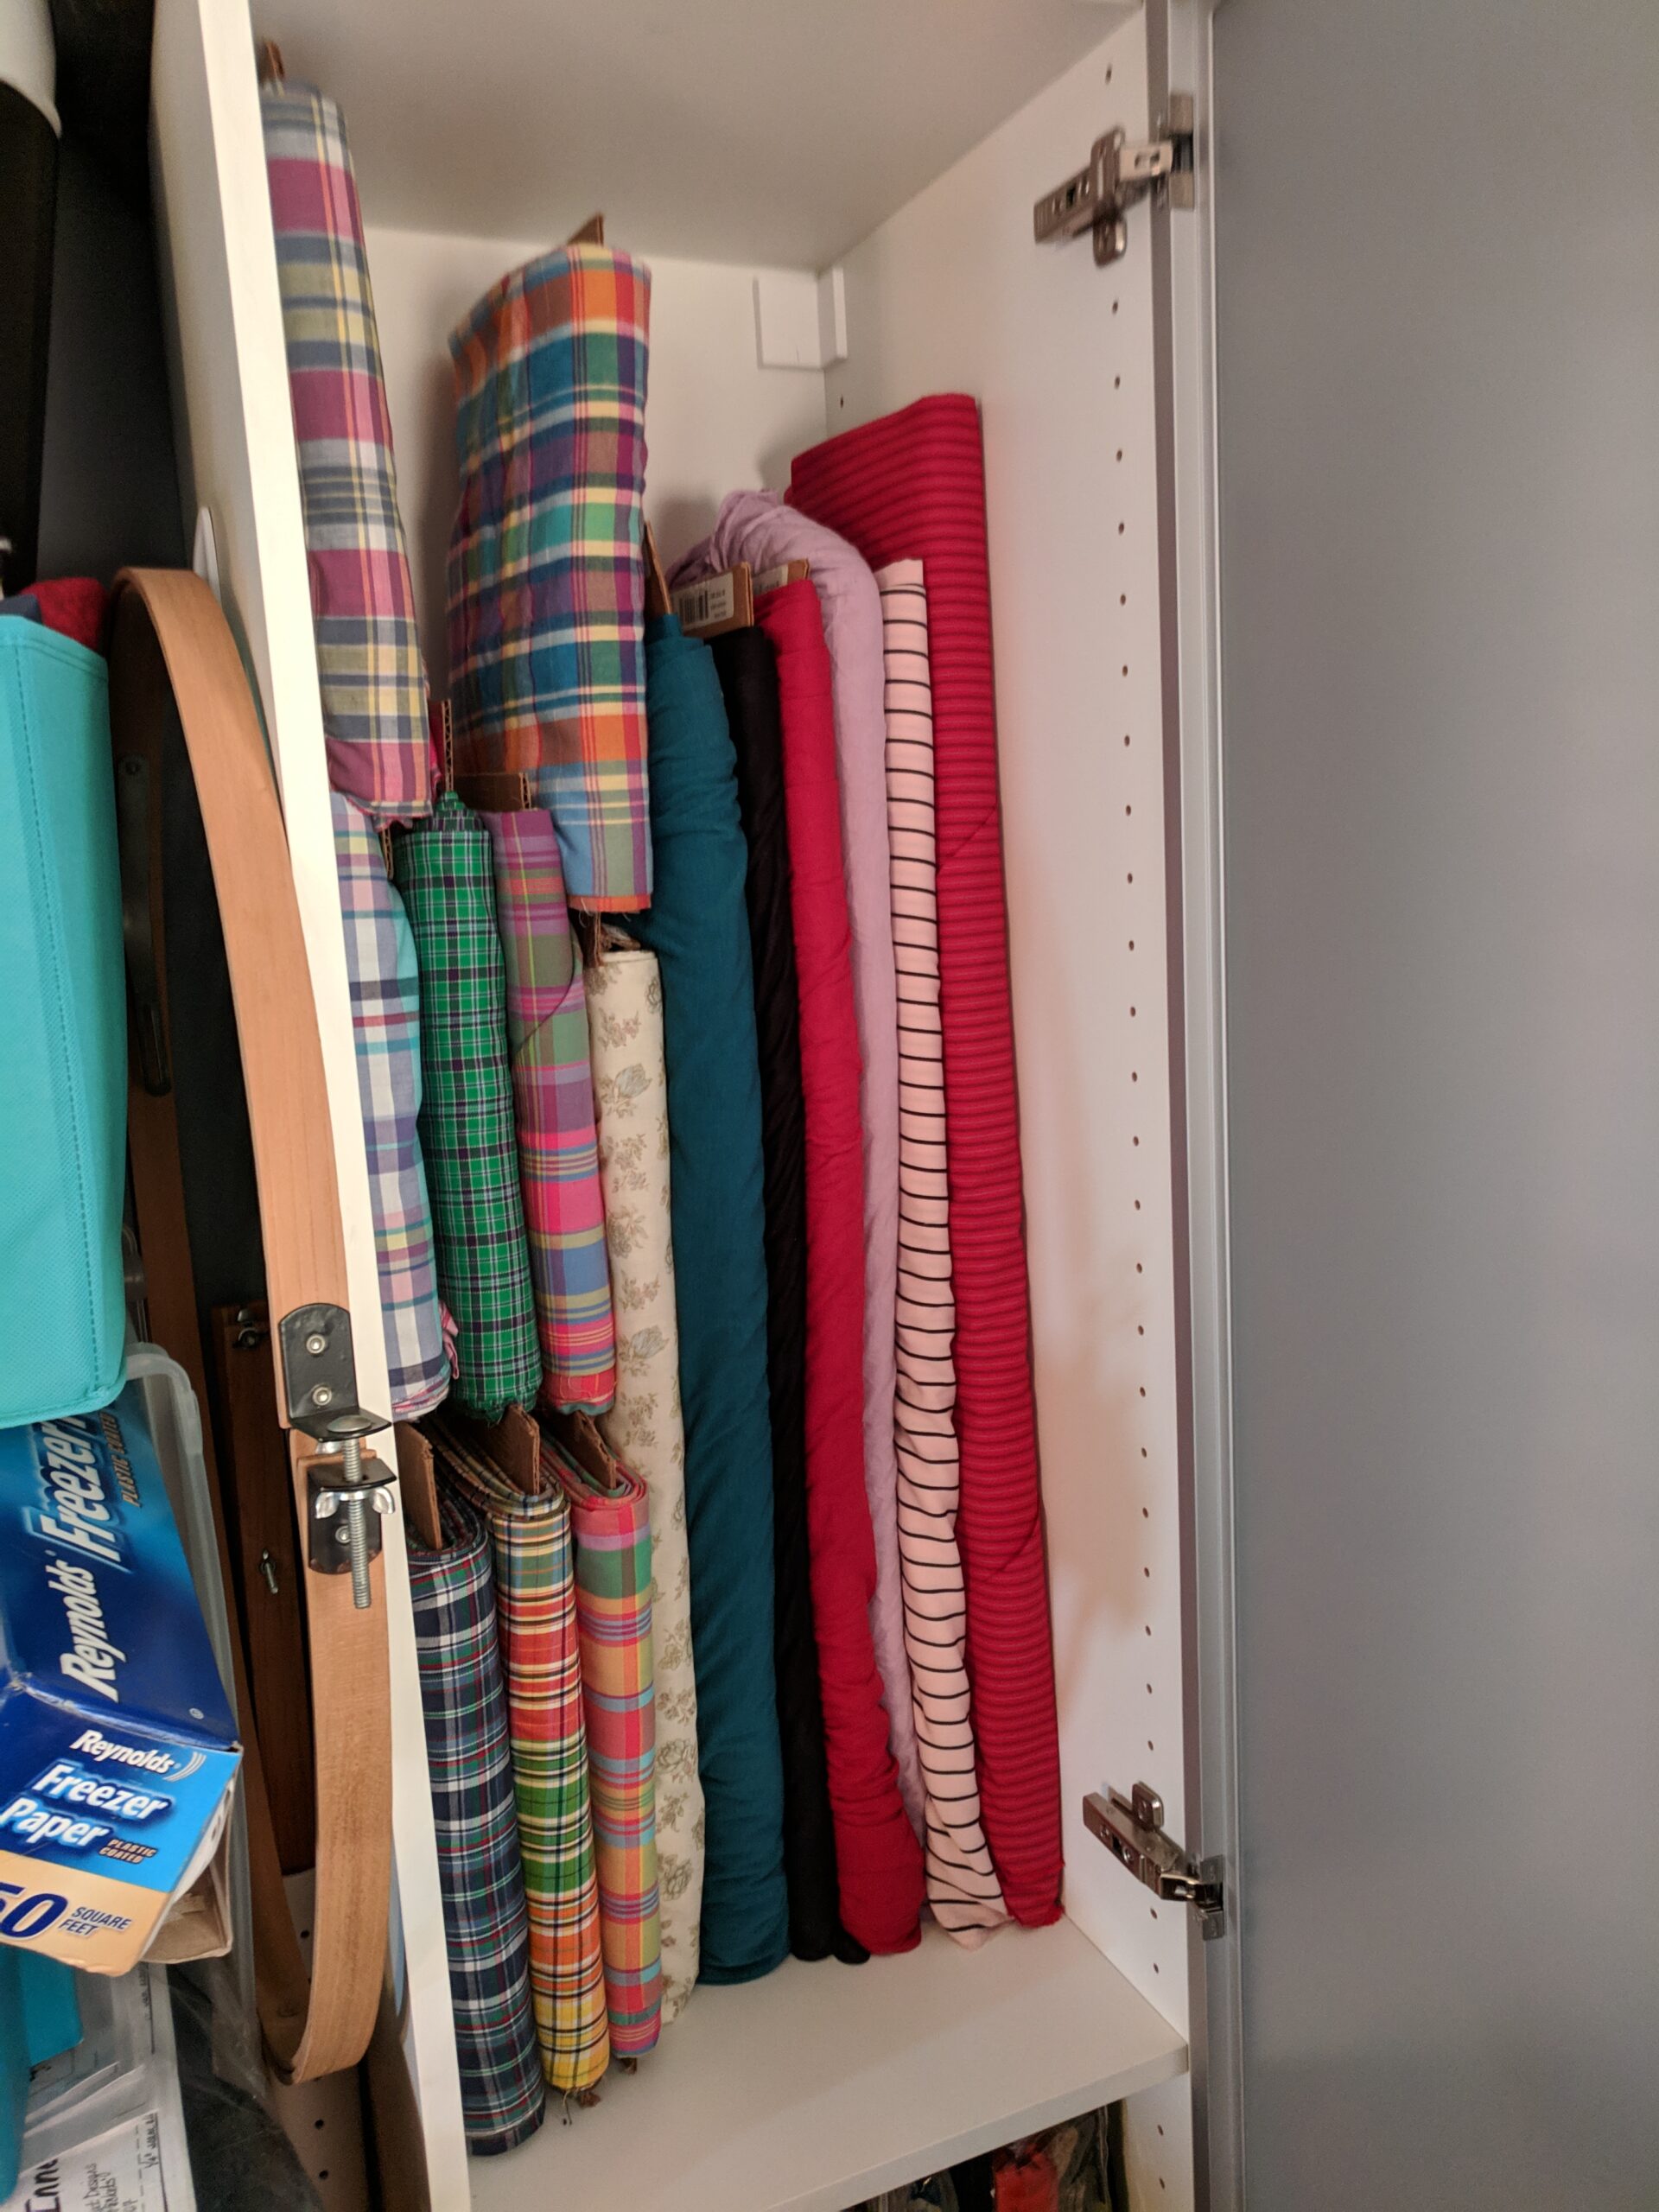
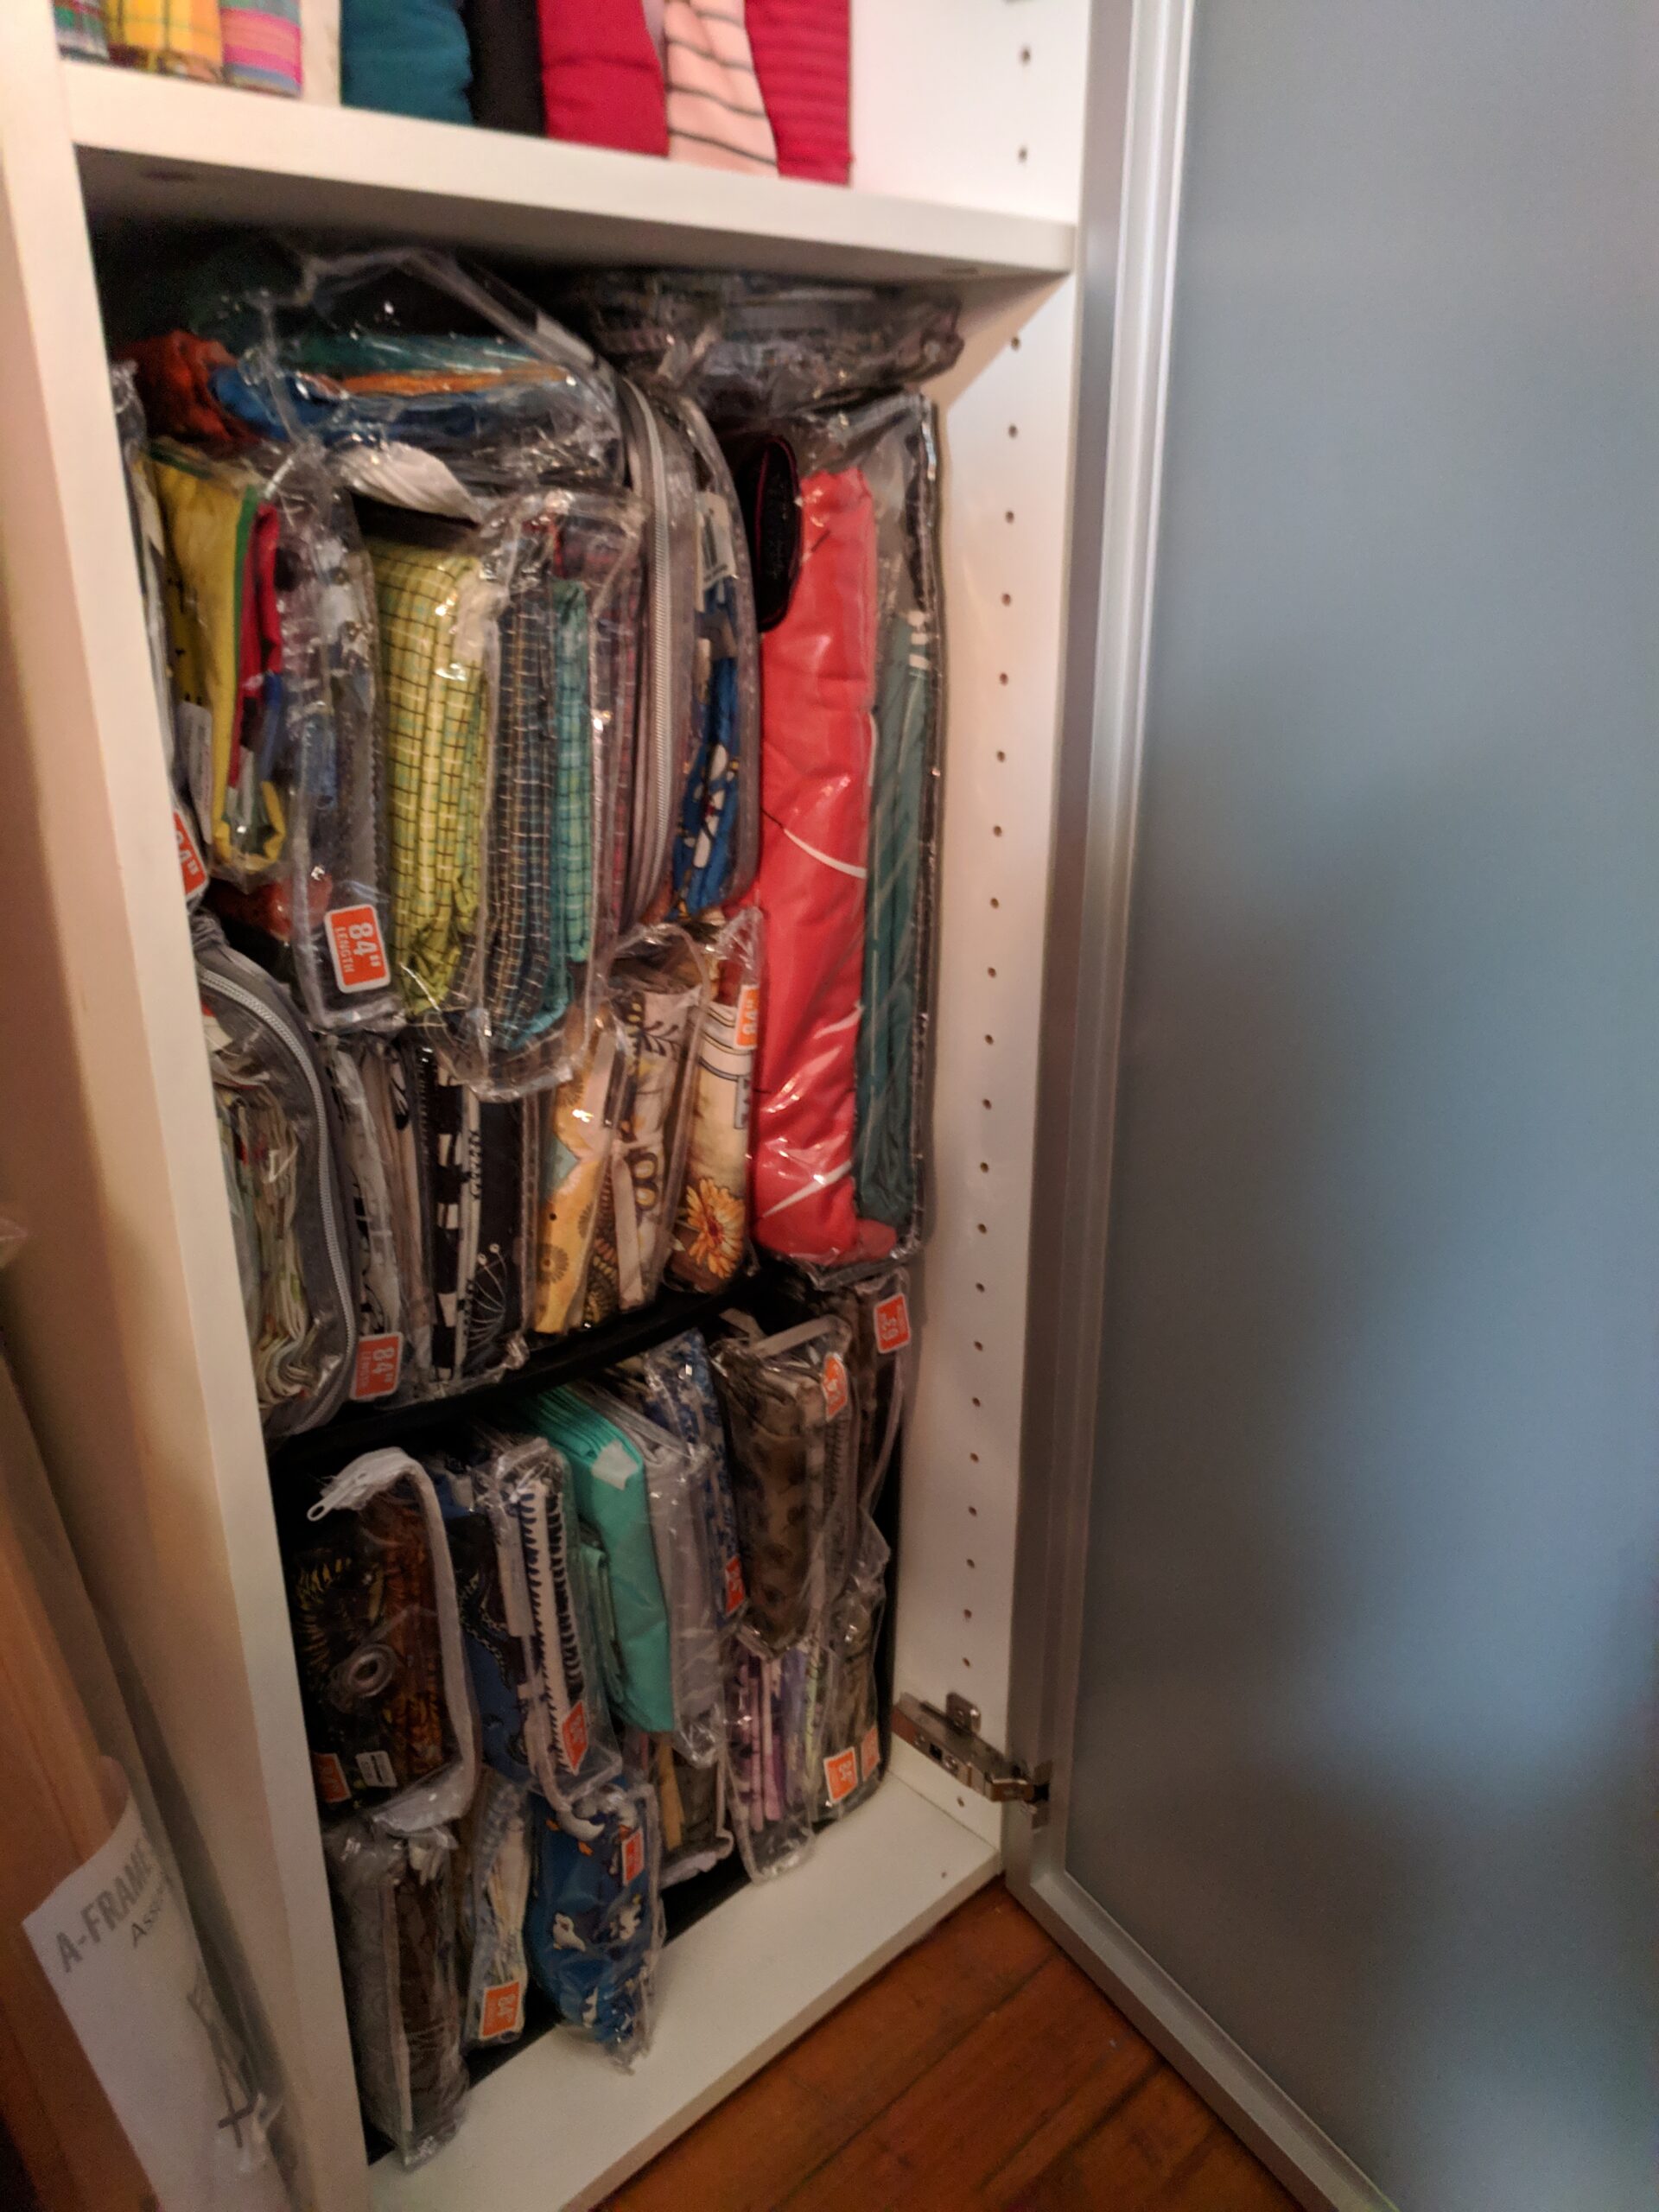
Left photo: This is one of those cheap, plastic storage bins. It holds some of my sorted scraps. The basket on top is larger scraps that are to be cut into pre-cuts. The cabinet to the left was acquired from a neighbor for free. Its a laundry cabinet from IKEA. Center photo: The top shelf of the laundry cabinet is for my bolts of fabric. You can also see that I have a hand-quilting hoop stored on the side of this laundry cabinet with a command hook. Right photo: Here’s a lot more of my fabric. These are bags from sheets and curtains and comforters reused for projects. I’ve sorted the fabric that I bought and ear-marked for a project, then I print the pattern out, or wrote a note to myself which pattern I was using or what my plan for designing was and put that in there, too. So, when I need a new project, here’s where I go first.
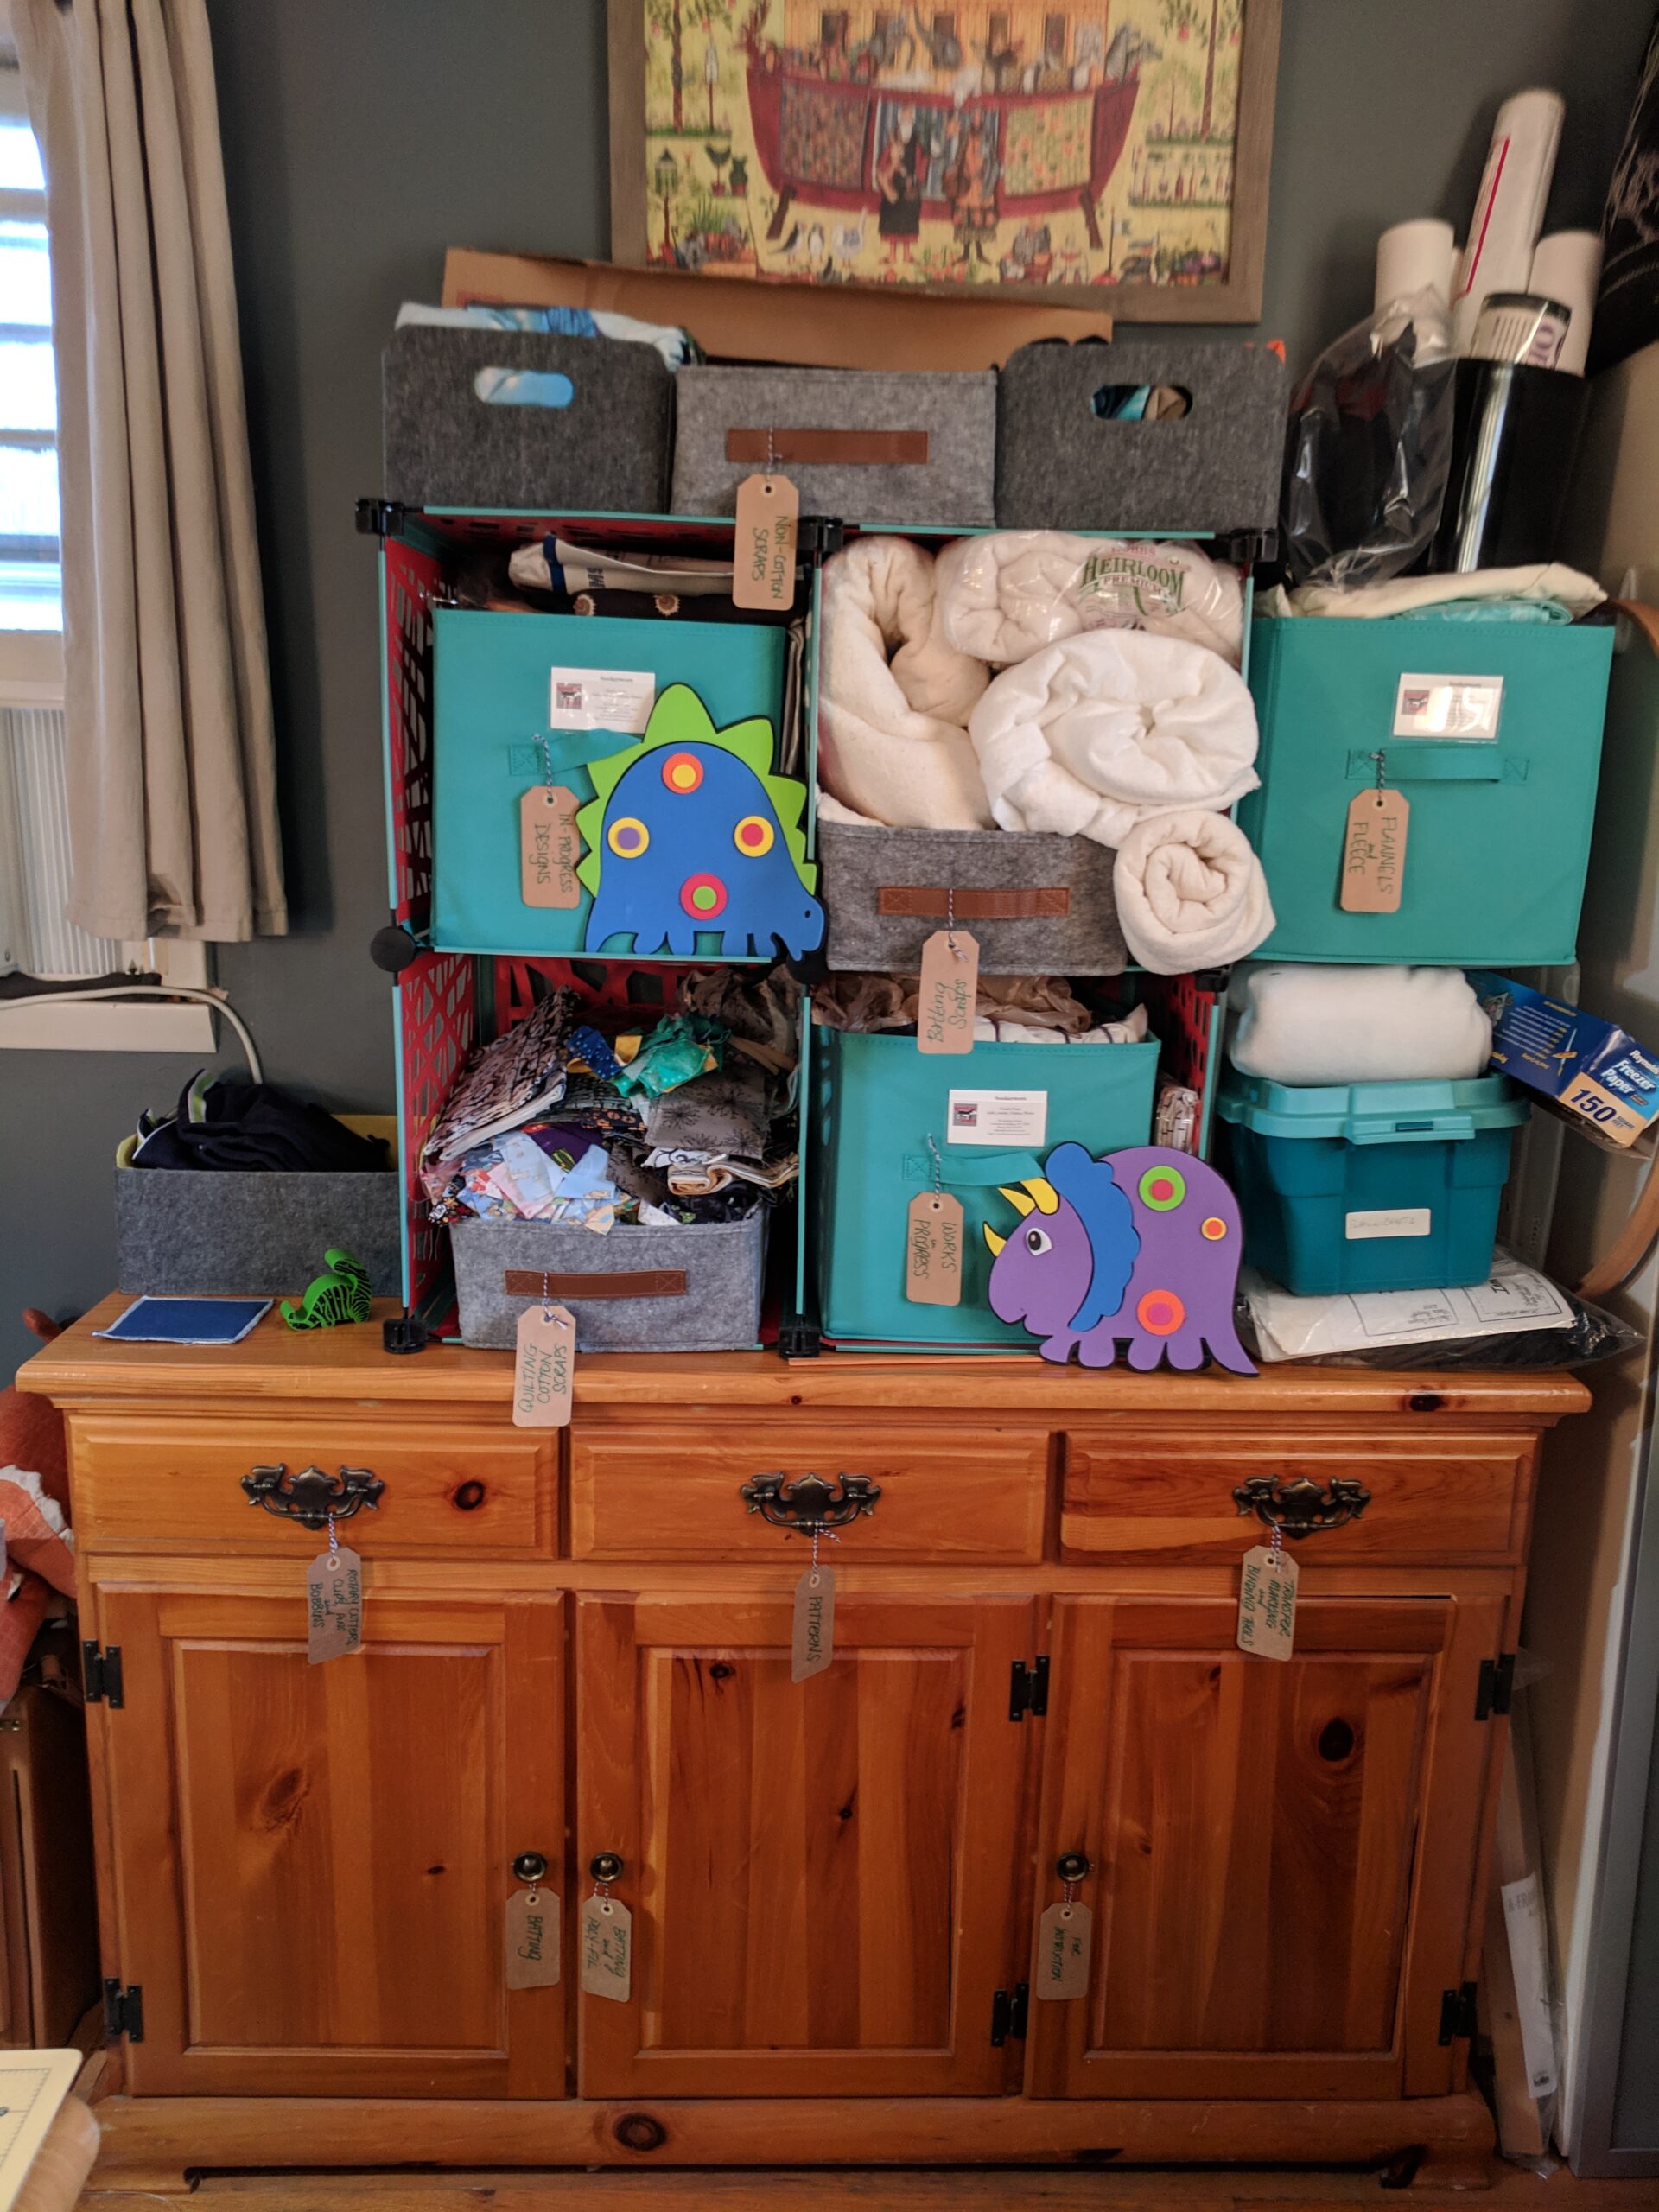
Although you can see most of my labels, I’ll go through each drawer and door in a minute. But let’s first talk about the piece of furniture and then talk about what’s stored on top. This piece of furniture is the bottom of a china cabinet. It was free fifty free. (You can see a theme here. I have a pretty nice studio, but did NOT spend money on furniture. I’d rather spend it on fabric and sewing machines. lol) This piece of furniture is very sturdy, so that’s great. On top, on the far left is a bin of WIPs, then the dorm storage rack from a Back to School sale. In that, we have scraps, WIPs (yeah, there’s a lot of those in this studio), and a box of patterns. The next tier is a bin of flannels, larger batting pieces, and In-Progress Designs. The very top tier is some mending that I need to do, non-cotton scraps, tees for a tee shirt quilt and then a bin of stabilizers and interfacings.
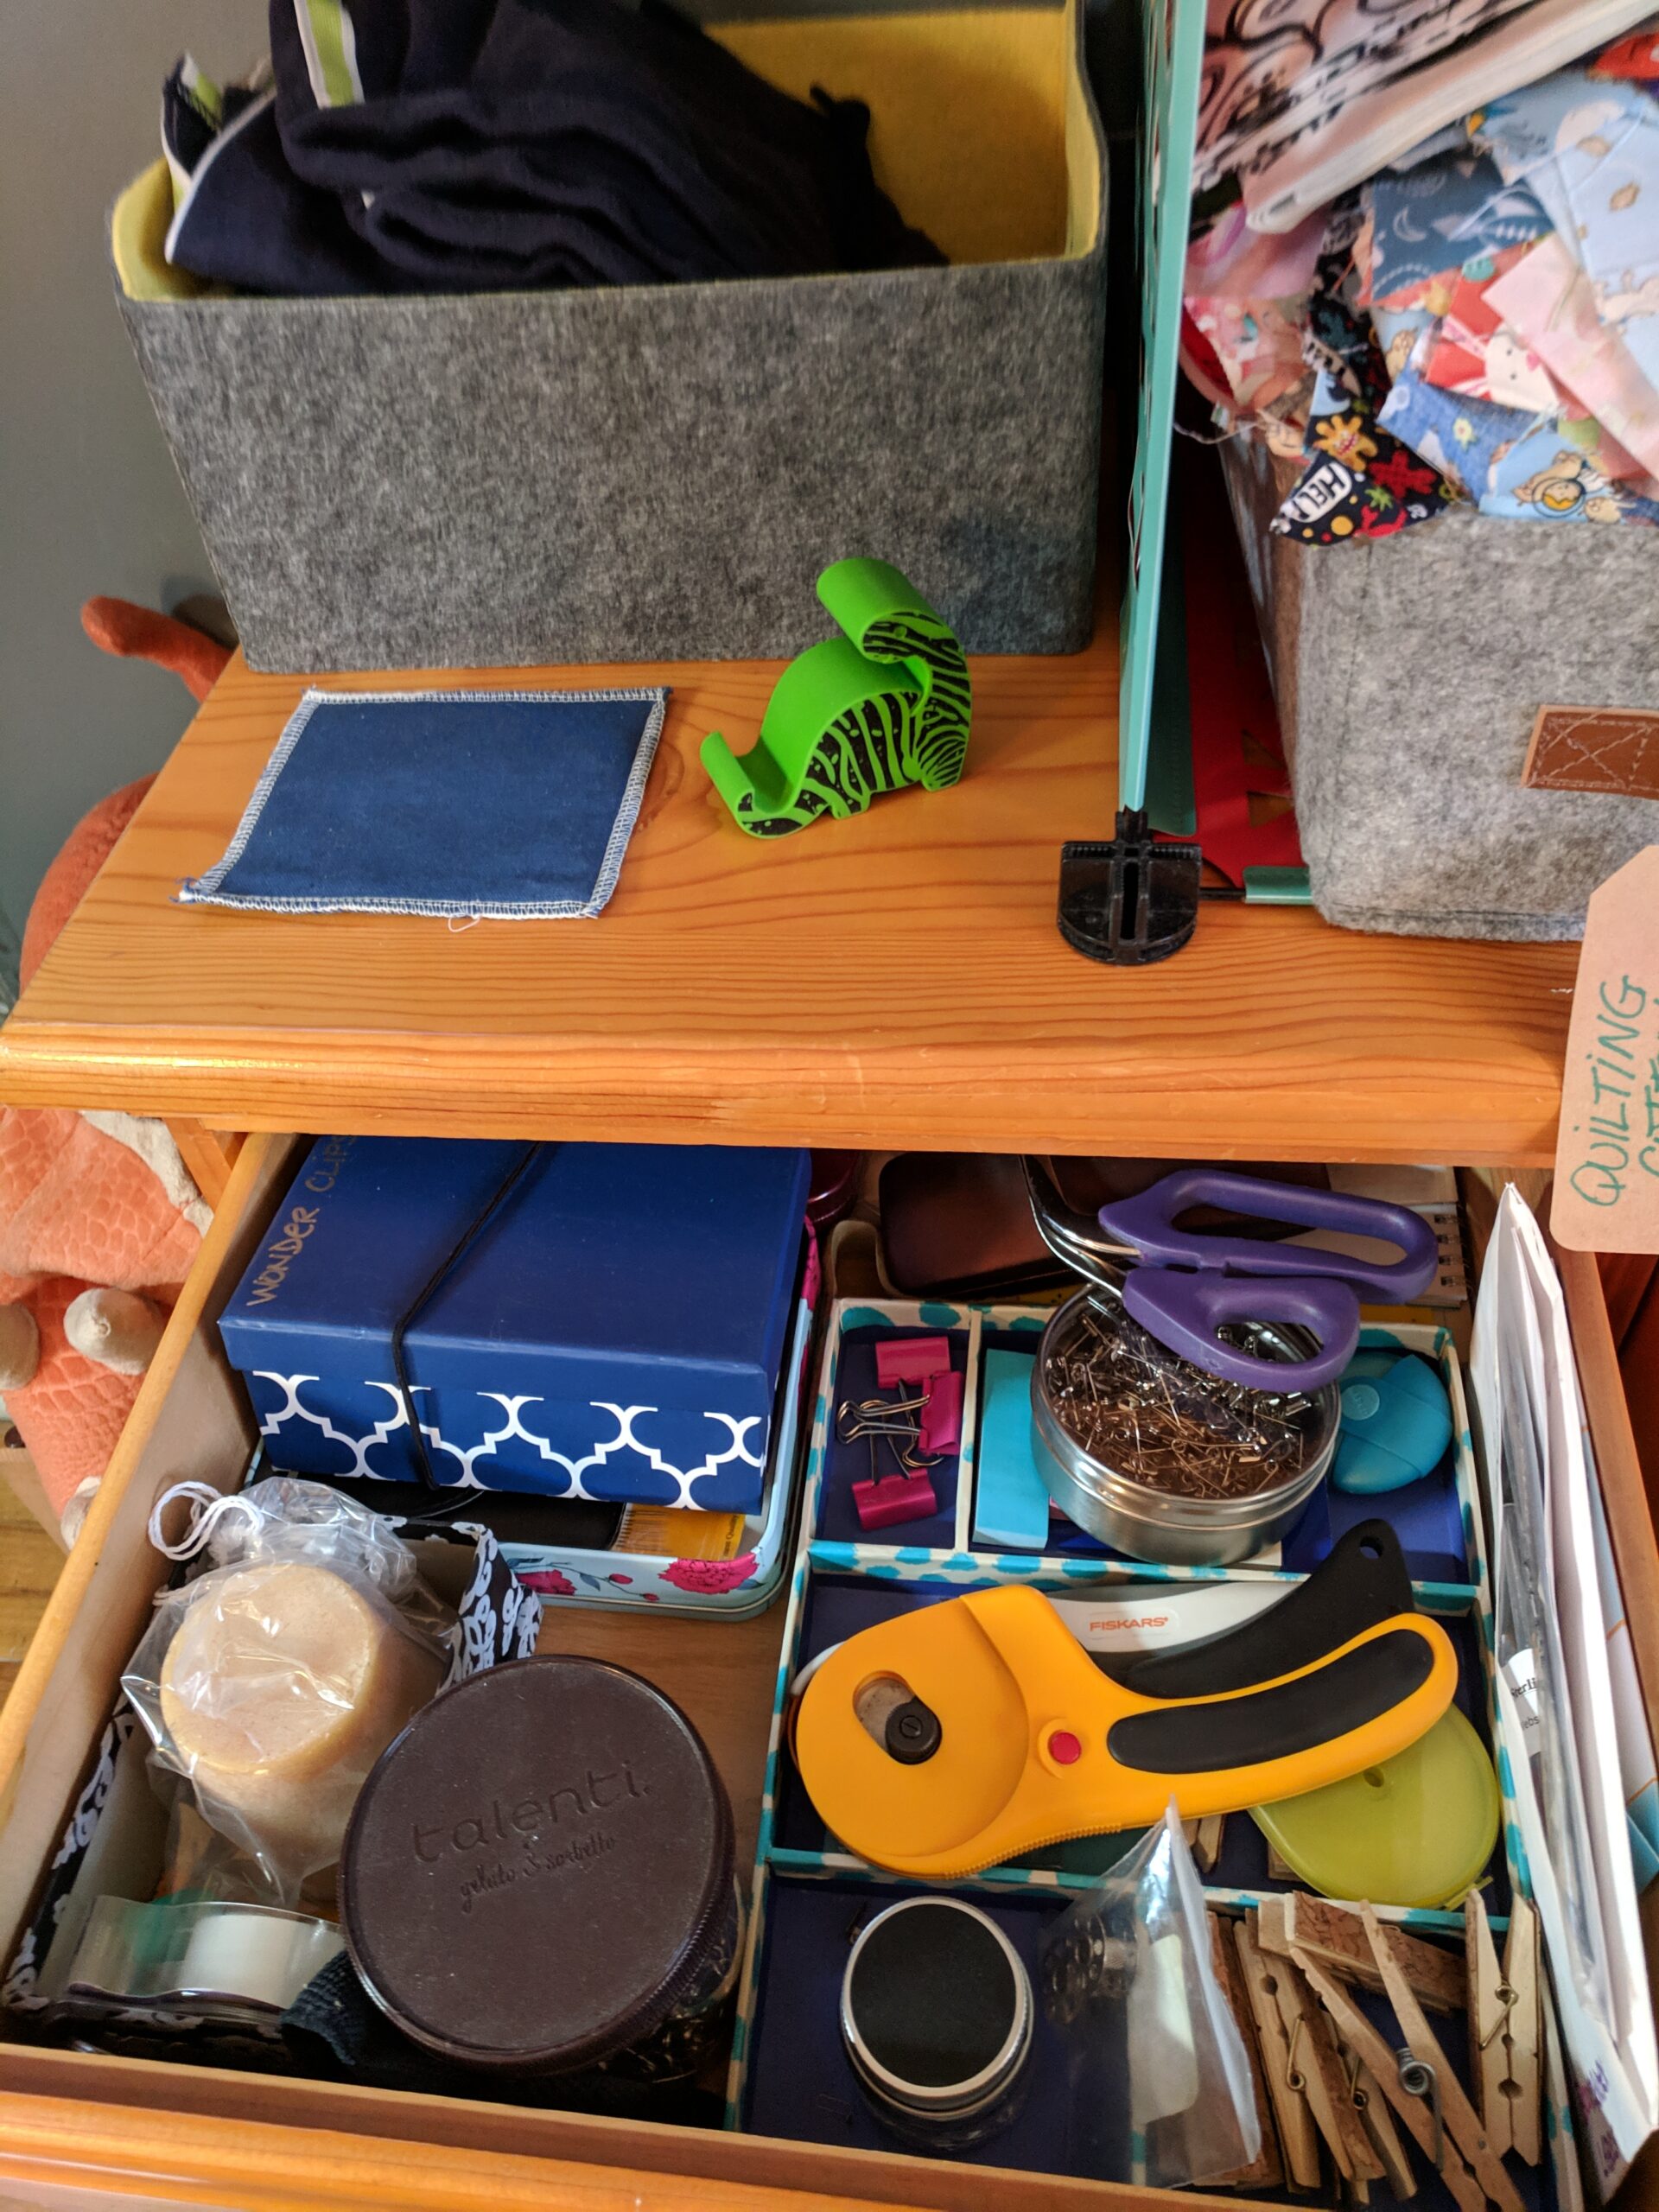
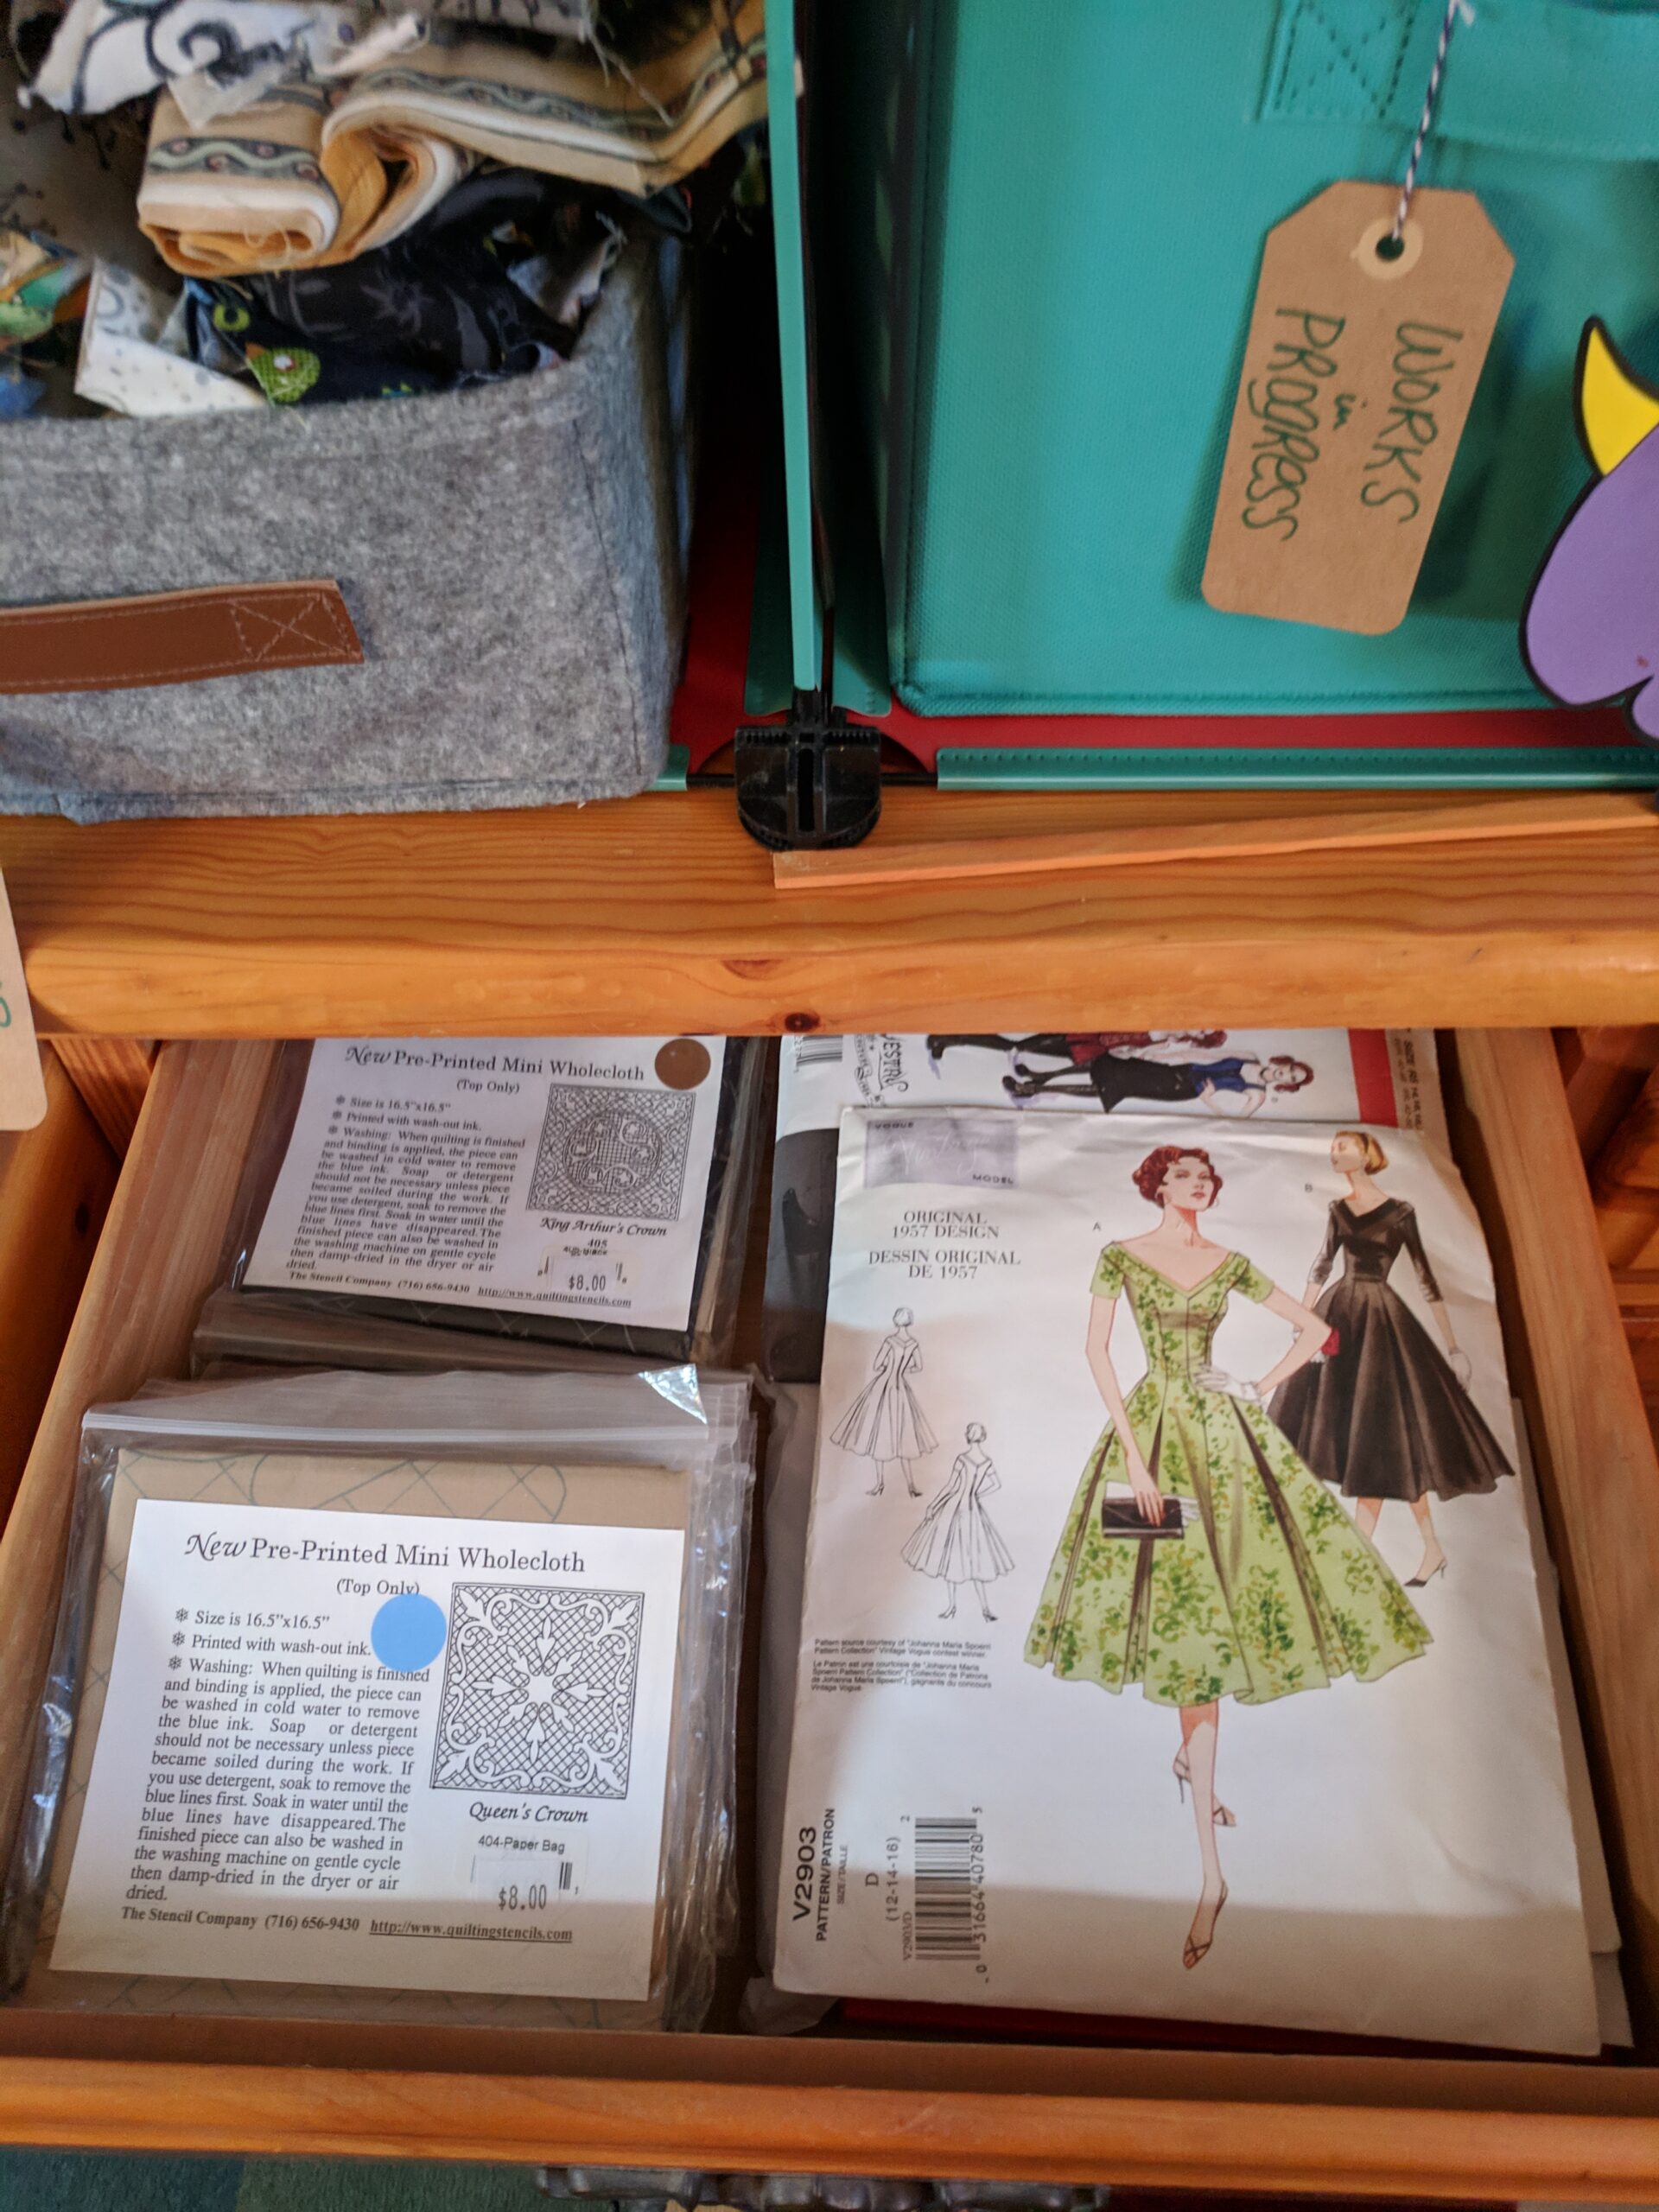
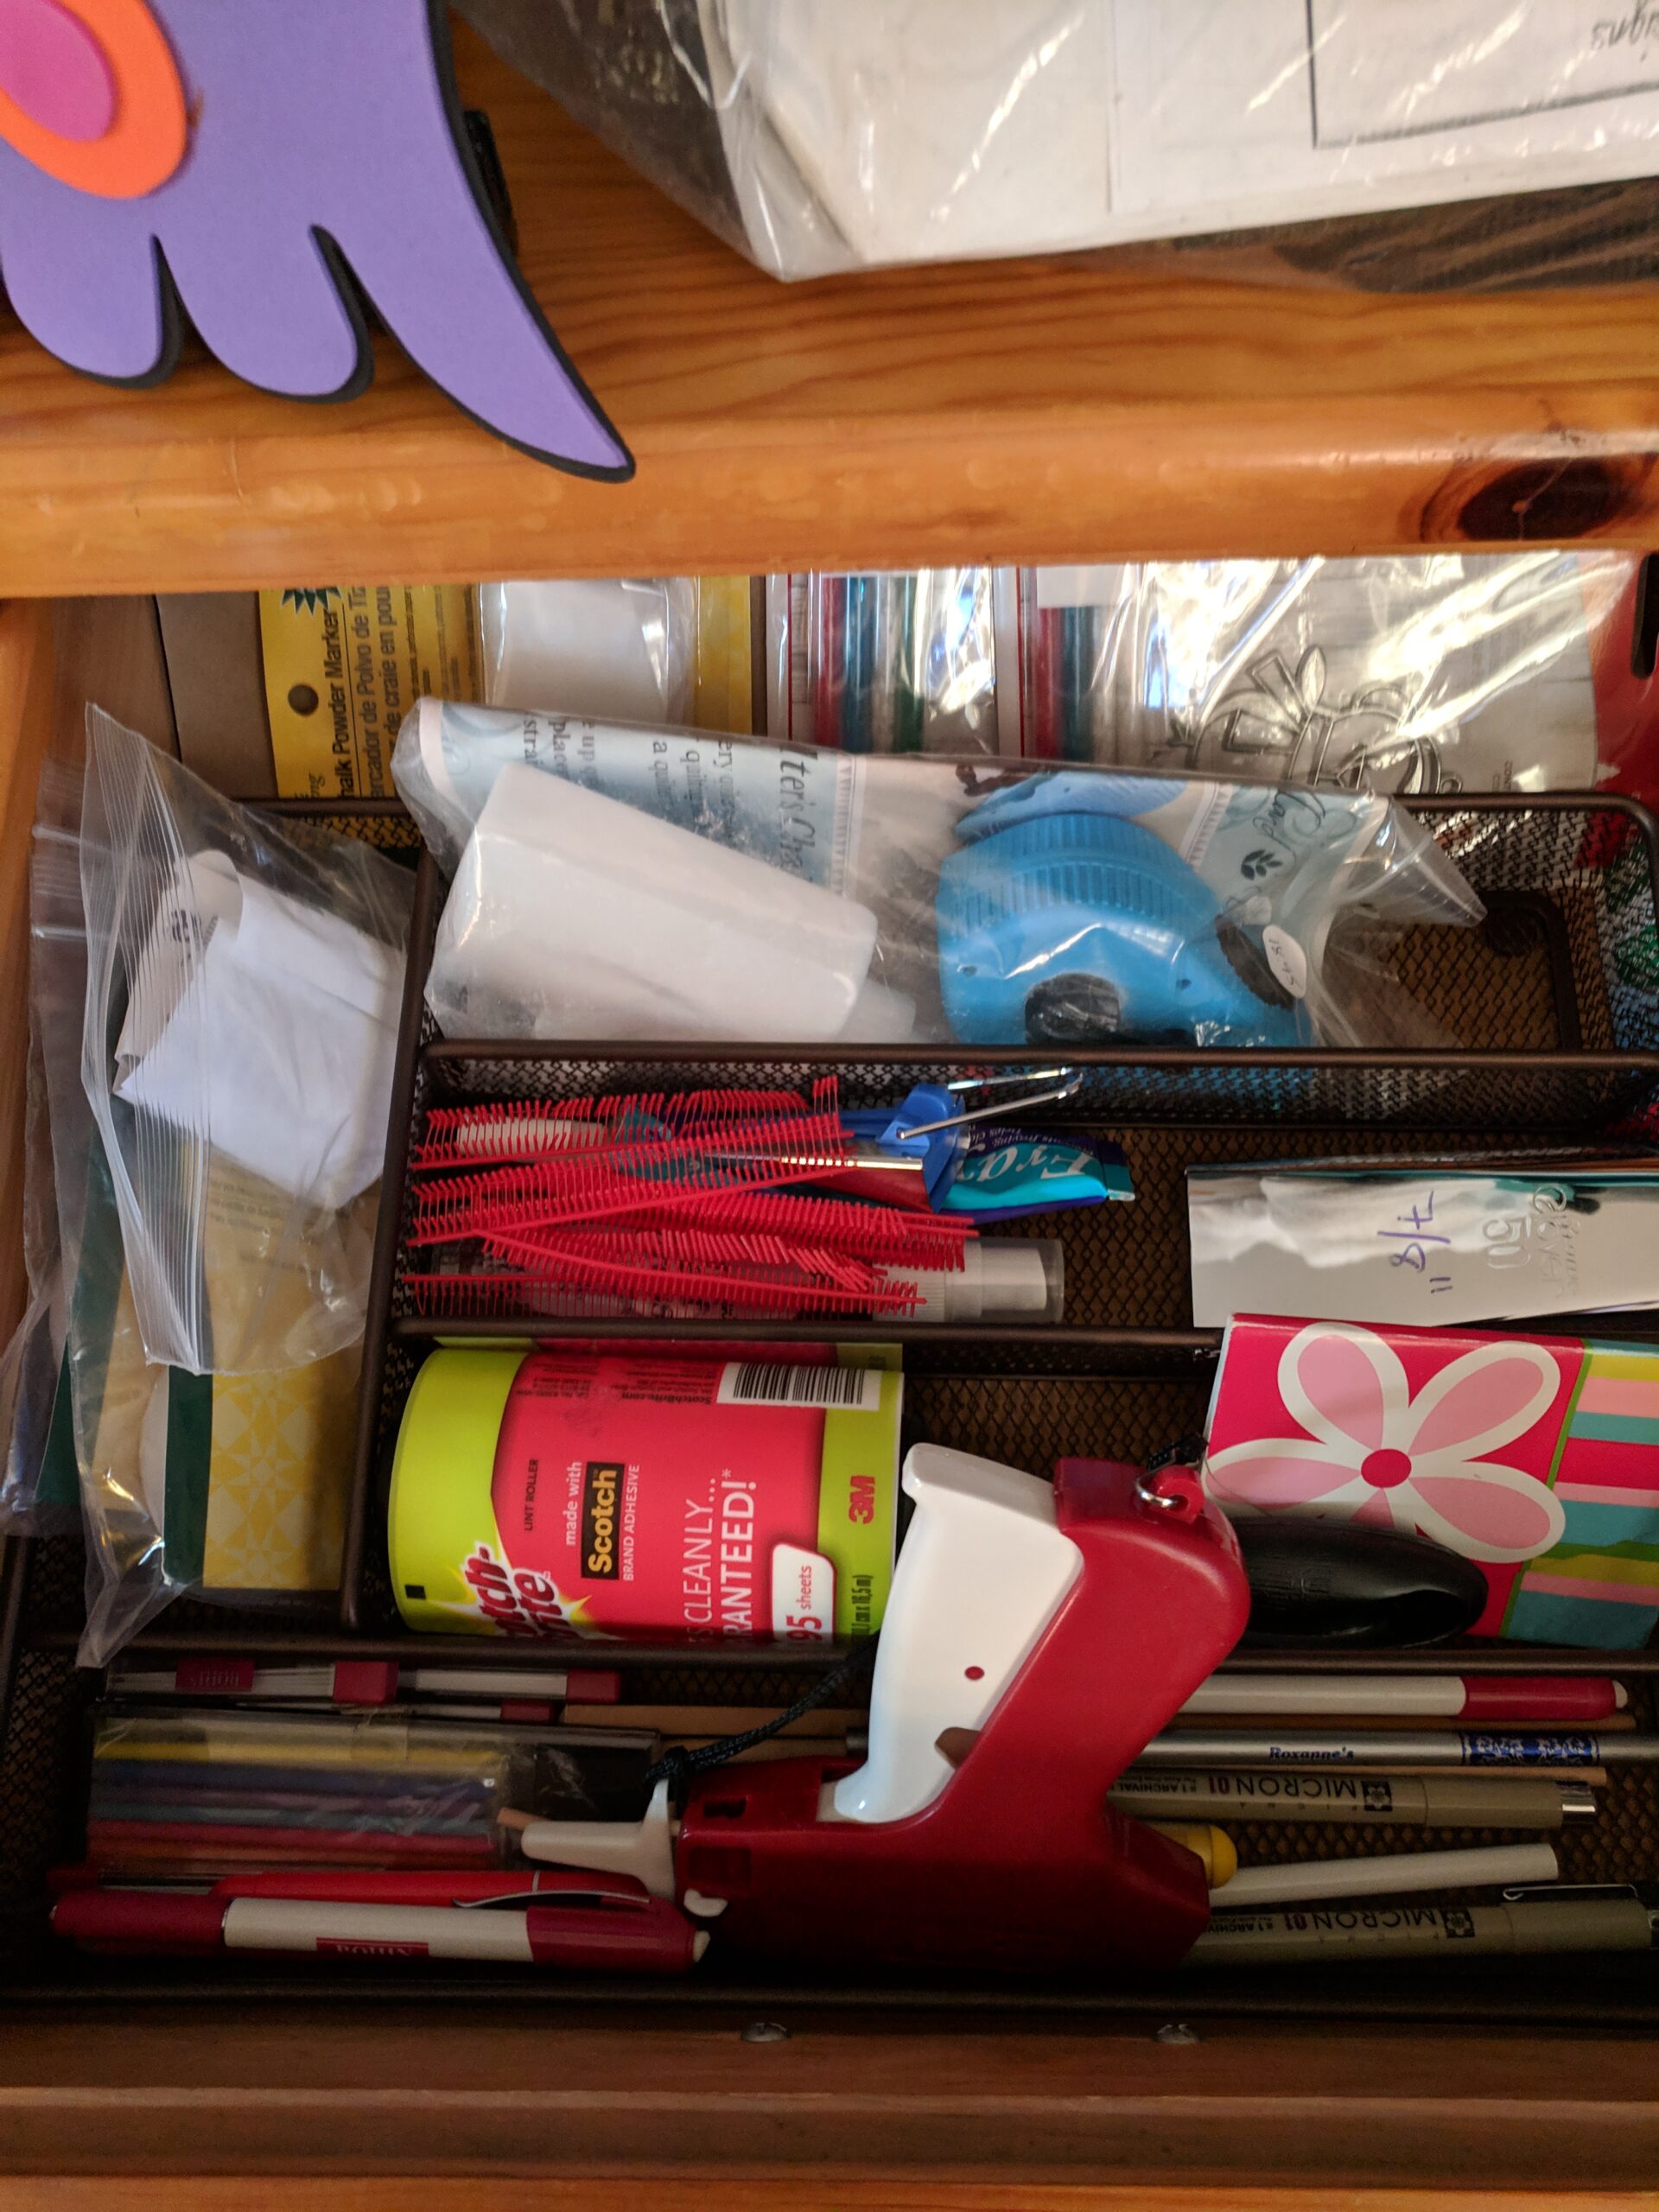
Left Photo: This drawer has all of my go-to tools. After a day of working, I try to put everything back right in here as it’s the closest storage to the table. This has my rotary cutters, batting scissors, safety pins, wonder clips and beeswax for hand sewing, along with some other useful things like post-its and clips. Center Photo: This drawer contains patterns and my pre-printed fabric squares to practice quilting on. Right photo: This drawer is everything marking! This has chalk transfer paper, my chalk line, various chalk pens and pencils for marking, a few lint rollers, and my basting gun.

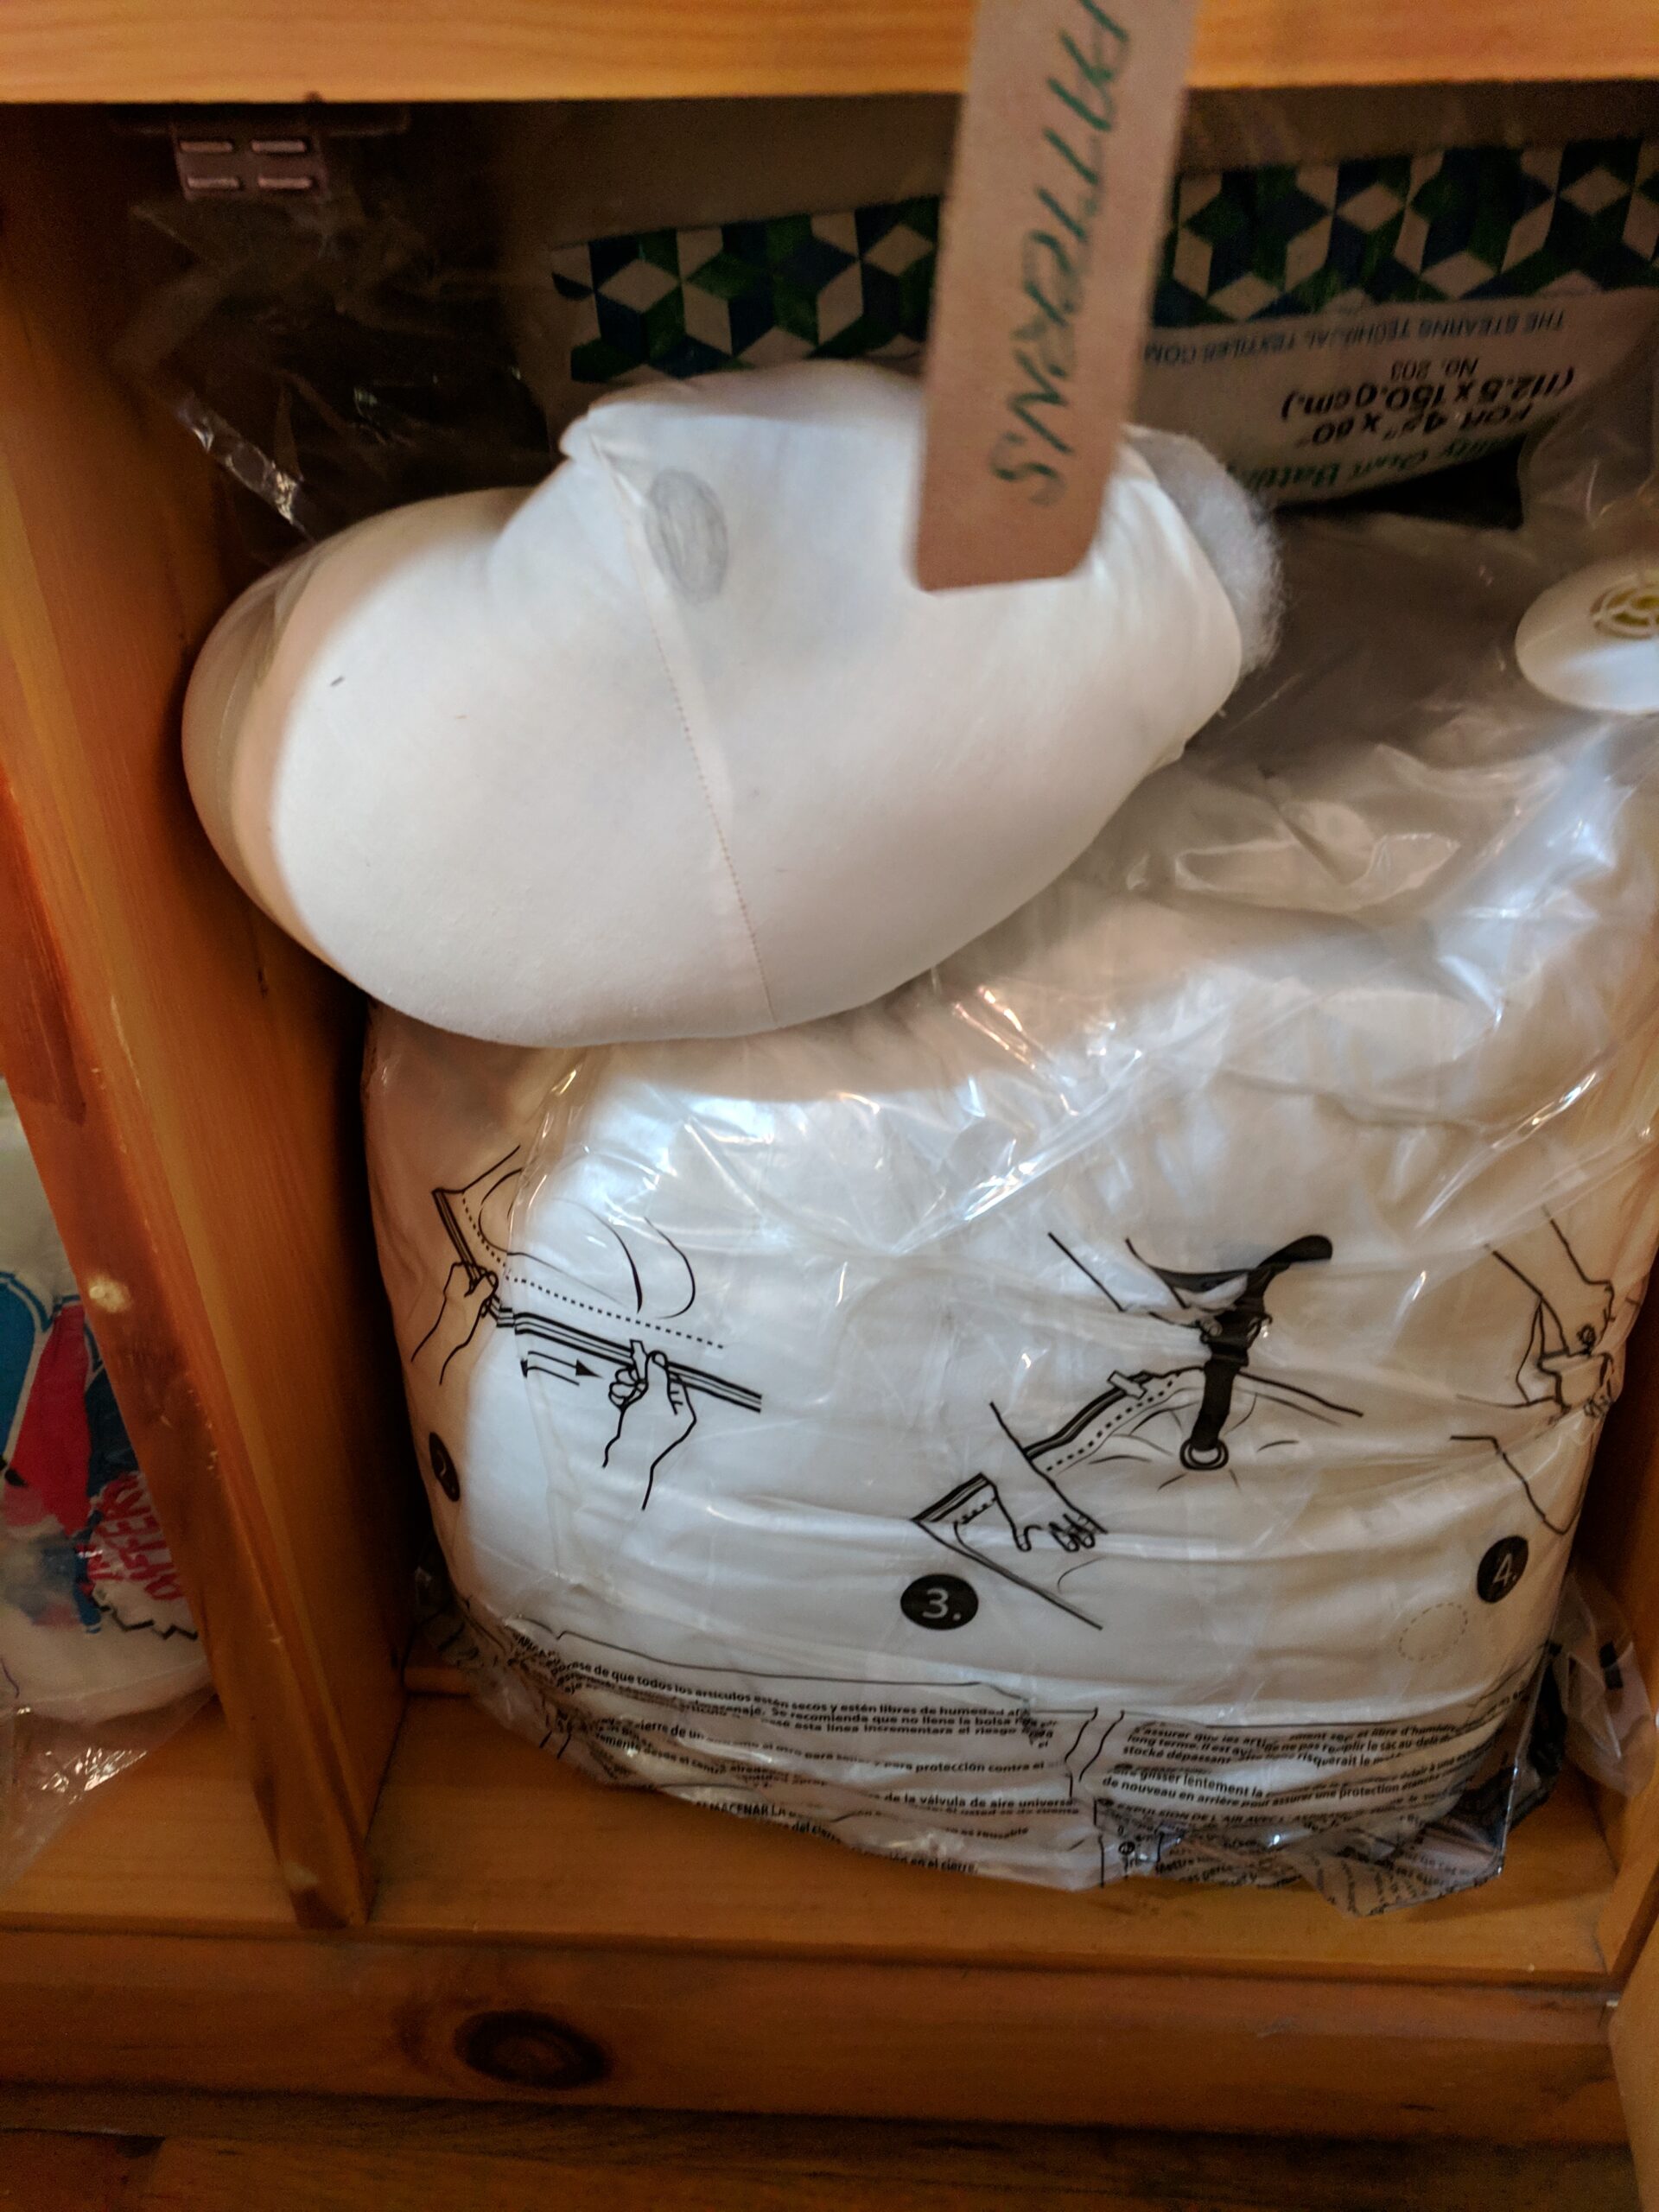
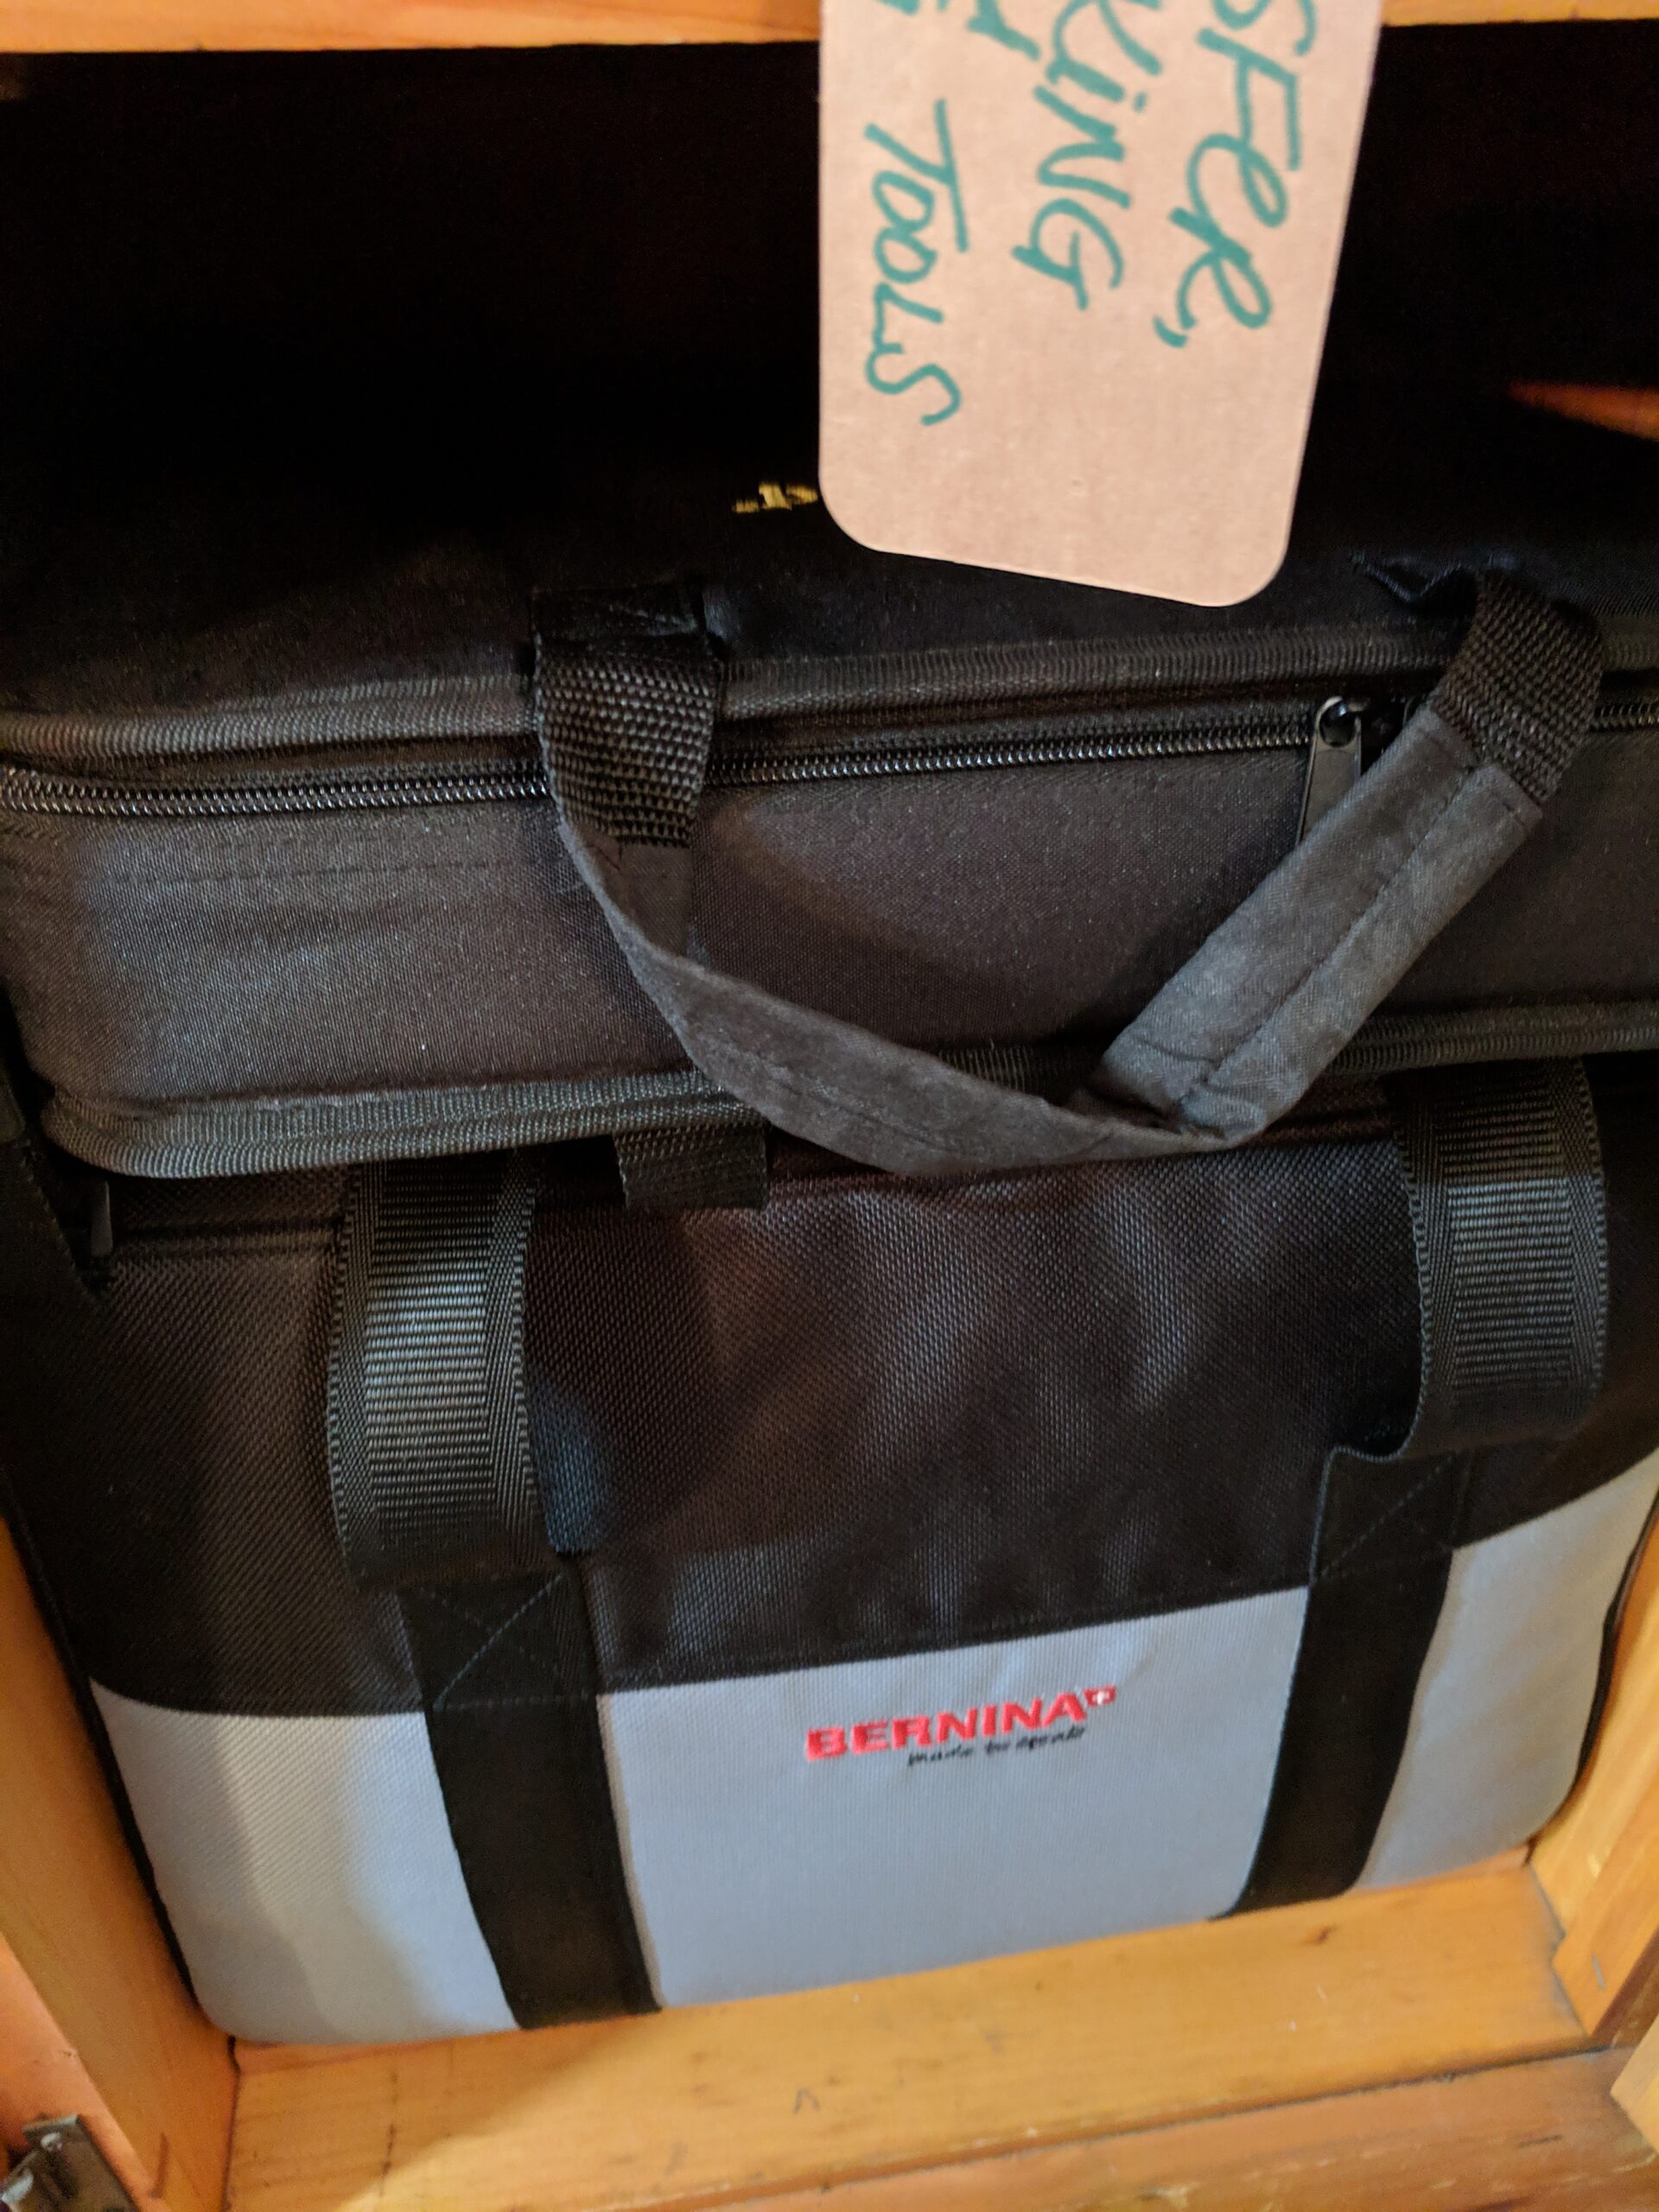
Left photo: Uncut/Unopened batting of various sizes. Center photo: Poly-fil in a space bag with more poly-fil behind it. Right photo: These are my go-bags for Sewing Instruction. They have everything I need for teaching so I can just grab them and go. I actually keep spares and extras of all my tools for this reason. I never have to take the rotary cutter I’m using on a project for teaching, because I find that more convenient.
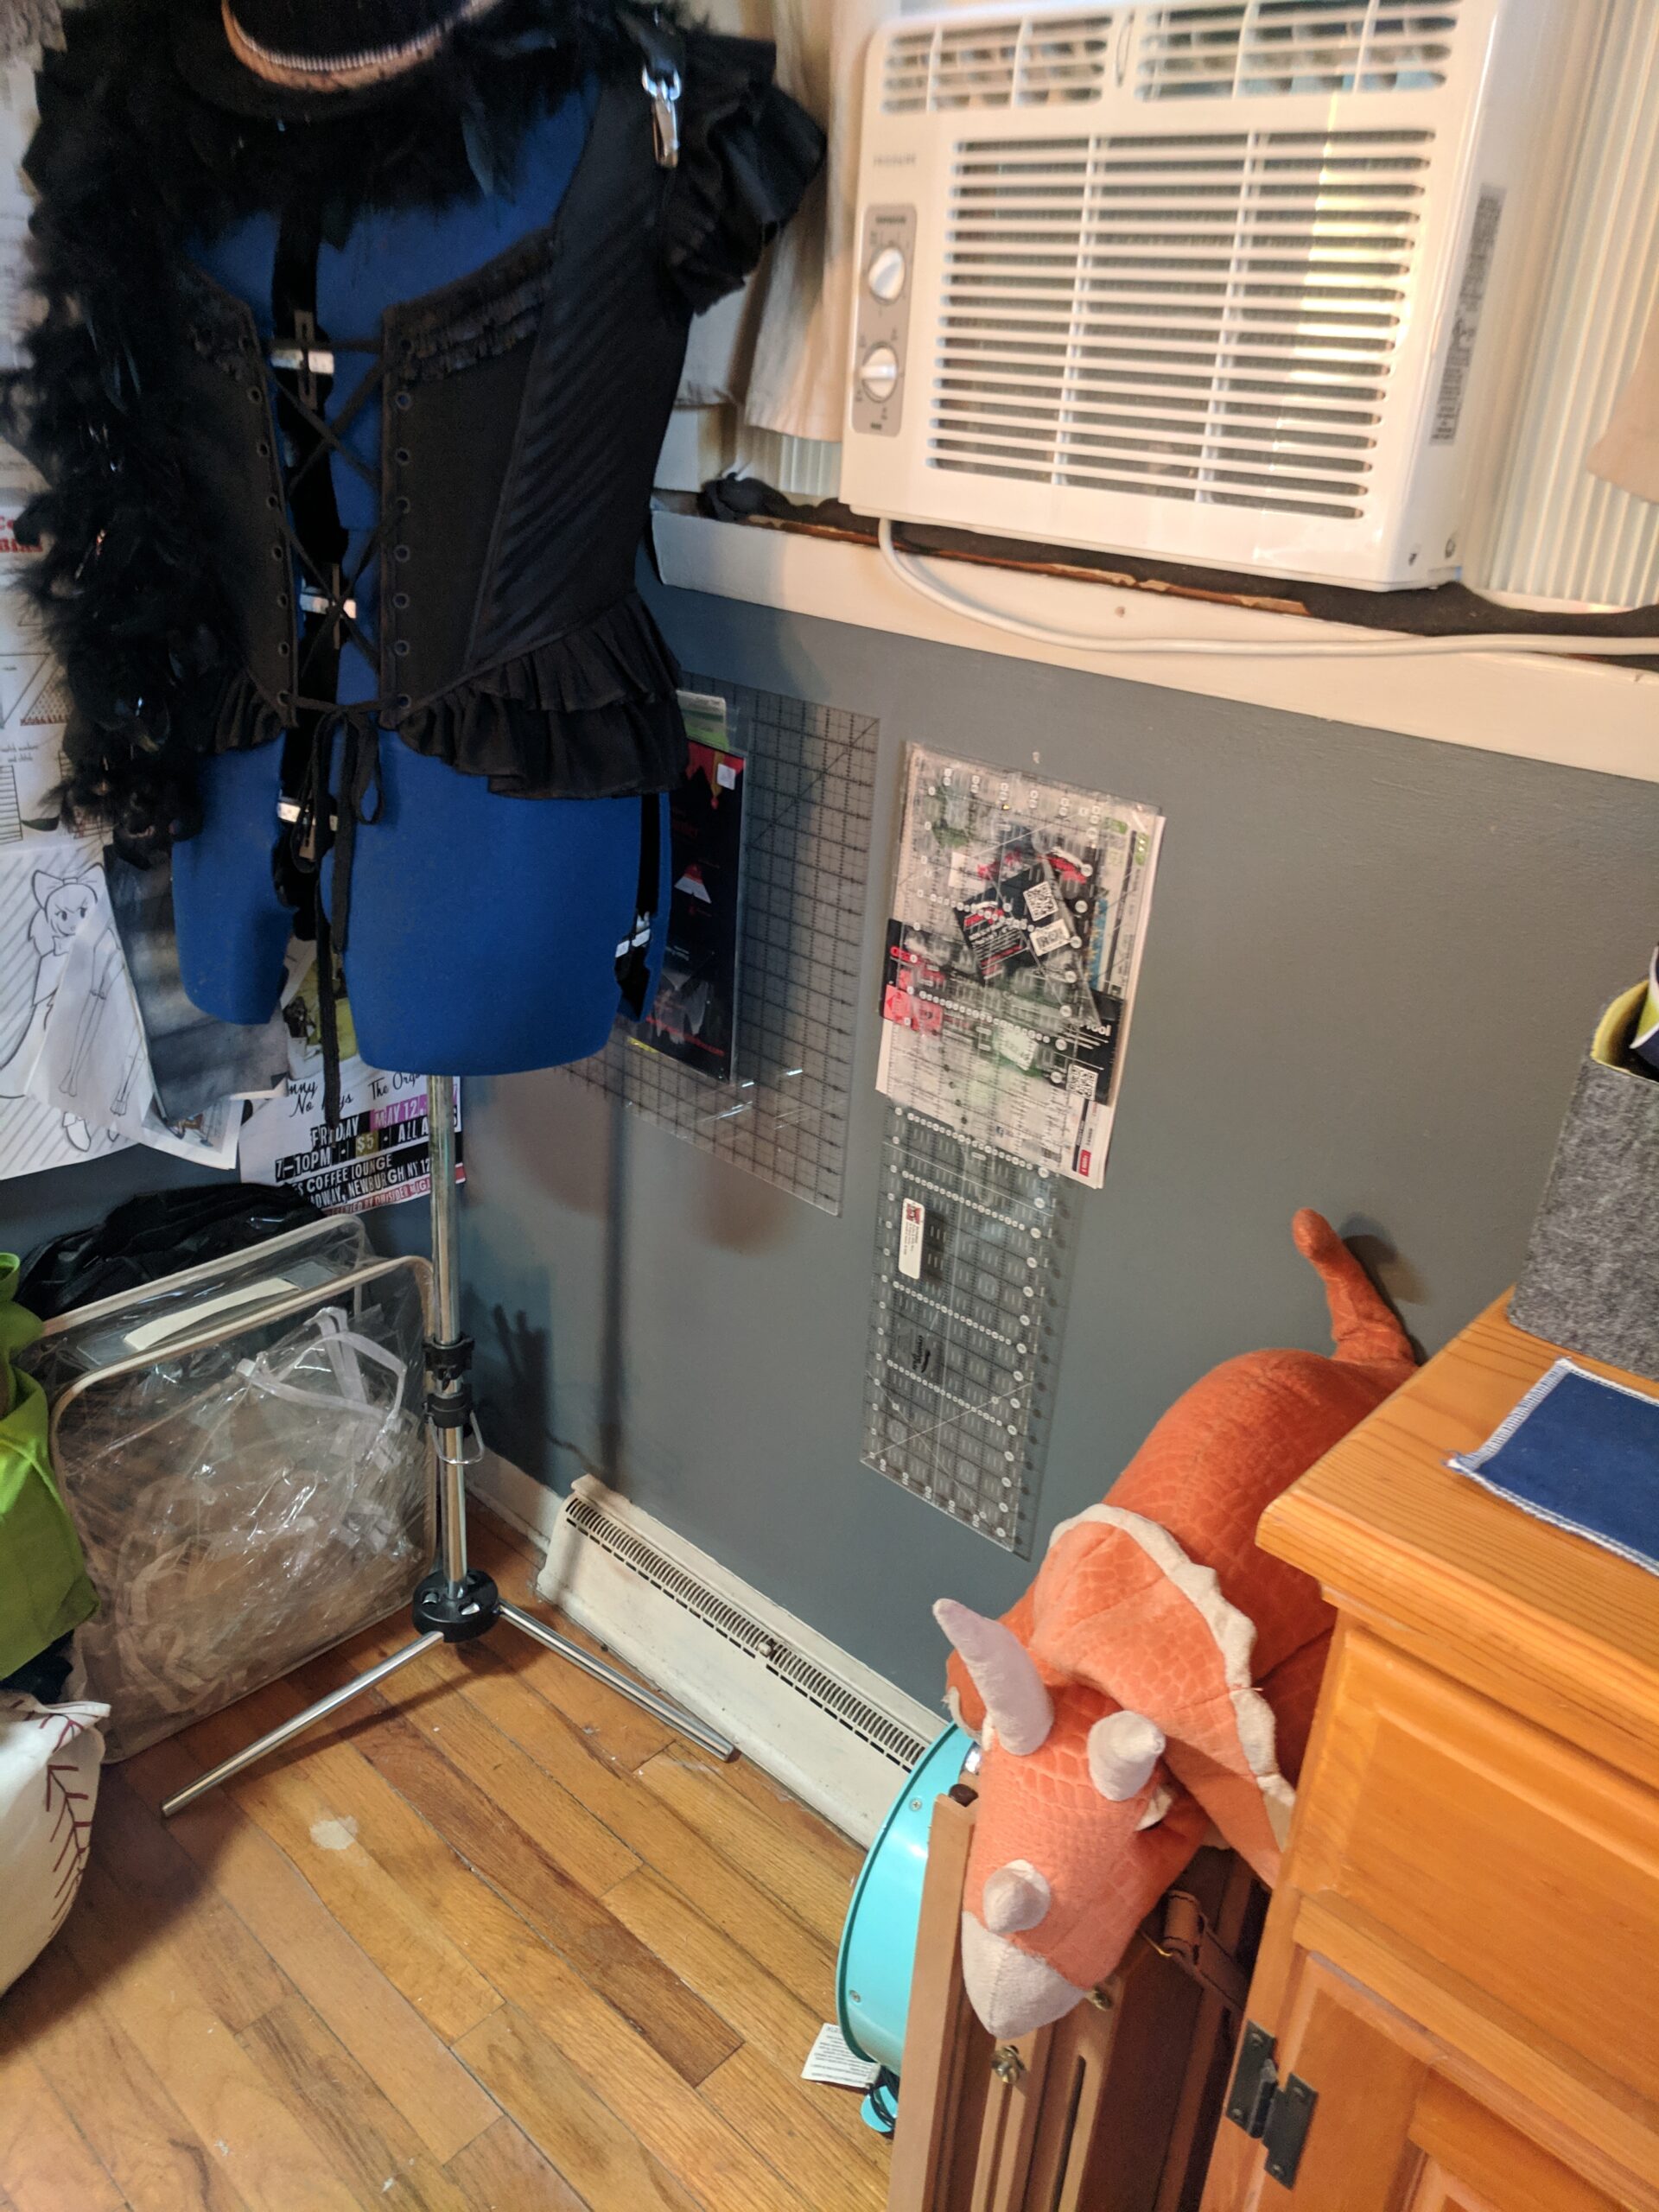

Left photo: This is my adjustable dress form and my bag of bags. lol This is the bag of those recycled curtain and sheets bags I mentioned earlier. I store them all in a large one so that I have them when I need them. Mounted on the wall is all of my rulers. Then you’ll see my Easel and a dinosaur stuffy that needed a little trip to the hospital. Center Photo: I have this taboret that took me years to find. I needed something on wheels, with drawers that actually fit under the table in the Studio. I had the measurement in my head for years. Finally, we were away on a work trip and had to run into an Office Depot out of state and there it was….the exact size I needed. I bought that thing so fast and threw it in the back of the car. It travelled back to New York from North Carolina. Anyway, it fits my mini ironing board on it perfectly, or a machine manual or pattern, and then when I’m done for the day, the project goes into the top drawer and the taboret goes back under the table. Right photo: This has three drawers. The top drawer is for the current project I’m working on, the other two hold some WIPs.
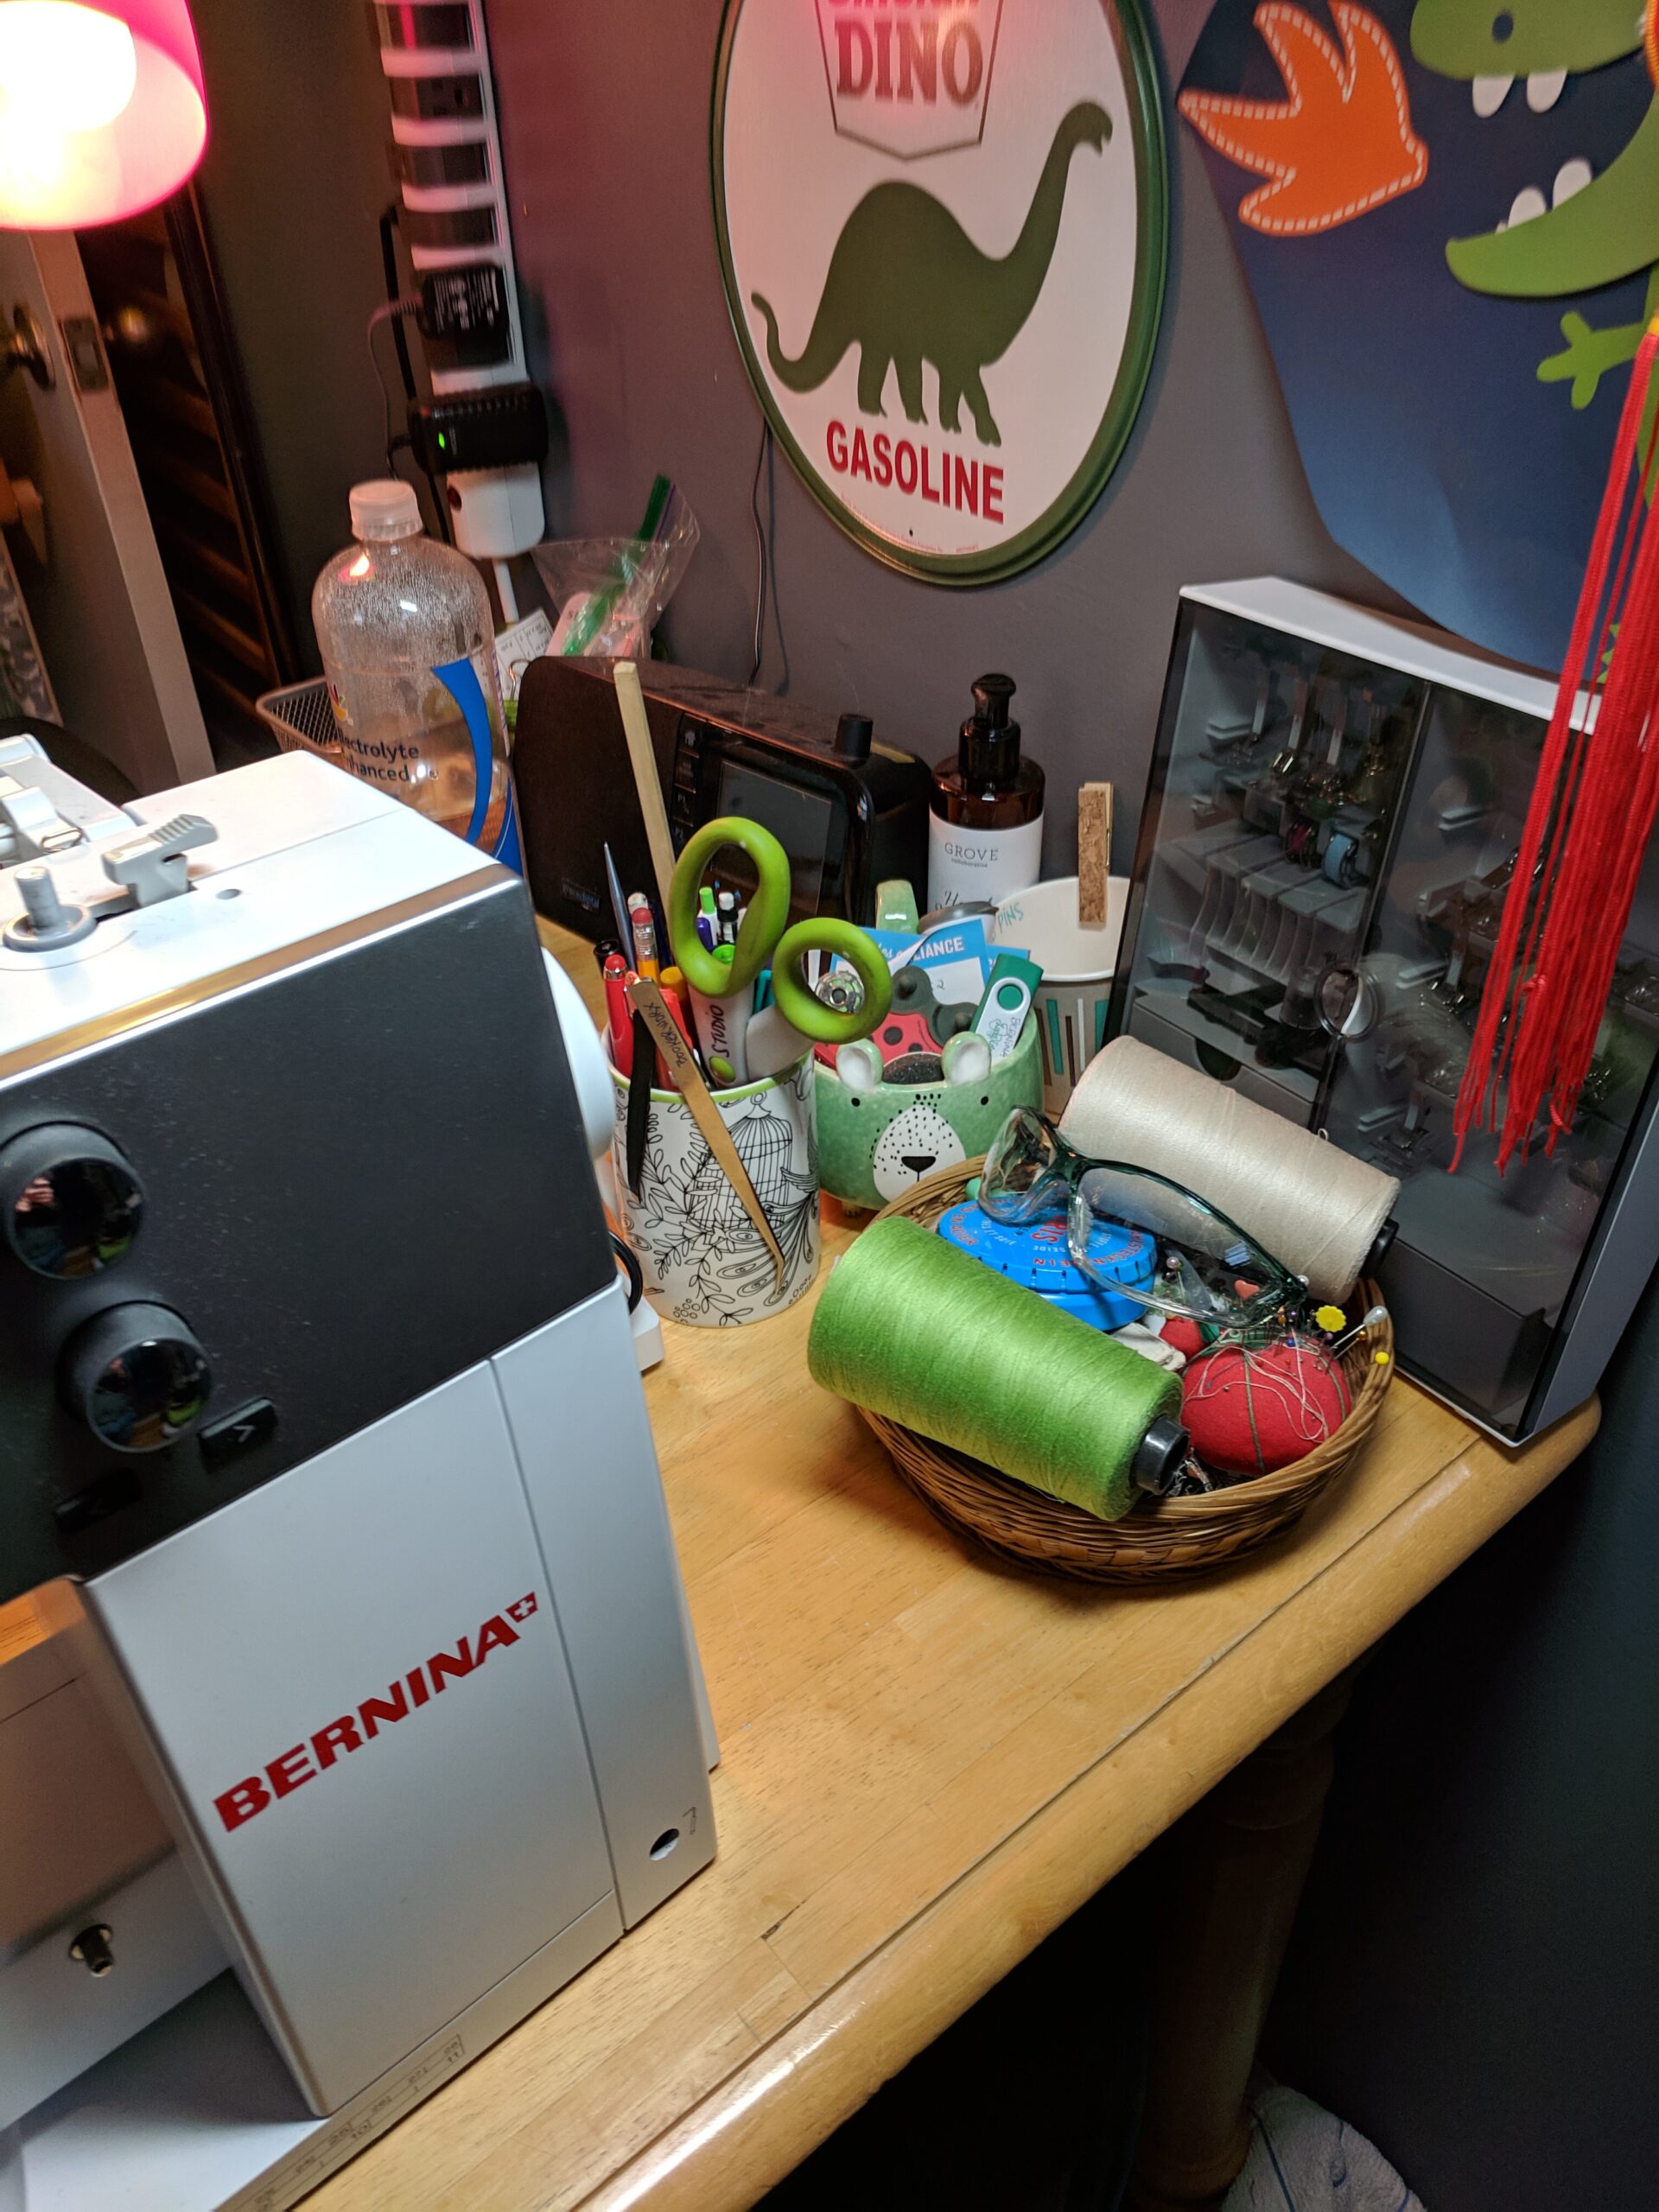
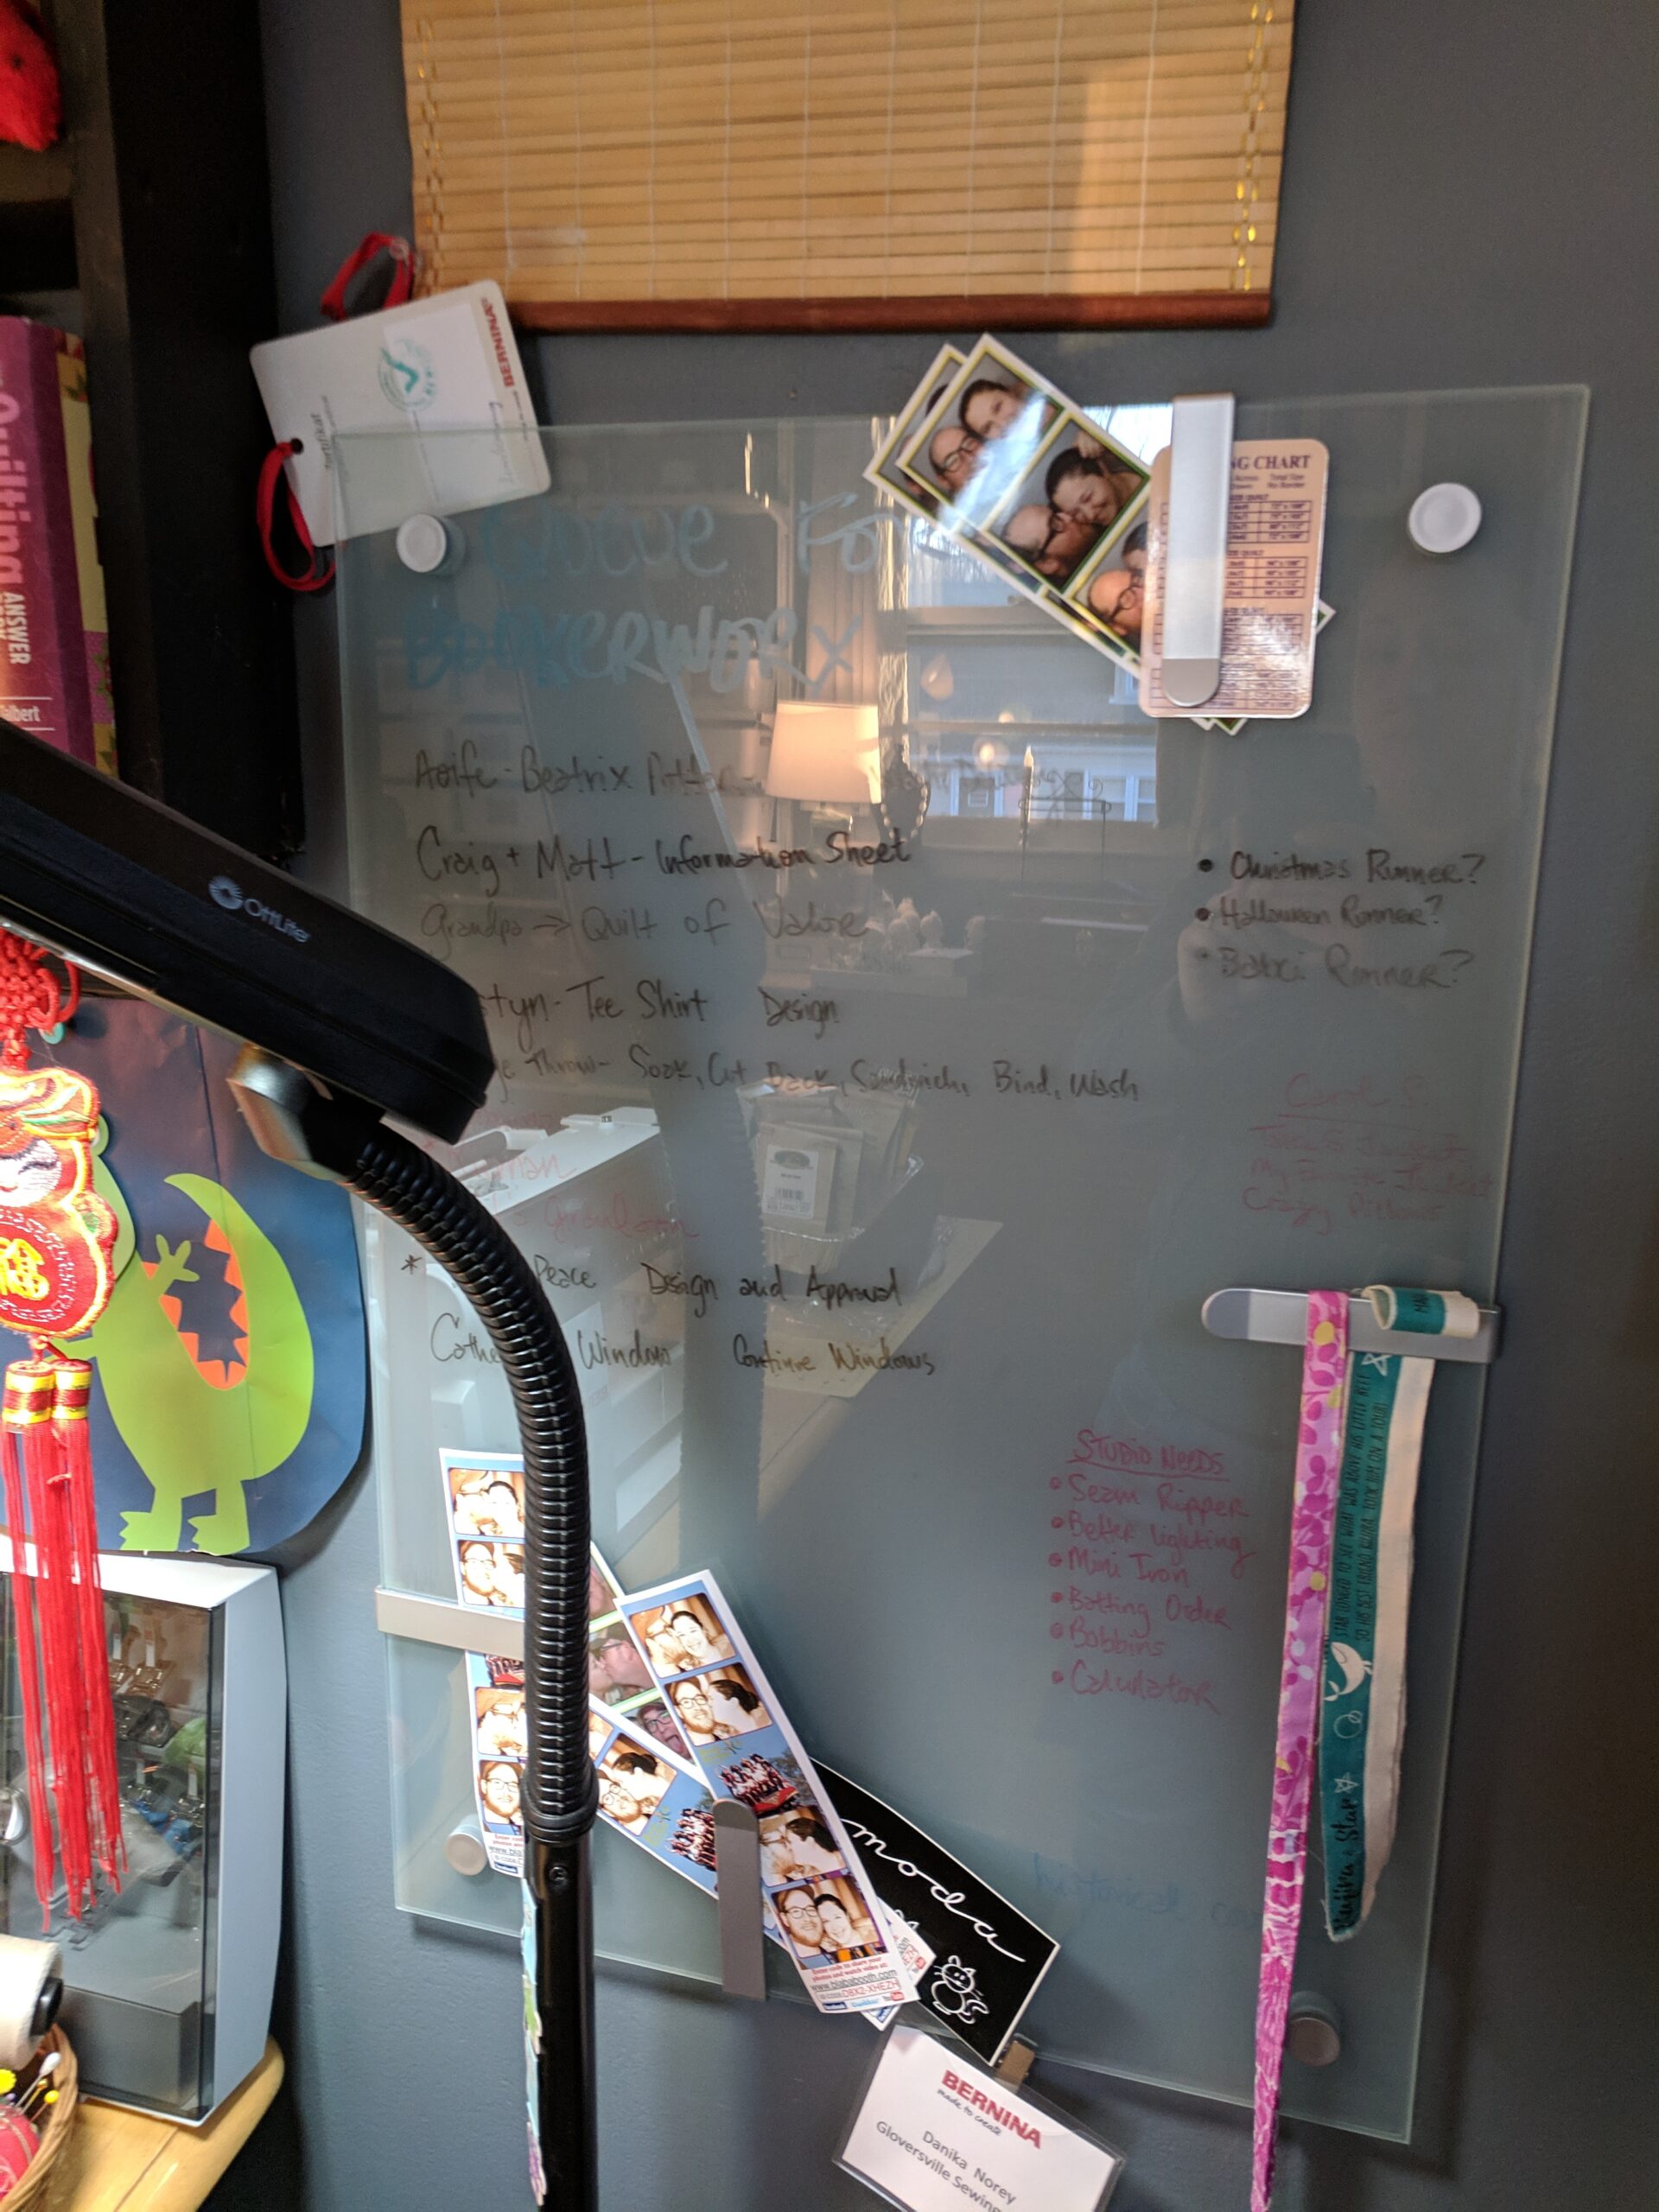
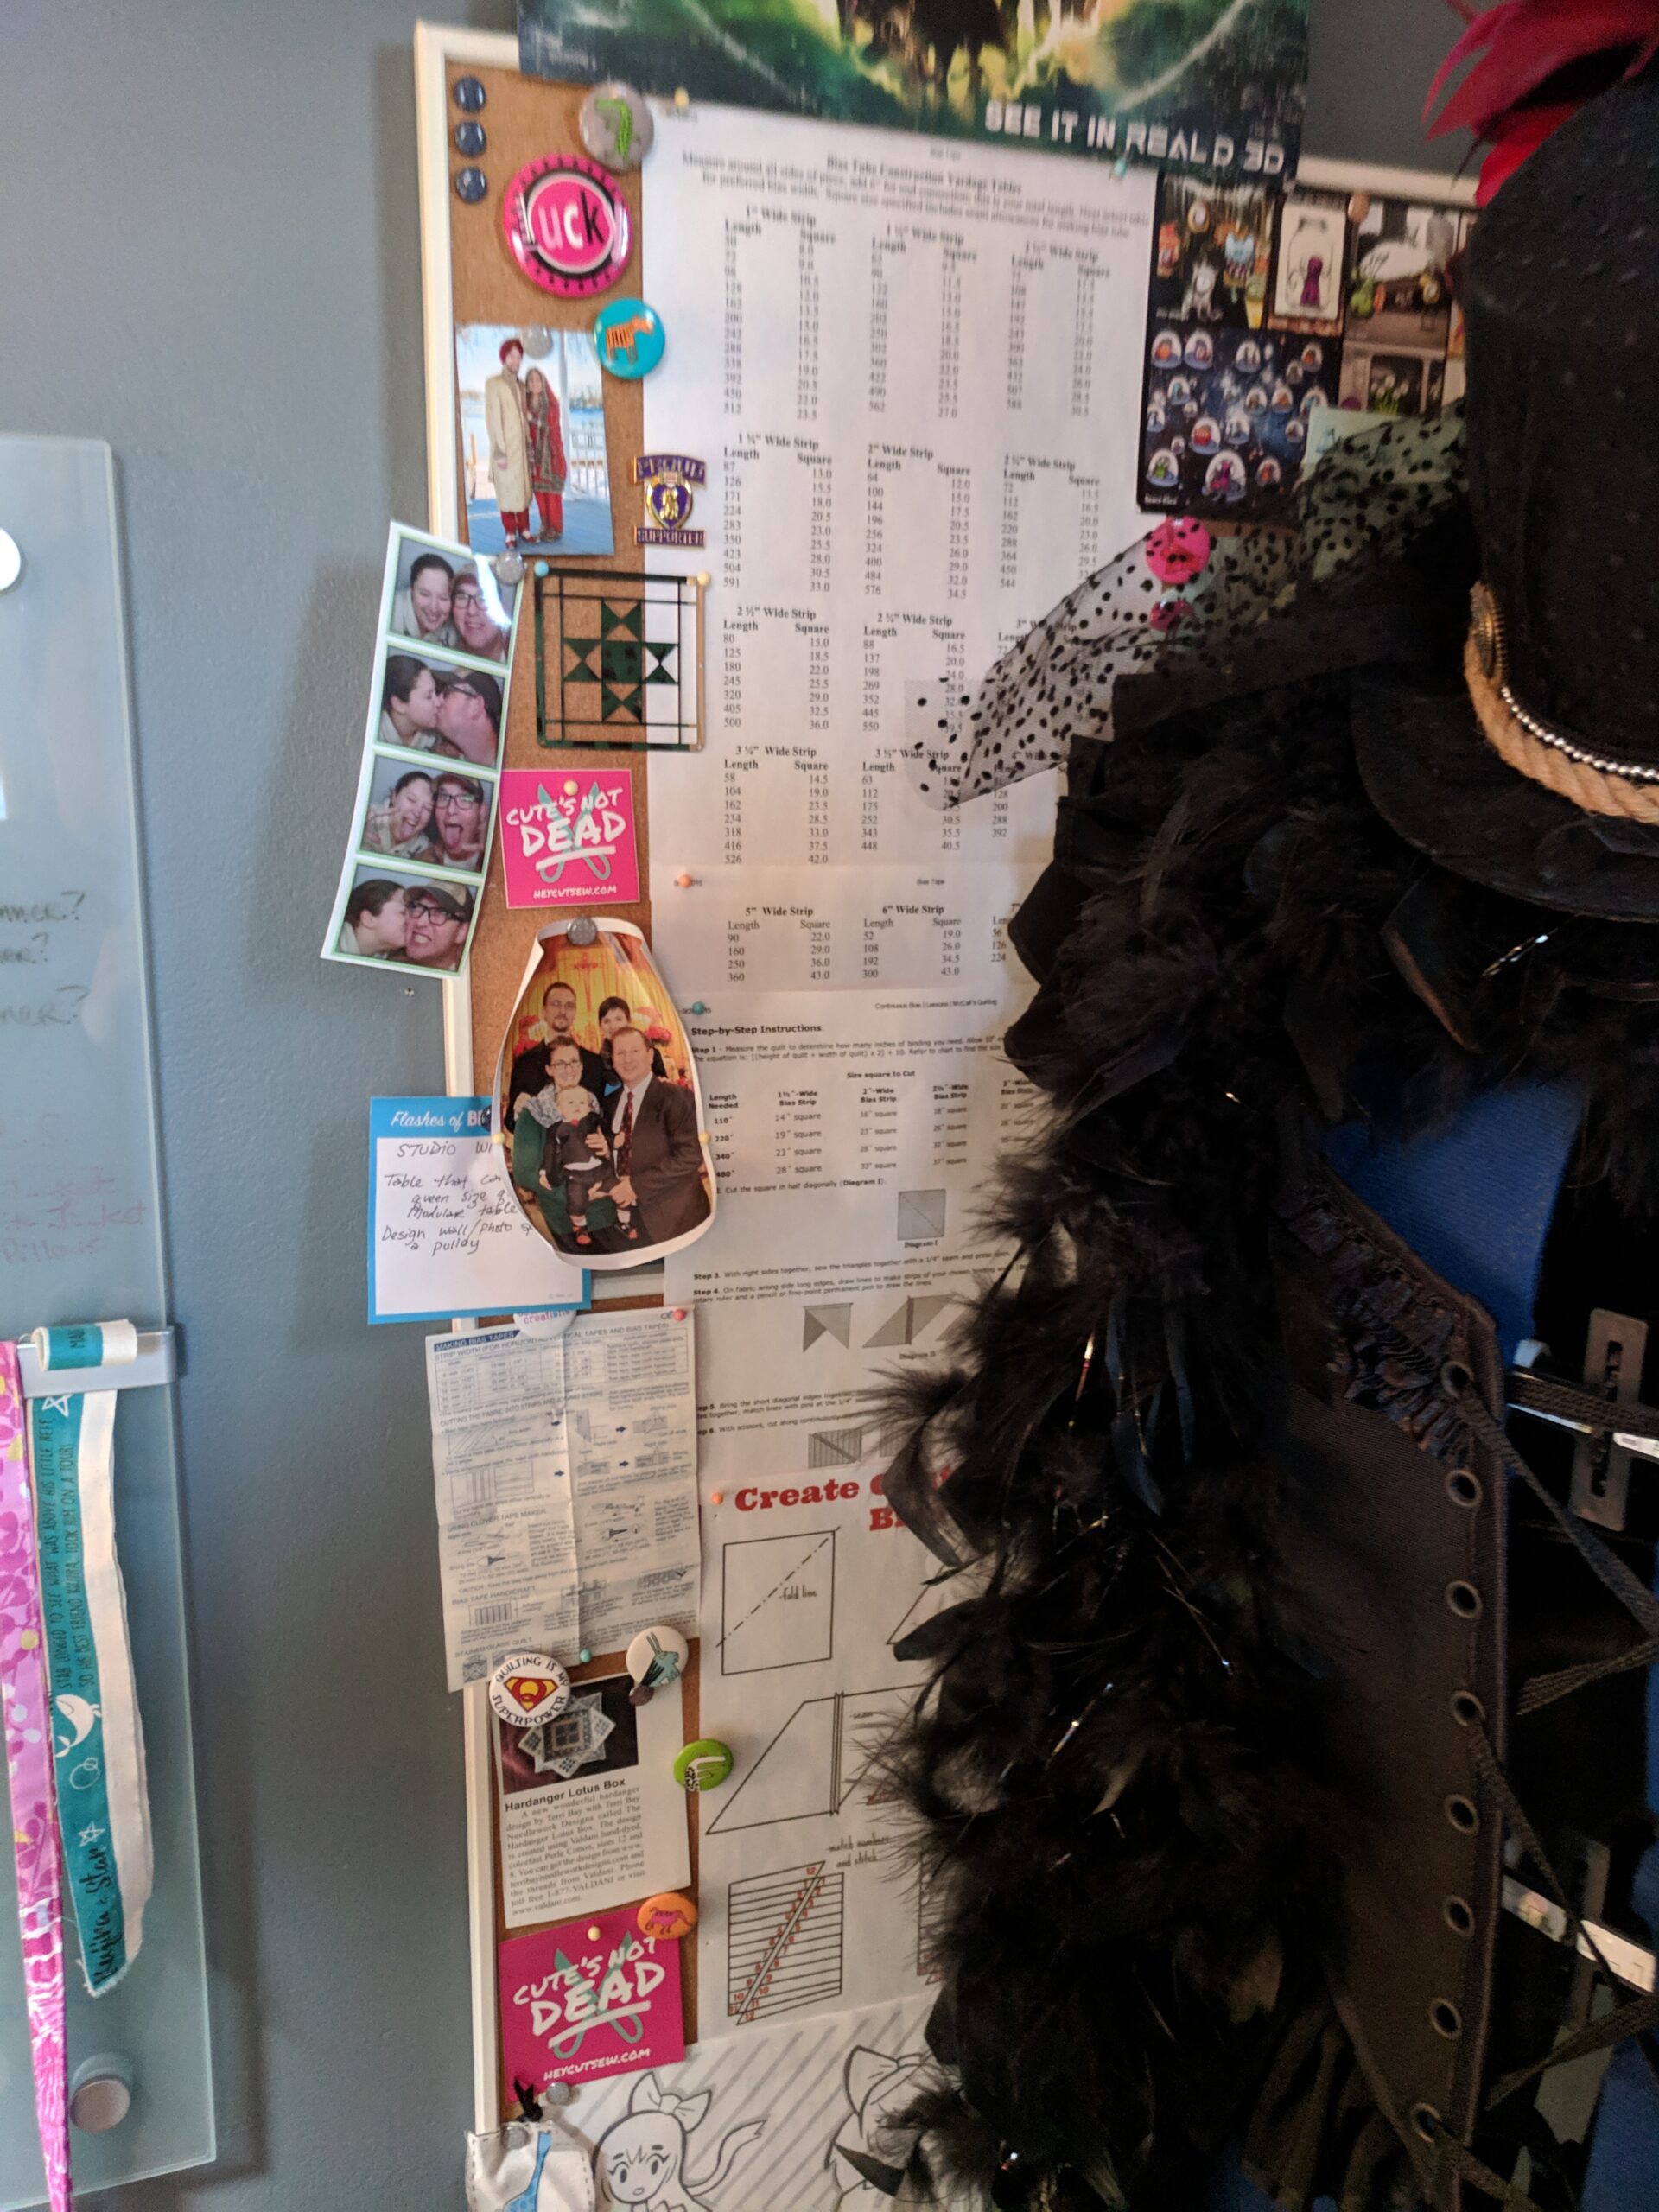
Left Photo: Here’s my Bernina Barbie box holding all my feet for Betsy, a basket for thread and straight pins and other used-all-the-time notions, my little cup of pens, tweezers, chopsticks, scissors, etc and my radio. Center Photo: My queue and Ott-Lite. Right Photo: My bulletin board with various references and fun things to inspire.
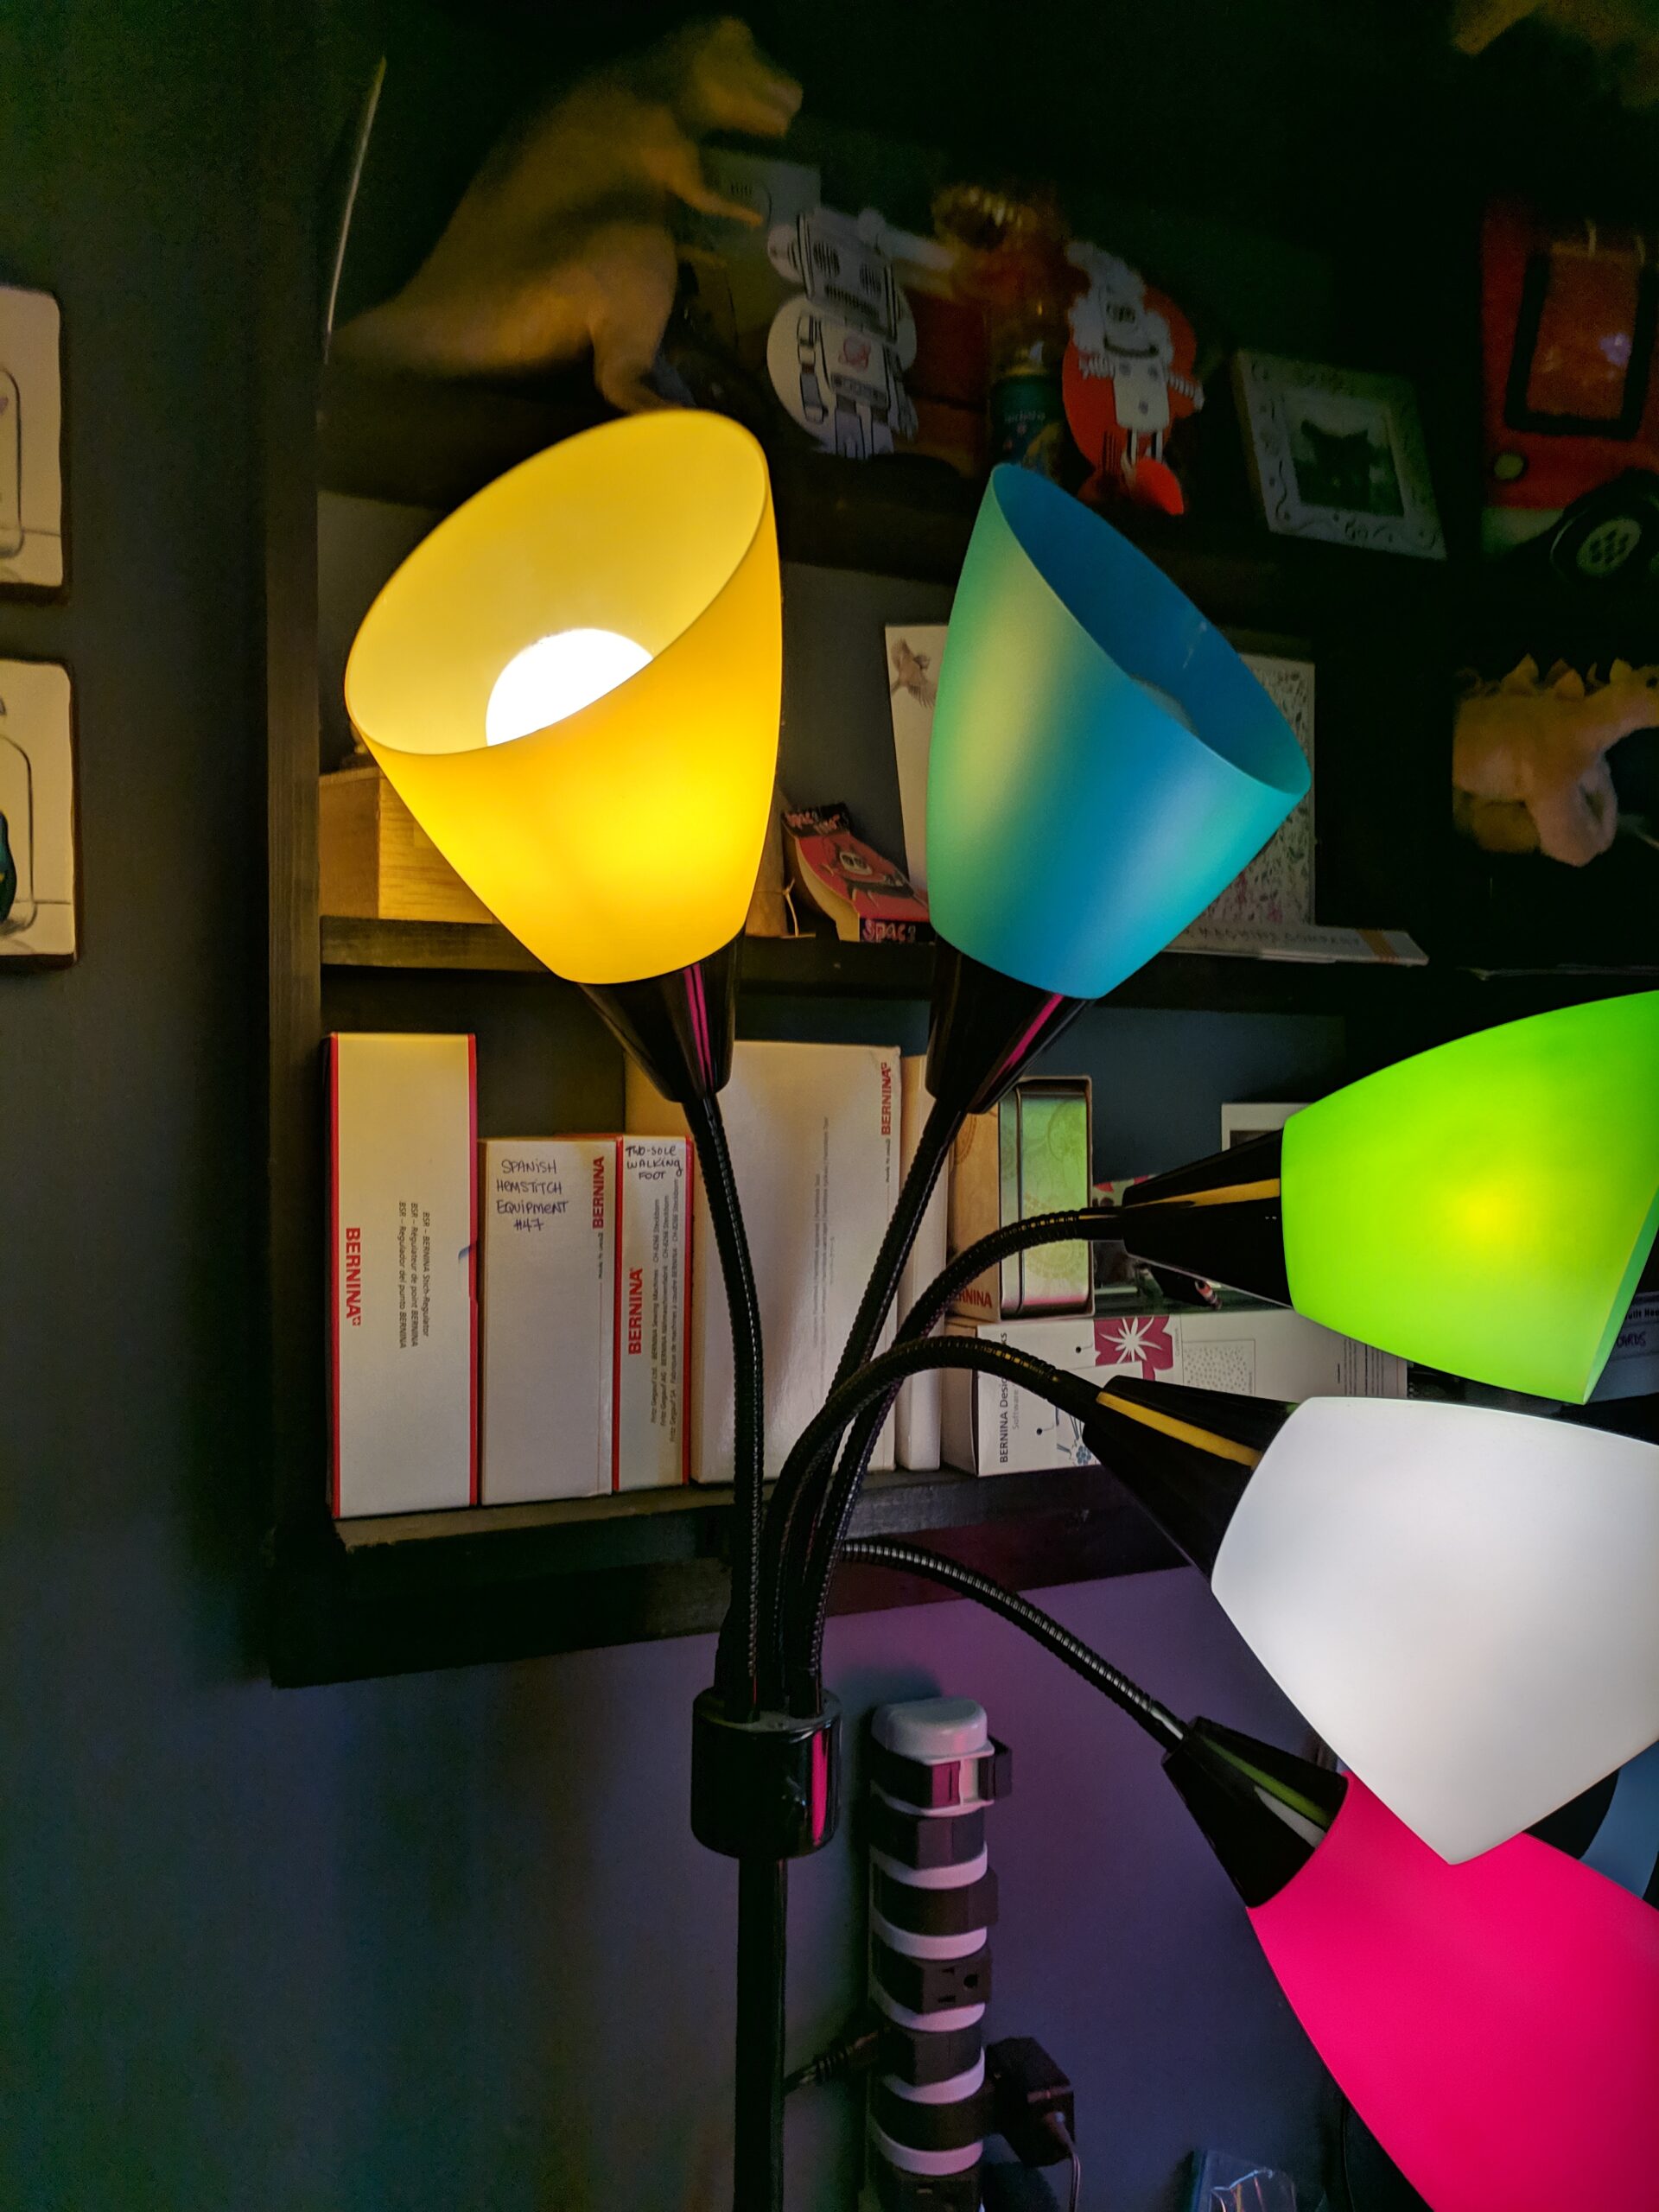
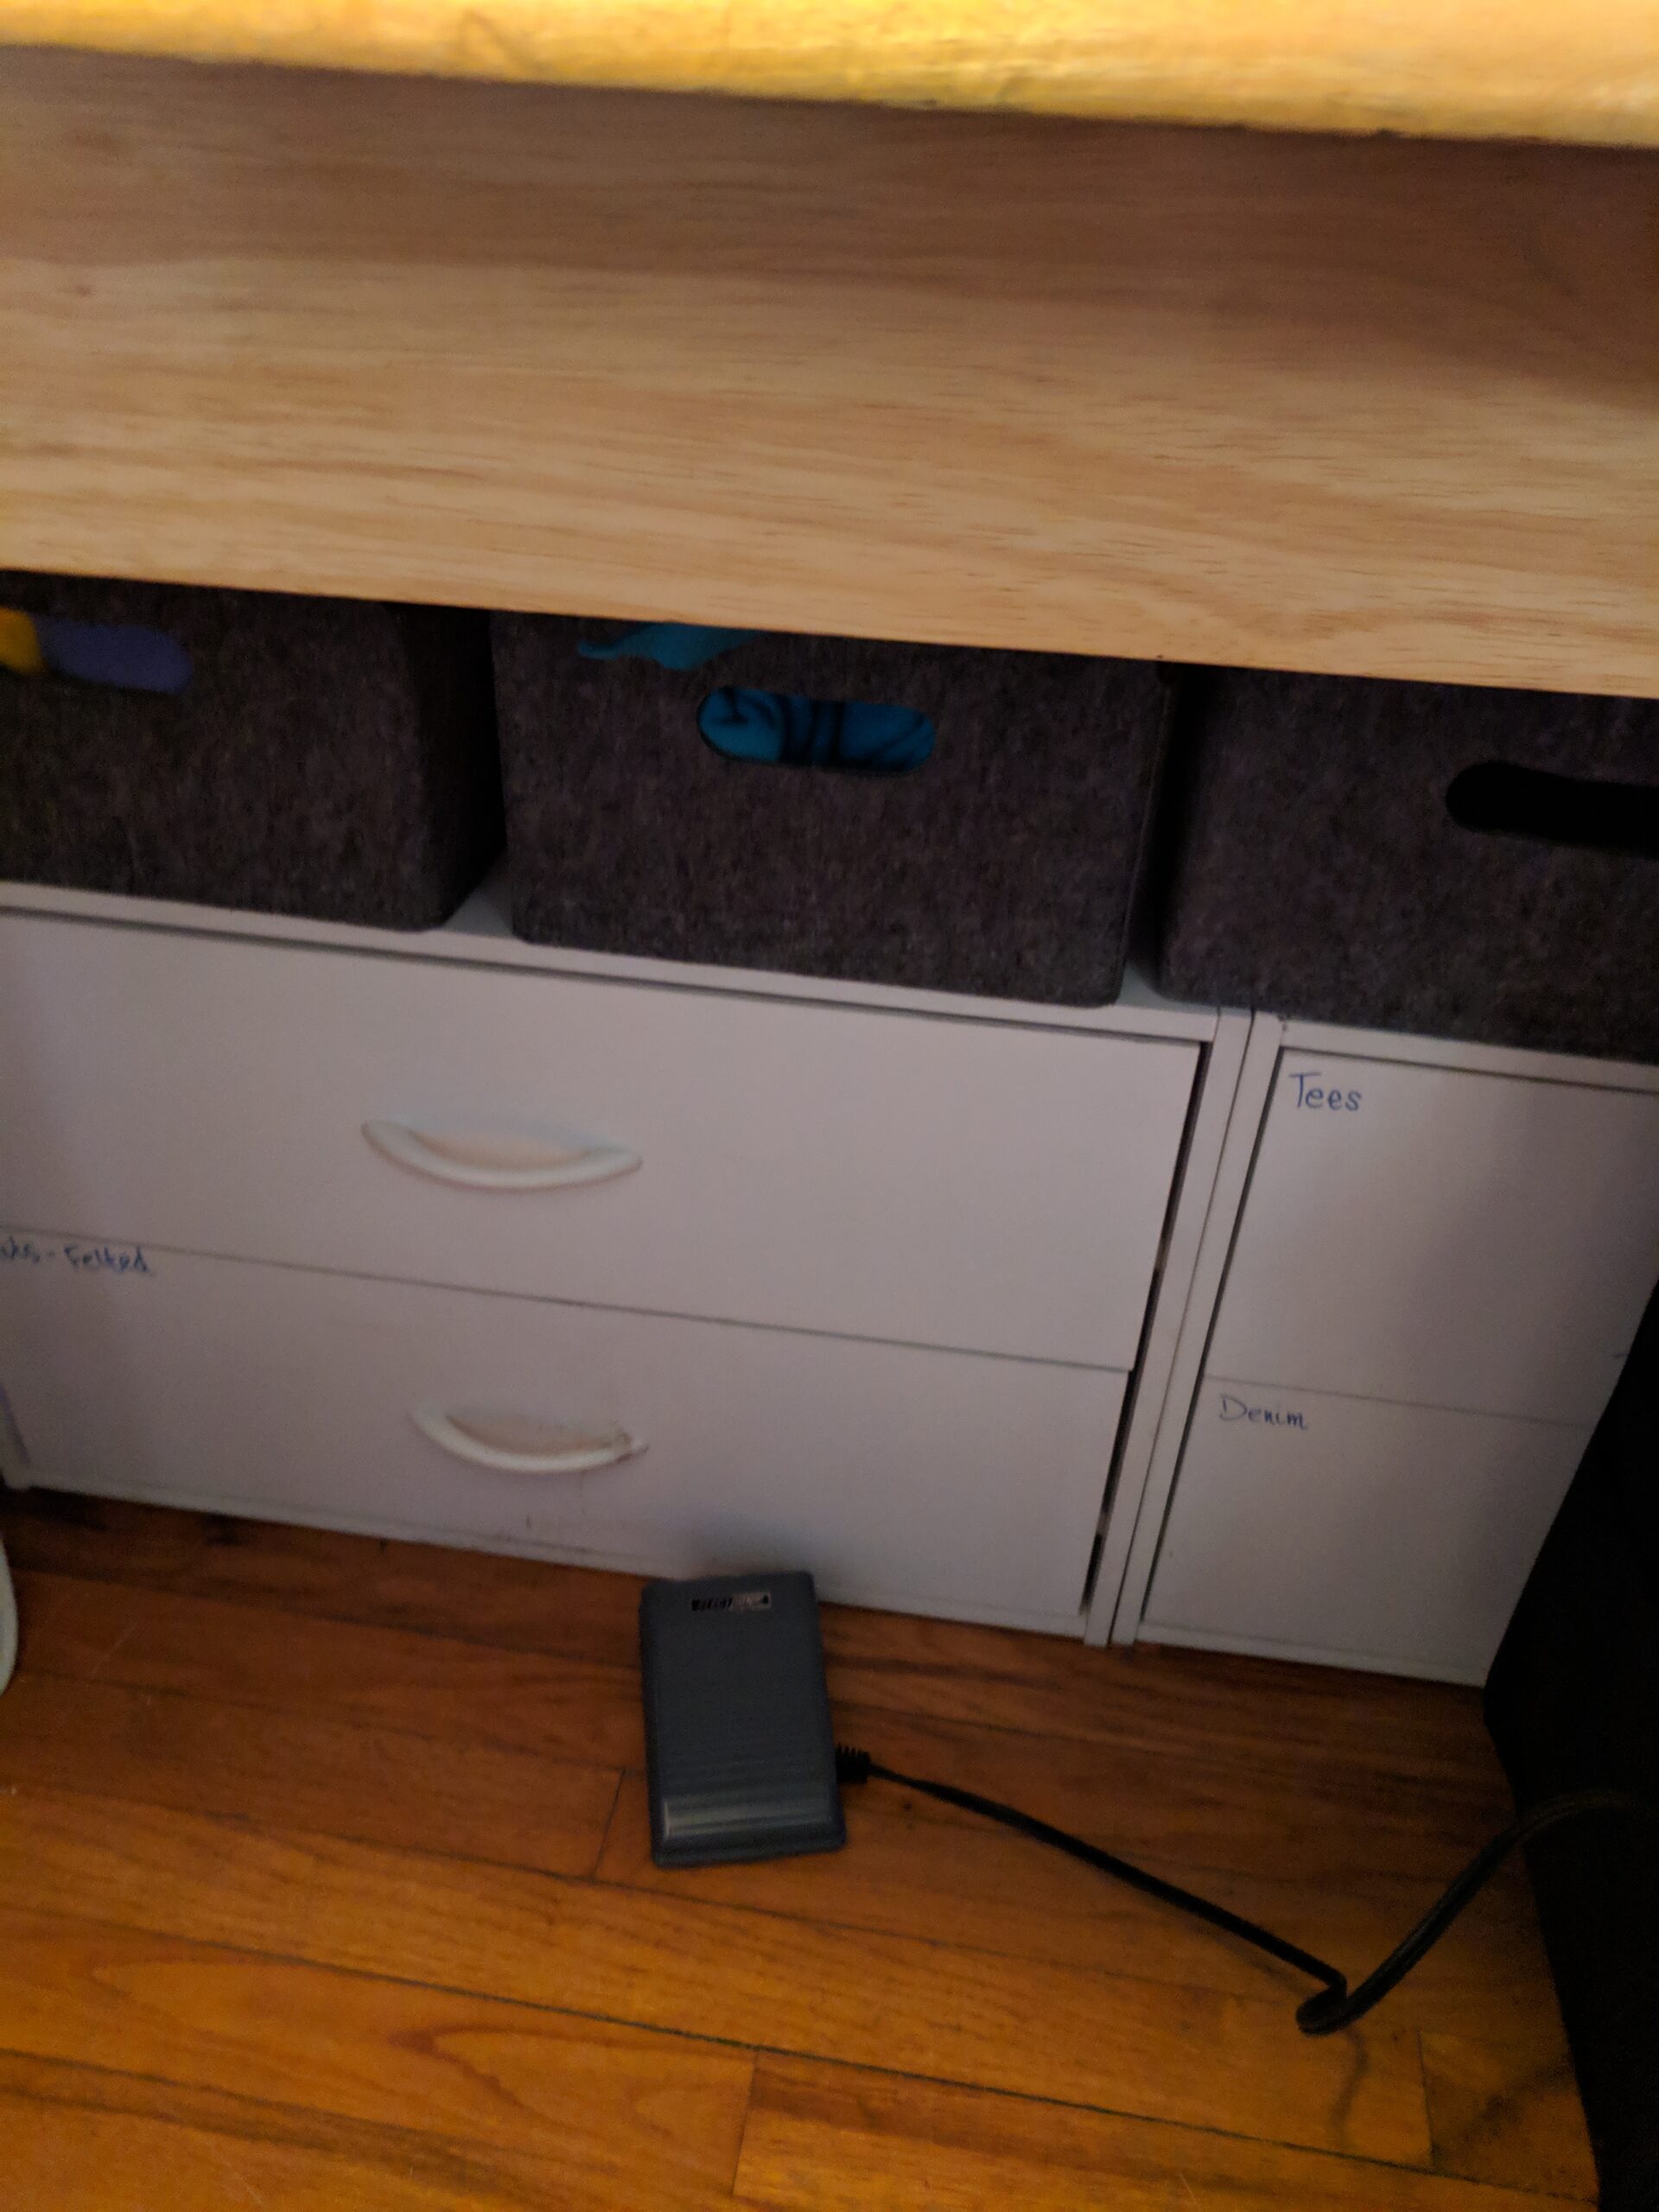
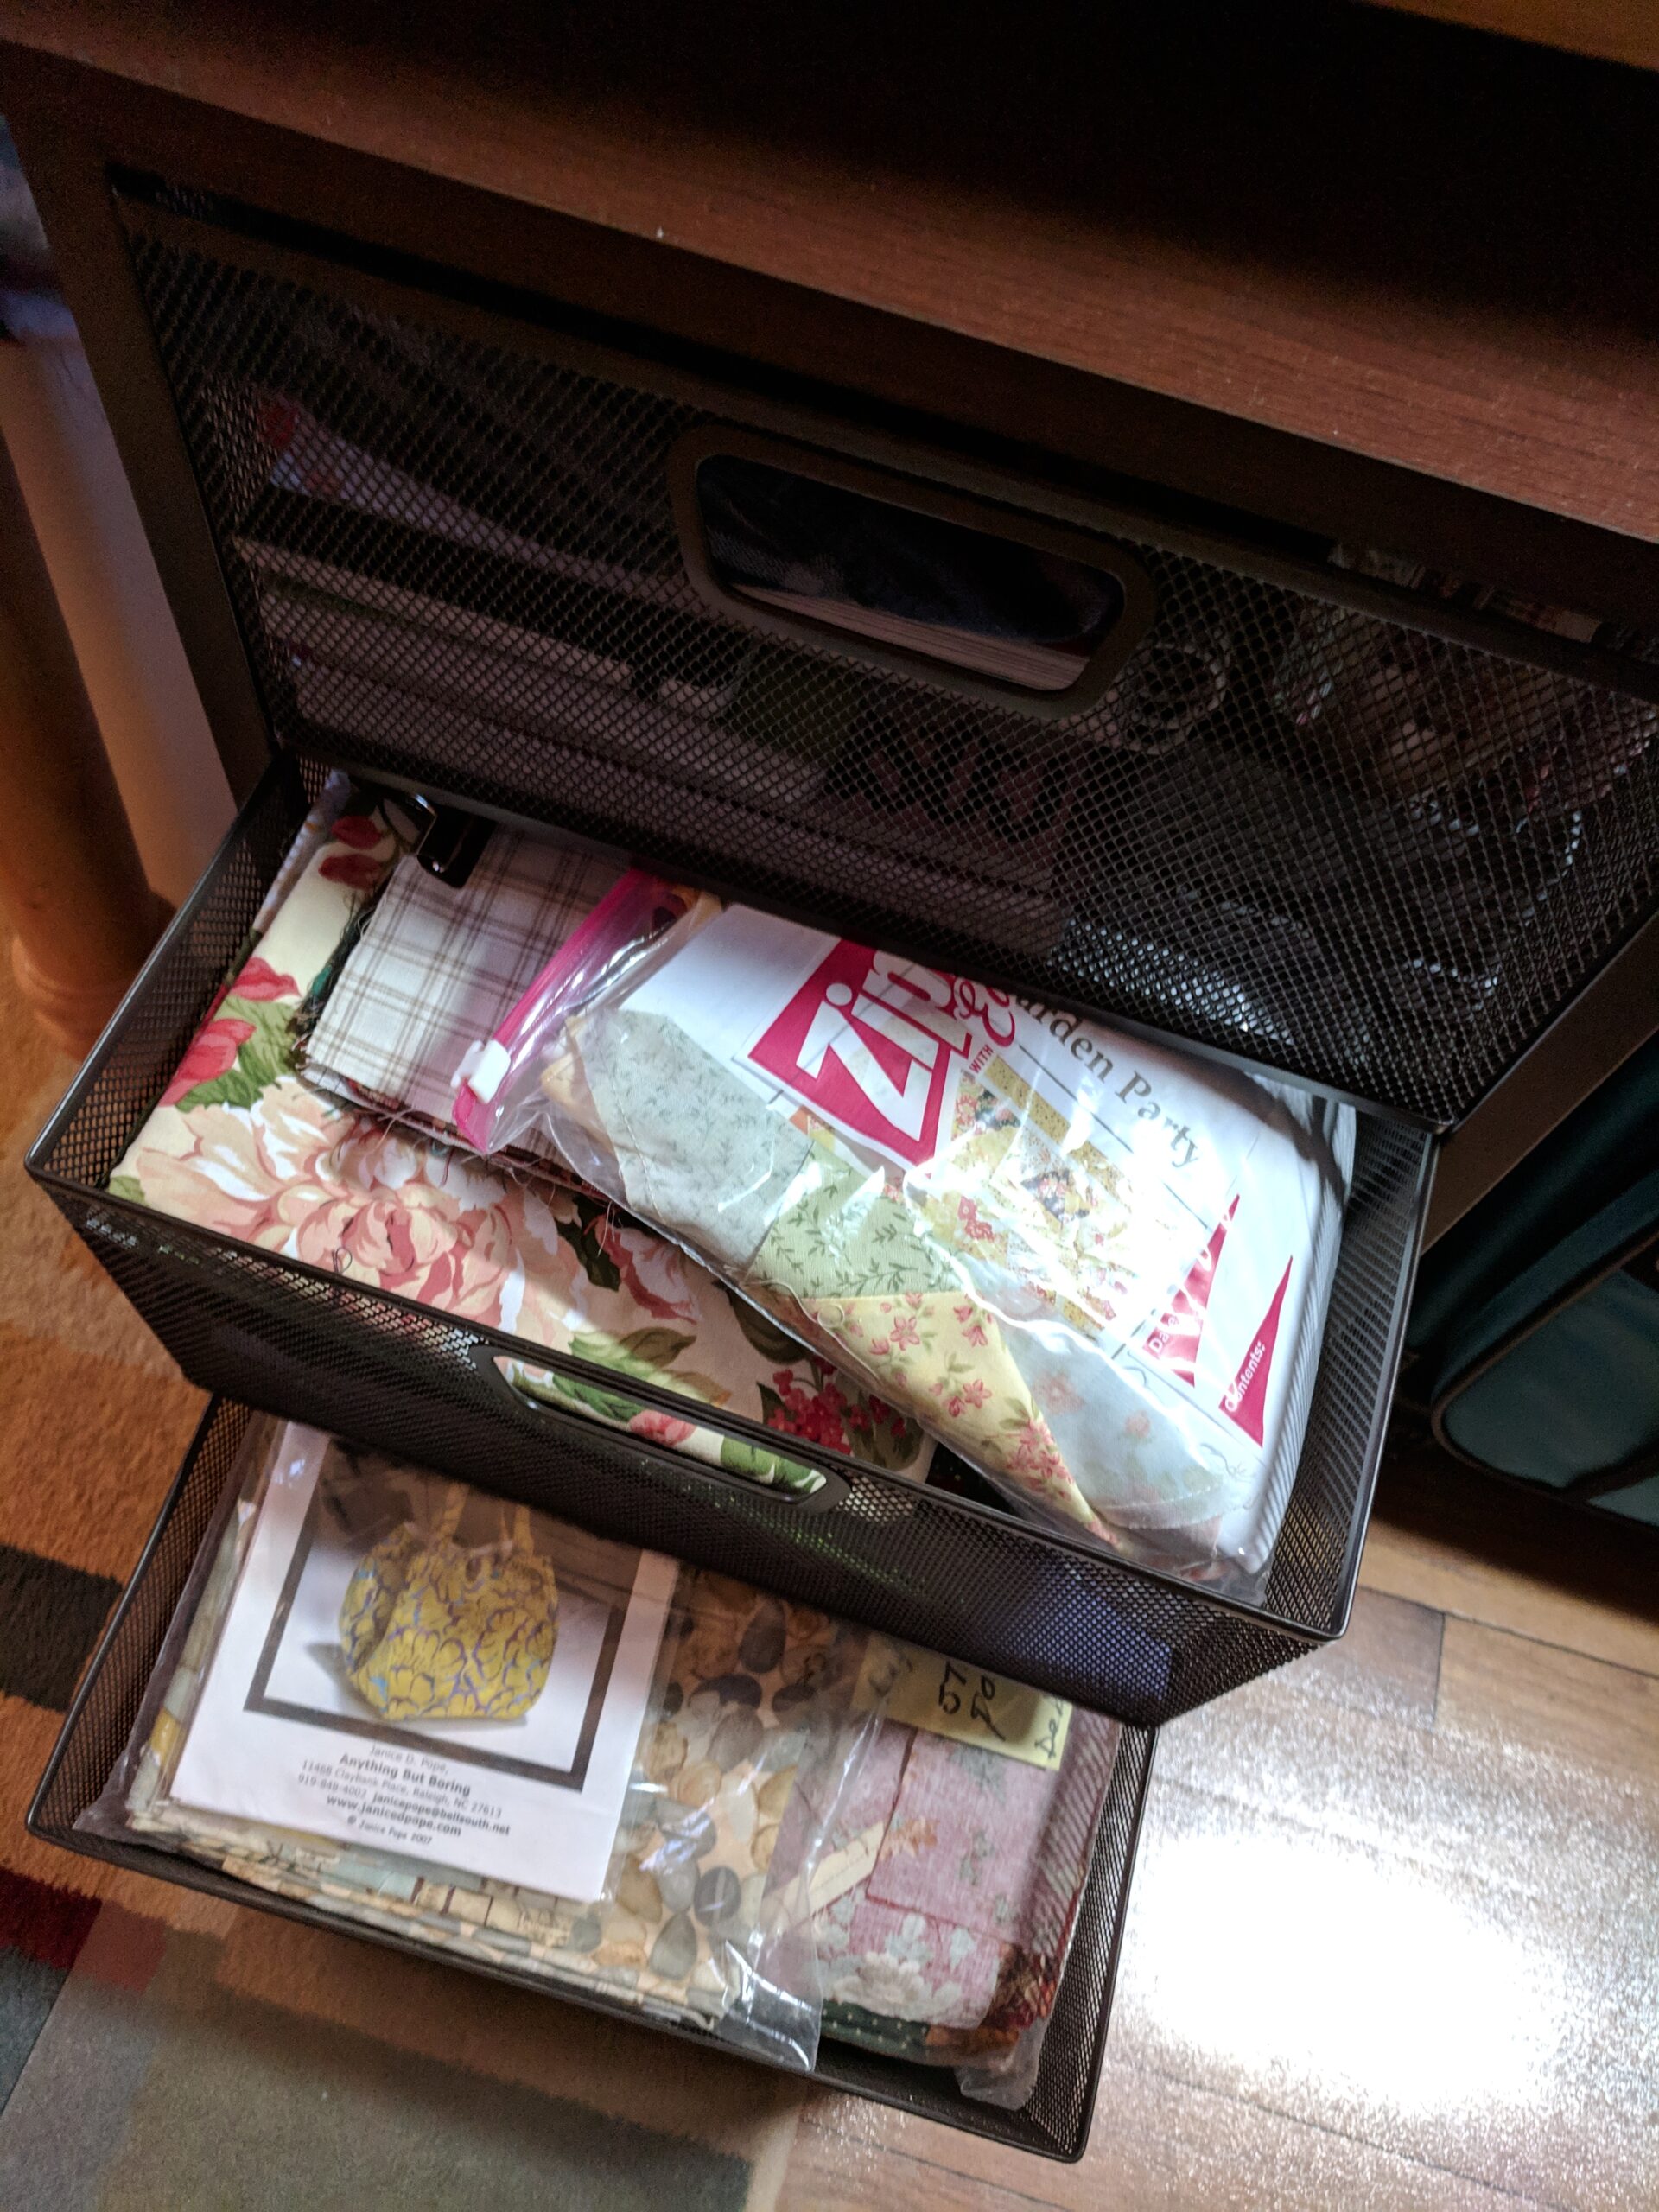
Left Photo: This is a built-in wall shelf above the table that has mostly trinkets and chotchkes, but also the rest of the specialty feet and accessories for Betsy….oh, and a fun lamp. Right Photo: Under the table is more storage. I have three of these closet organizer drawers, as well as baskets across the top. For the most part, this holds all my non-cotton fabrics. Also, along this little wall is my embroidery module for Betsy.
Sorry for the insanely long post, but there it is. There’s the old studio. I’ll eventually share the new space with you, once it gets a bit more settled and unpacked.