With Every Stitch a Story: An Entire Quilt From Start to Finish, Part 4: Test Block
Quilt Countdown: 28 Days
As you know, I am creating this Quilt using a beautiful pattern by Sharon Holland called Firelight. I have altered the pattern slightly, in that, I am making it larger than the pattern’s largest size….so not a real modification, but definitely some adjustments with yardage, cutting, etc.
If you’ve been following along, this Quilt consists of 25 blocks, and each block has two sets of four-at-a-time Flying Geese and two sets of eight-at-a-time Half Square Triangles.
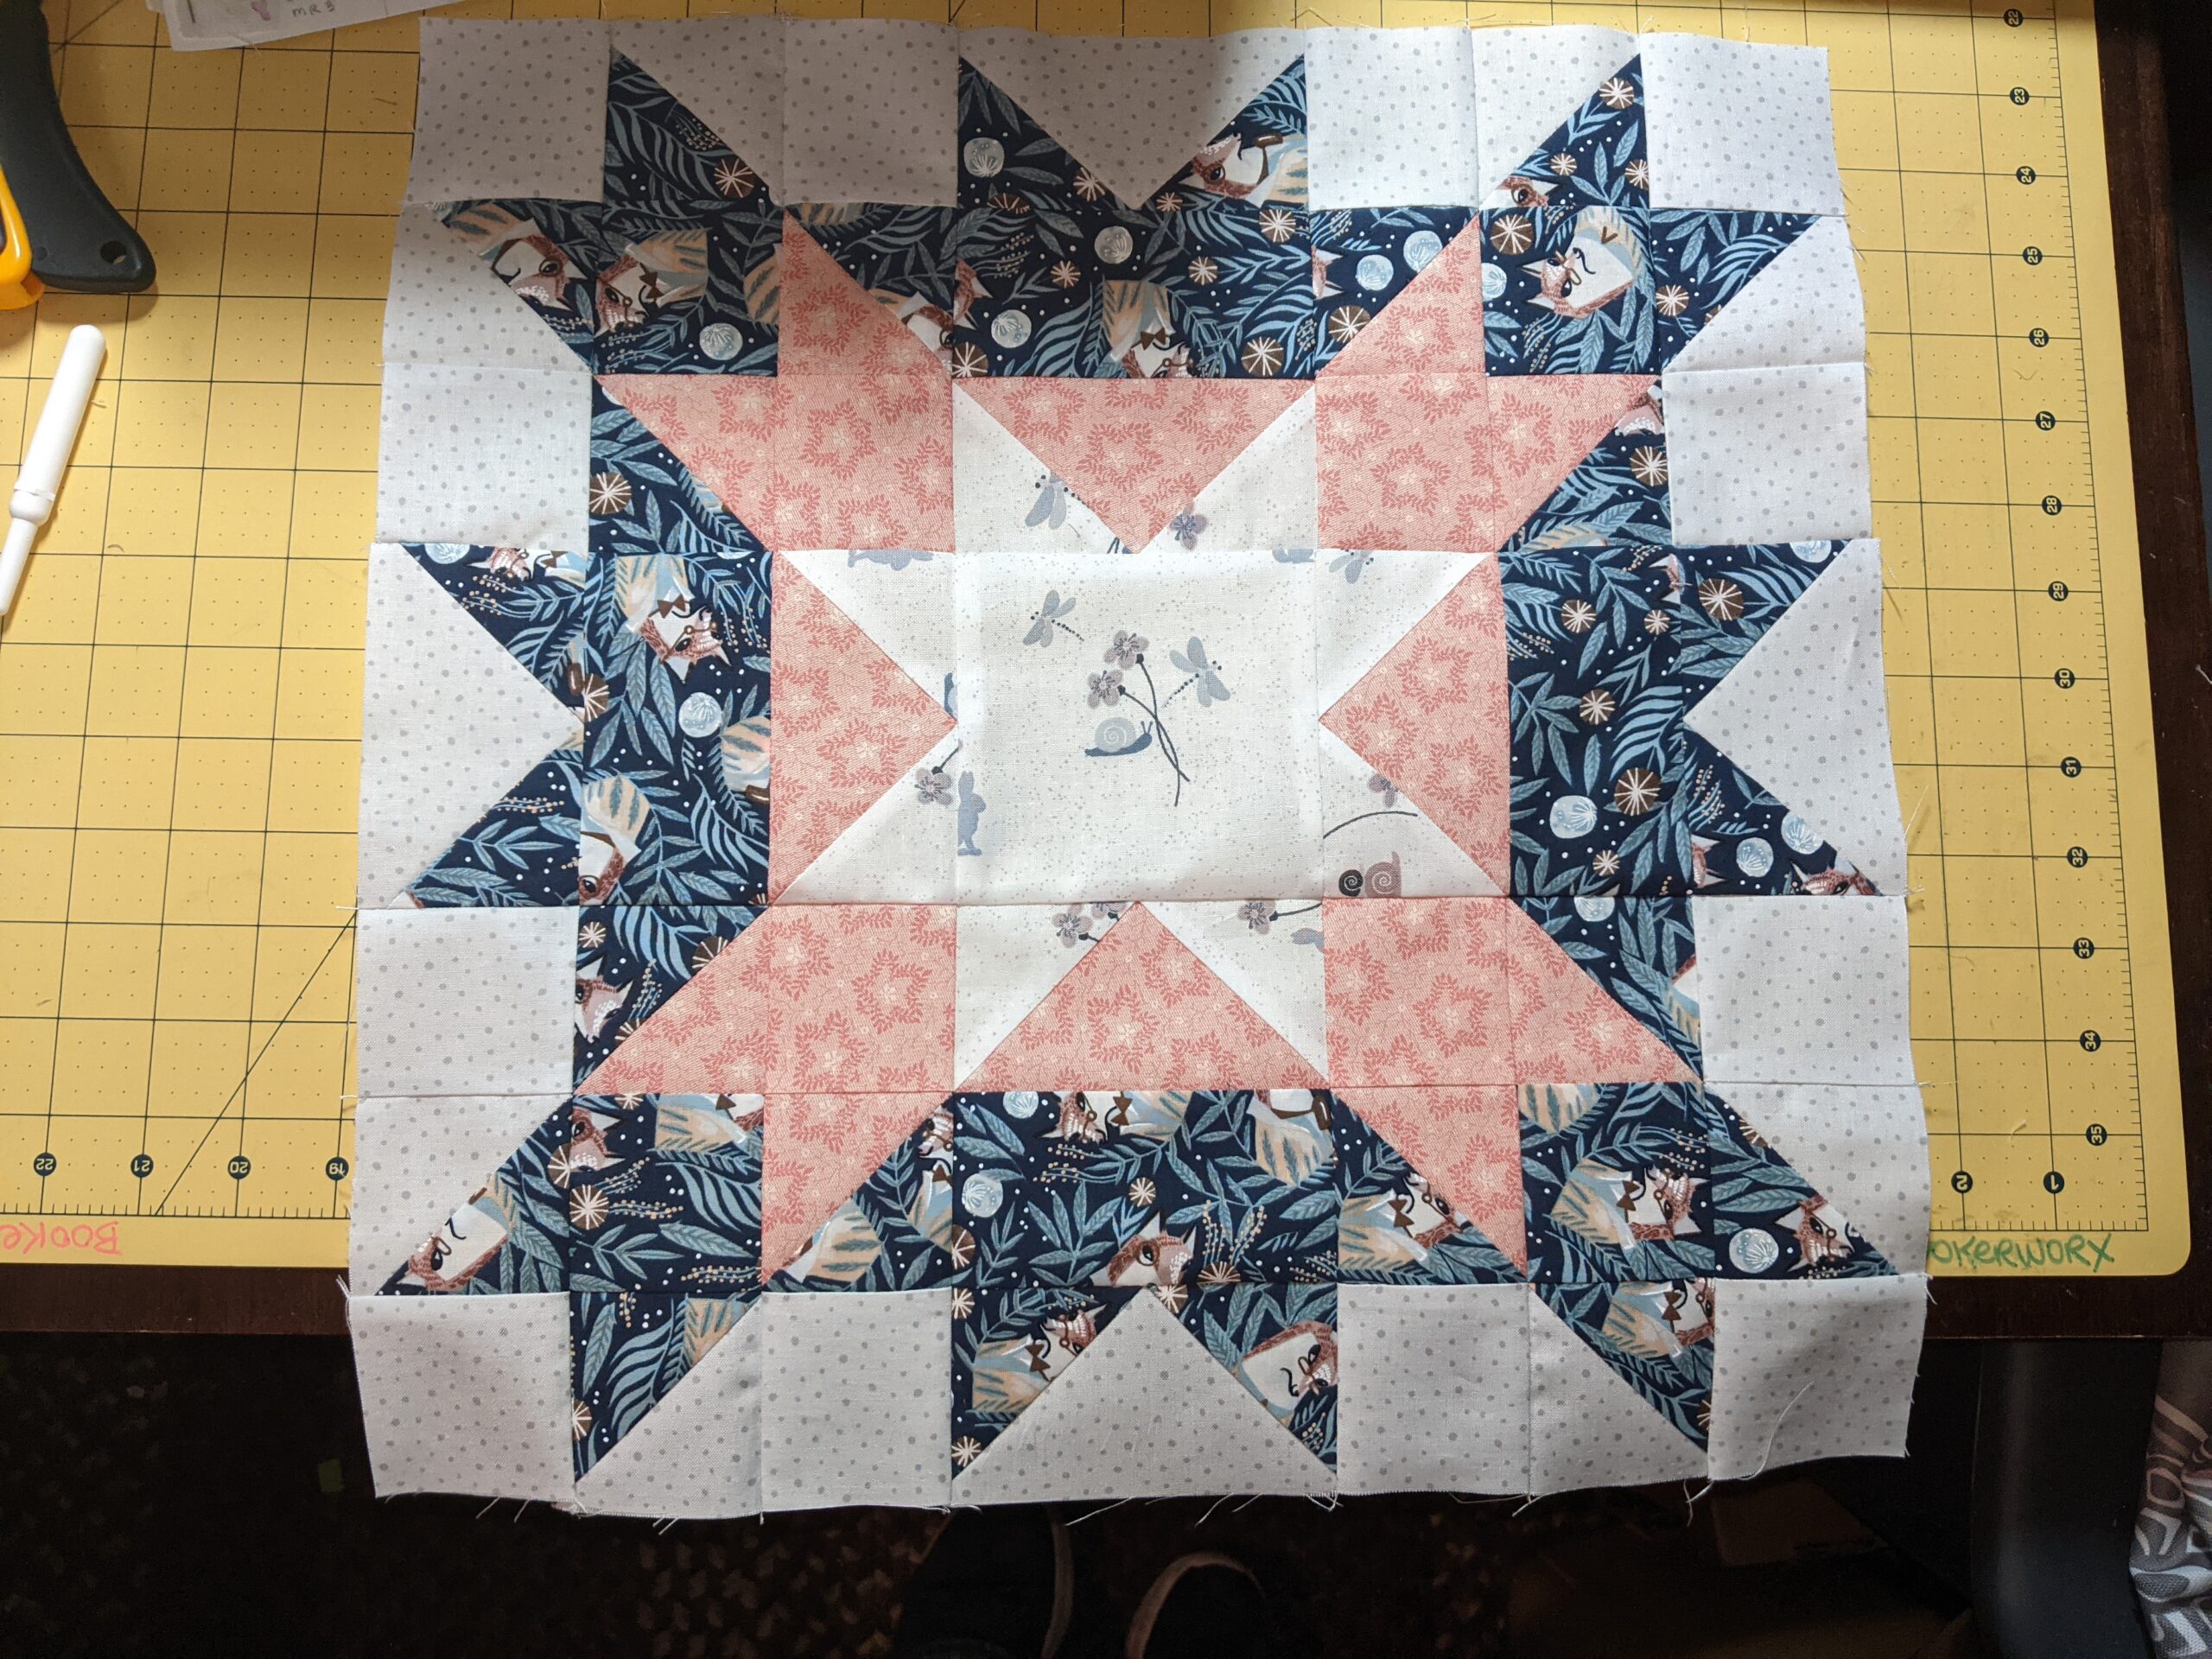
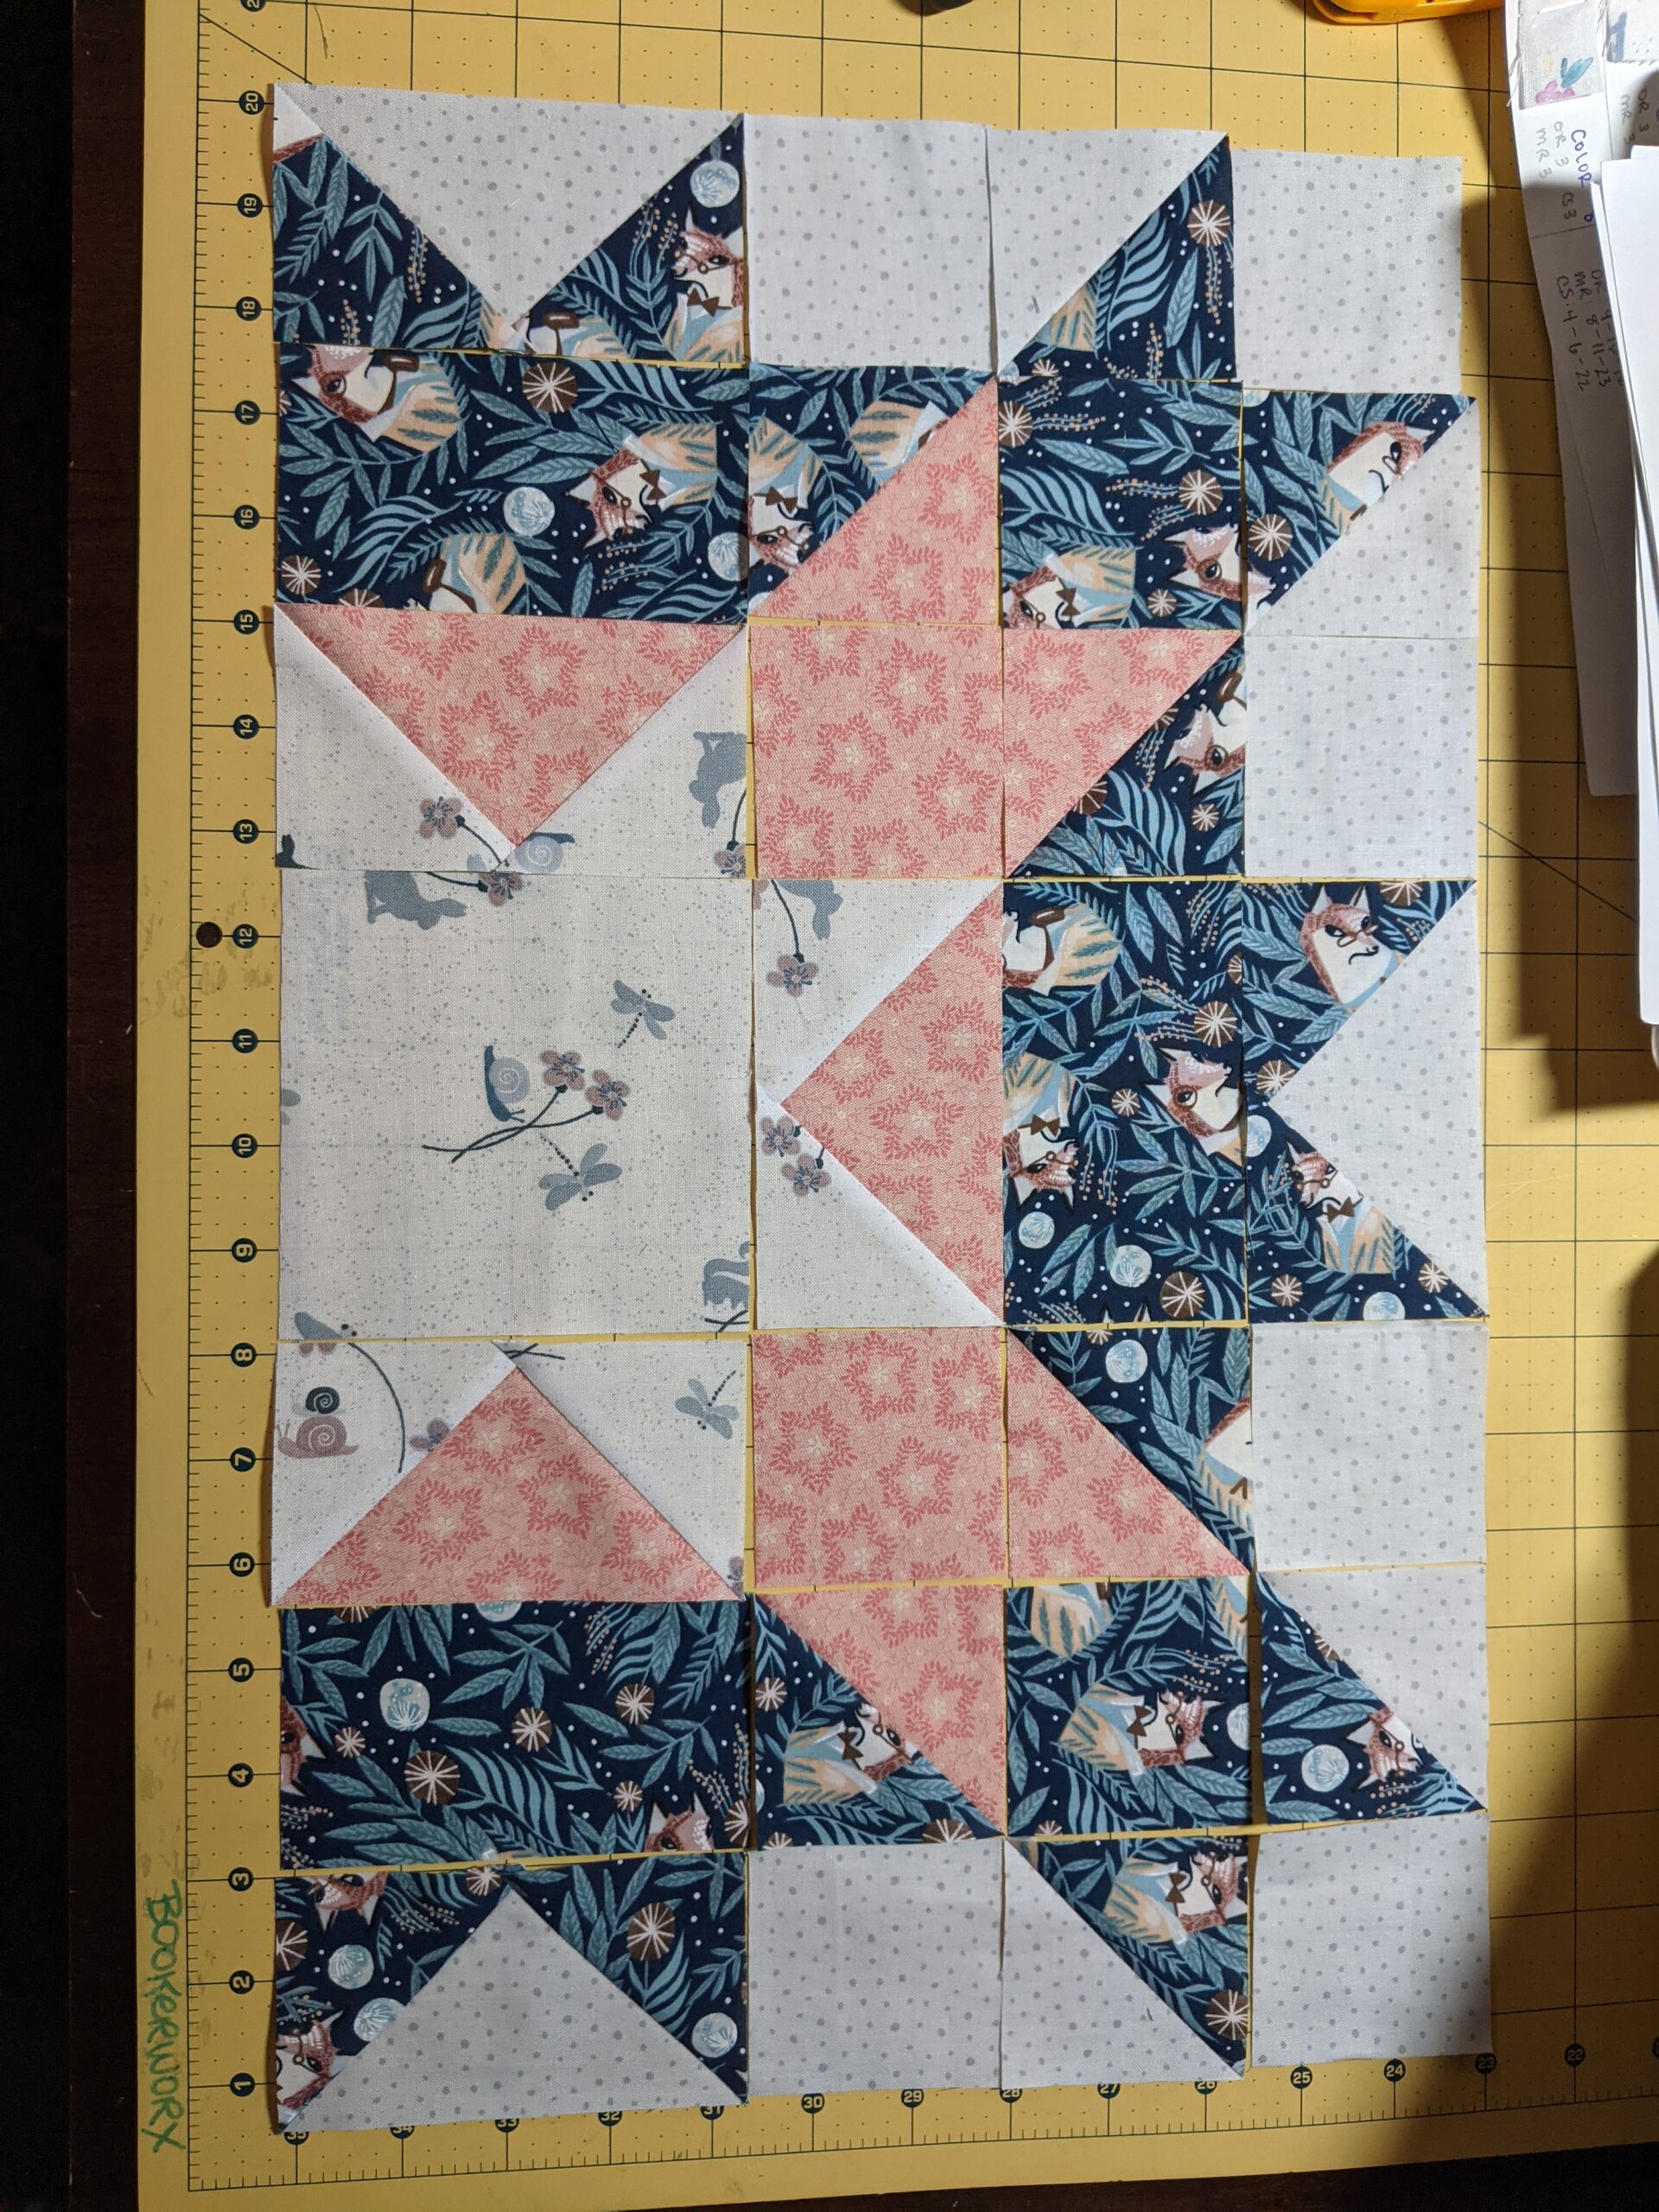
Before I jump into the insane assembly line that is now in front of me, I wanted to make one complete block to ensure I had cut everything correctly and to make sure that I understood the pattern completely. I’d rather have to re-cut fabric for one block, or rip out one whole block, then realize there’s a mistake that I just assembly-lined into the whole darn thing. To put you all out of your misery, here’s Block #1. I finished it last night.
I’m such a huge fan of this fabric. I cannot wait to see the other fabric combos in these blocks! Block 1 took a bit over three hours to finish….that includes making and trimming the geese and HSTs and assembling the entire block. It assembles fairly simply, basically a nine patch made up of nine patches. I’m hoping that once I assembly-line the rest of the geese and HSTs, the assembly will go together much faster. As I continue, I think the layout and orientation will become quicker and less fussy. I spent a ton of time triple checking that I had each piece in exactly the right spot.
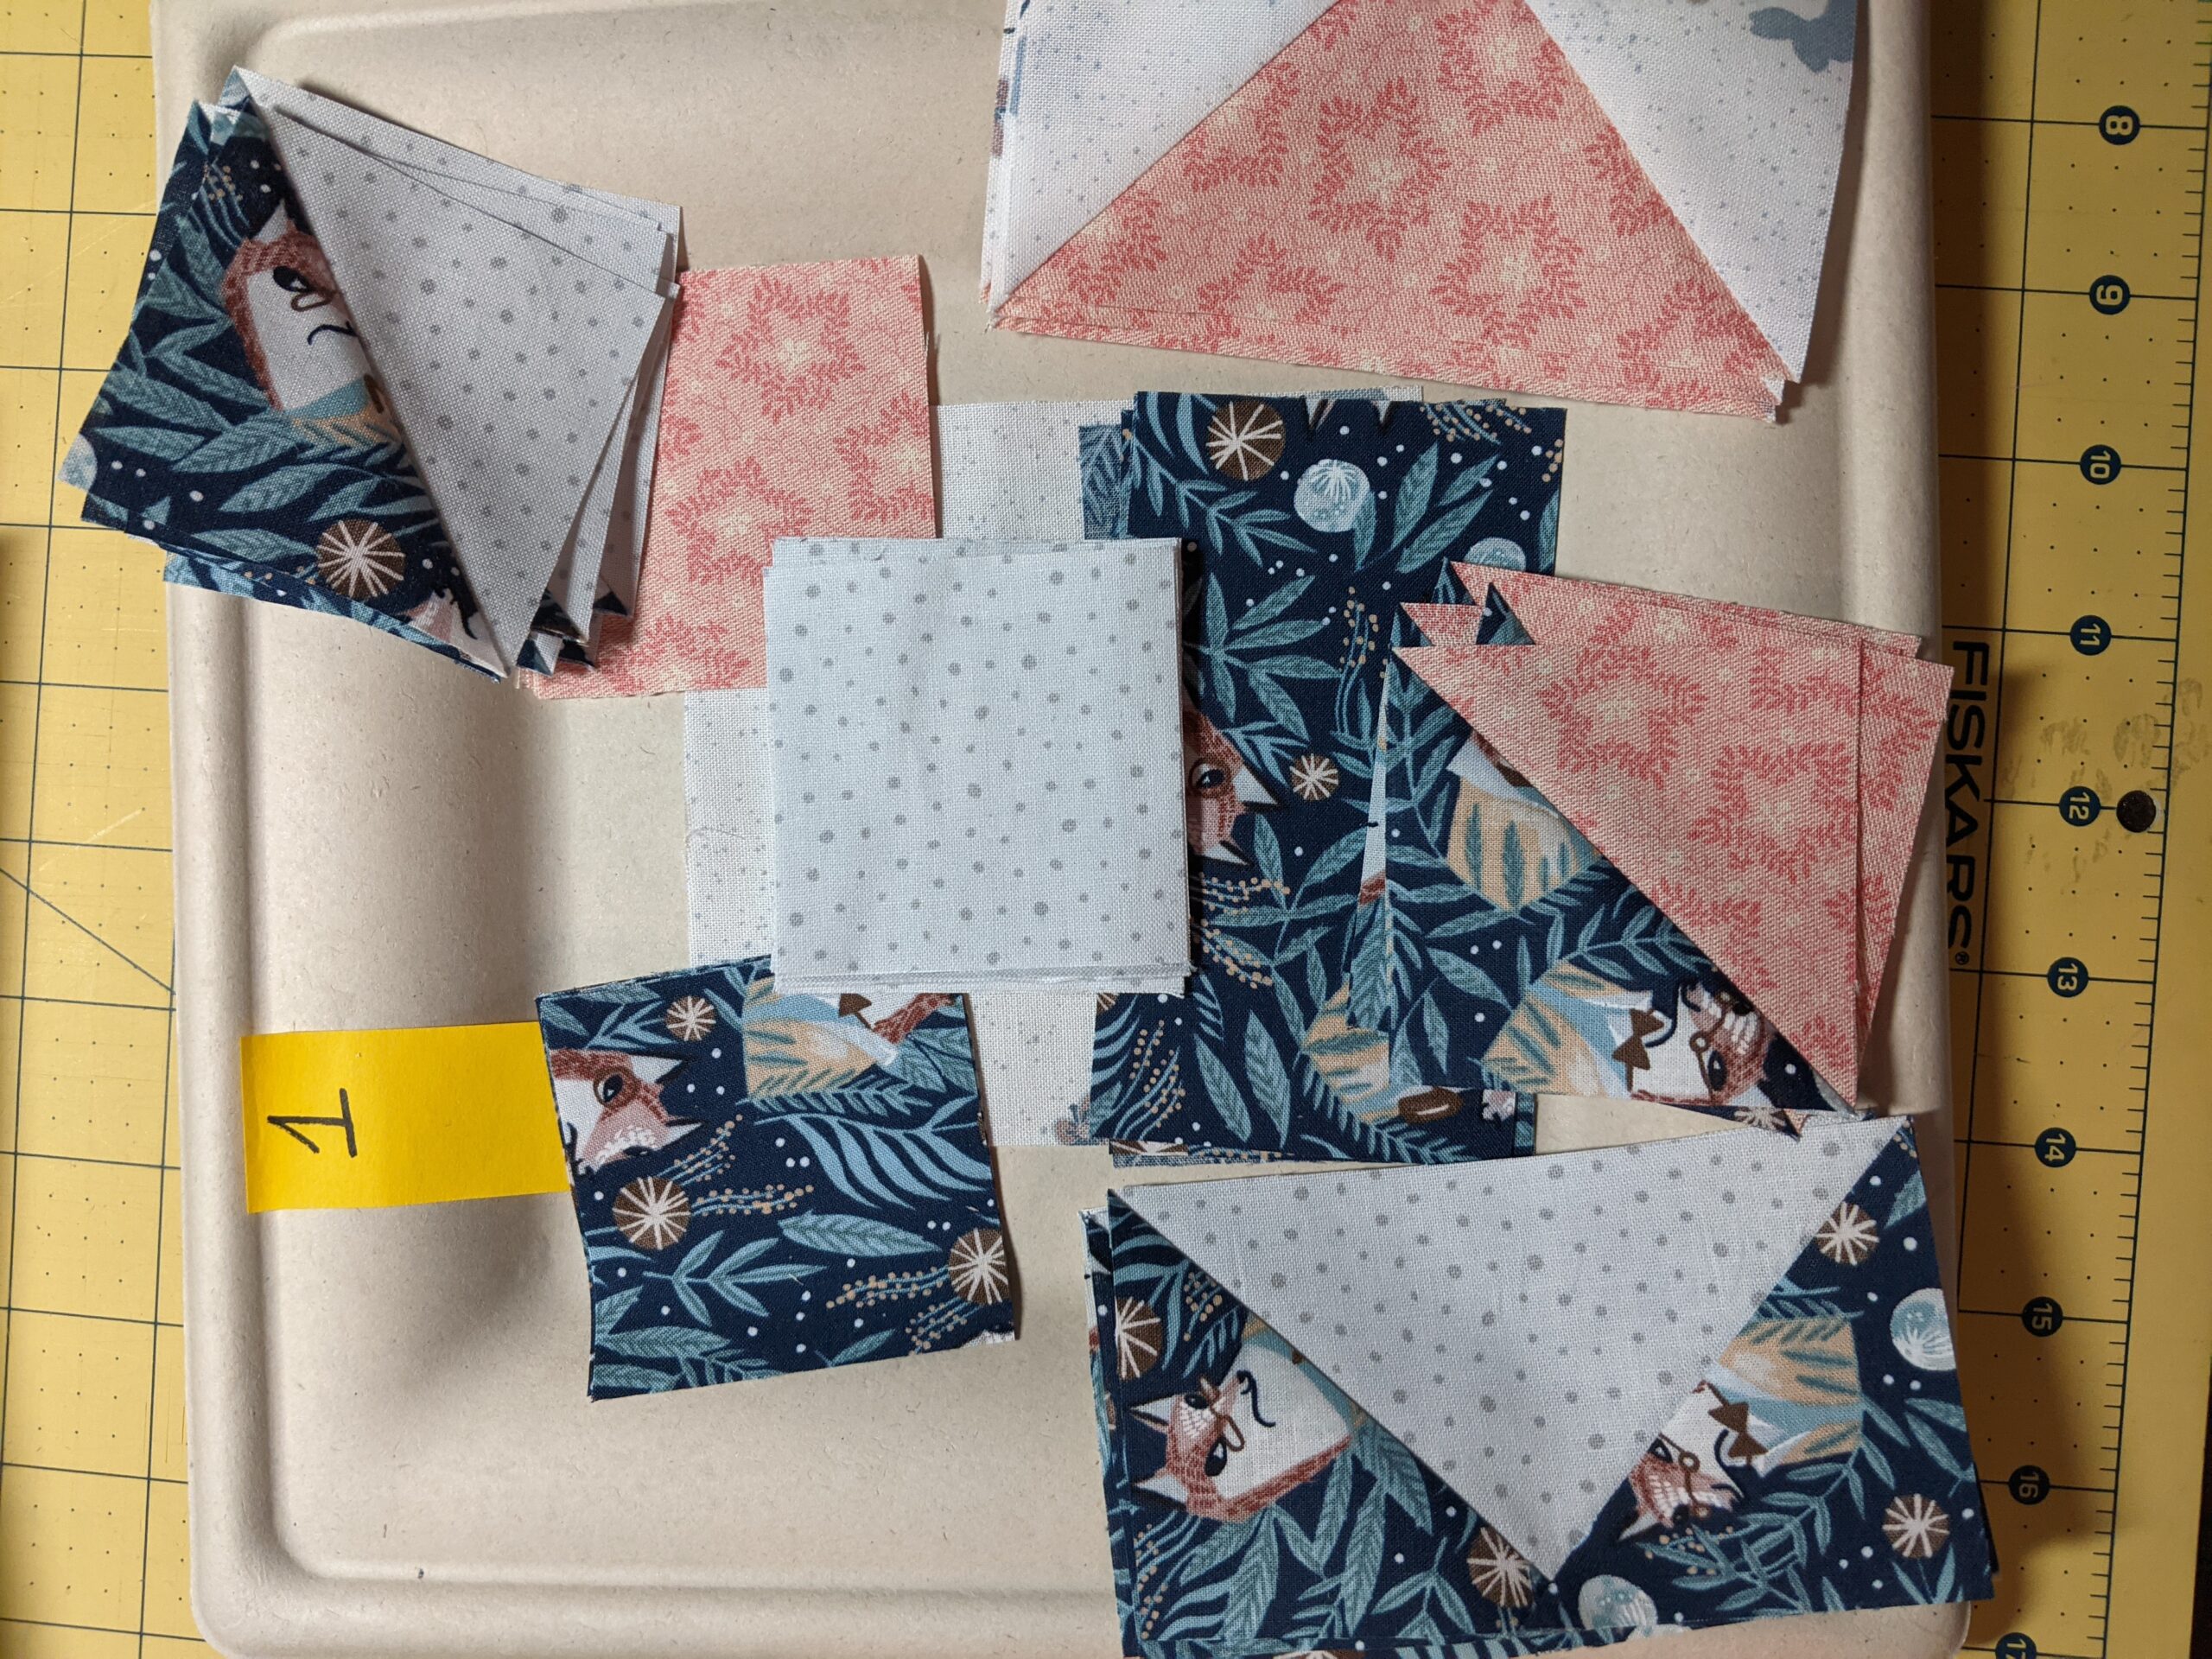
I want to give a few photos to some of my tricks on trimming geese and HSTs…so you’ll see those below.
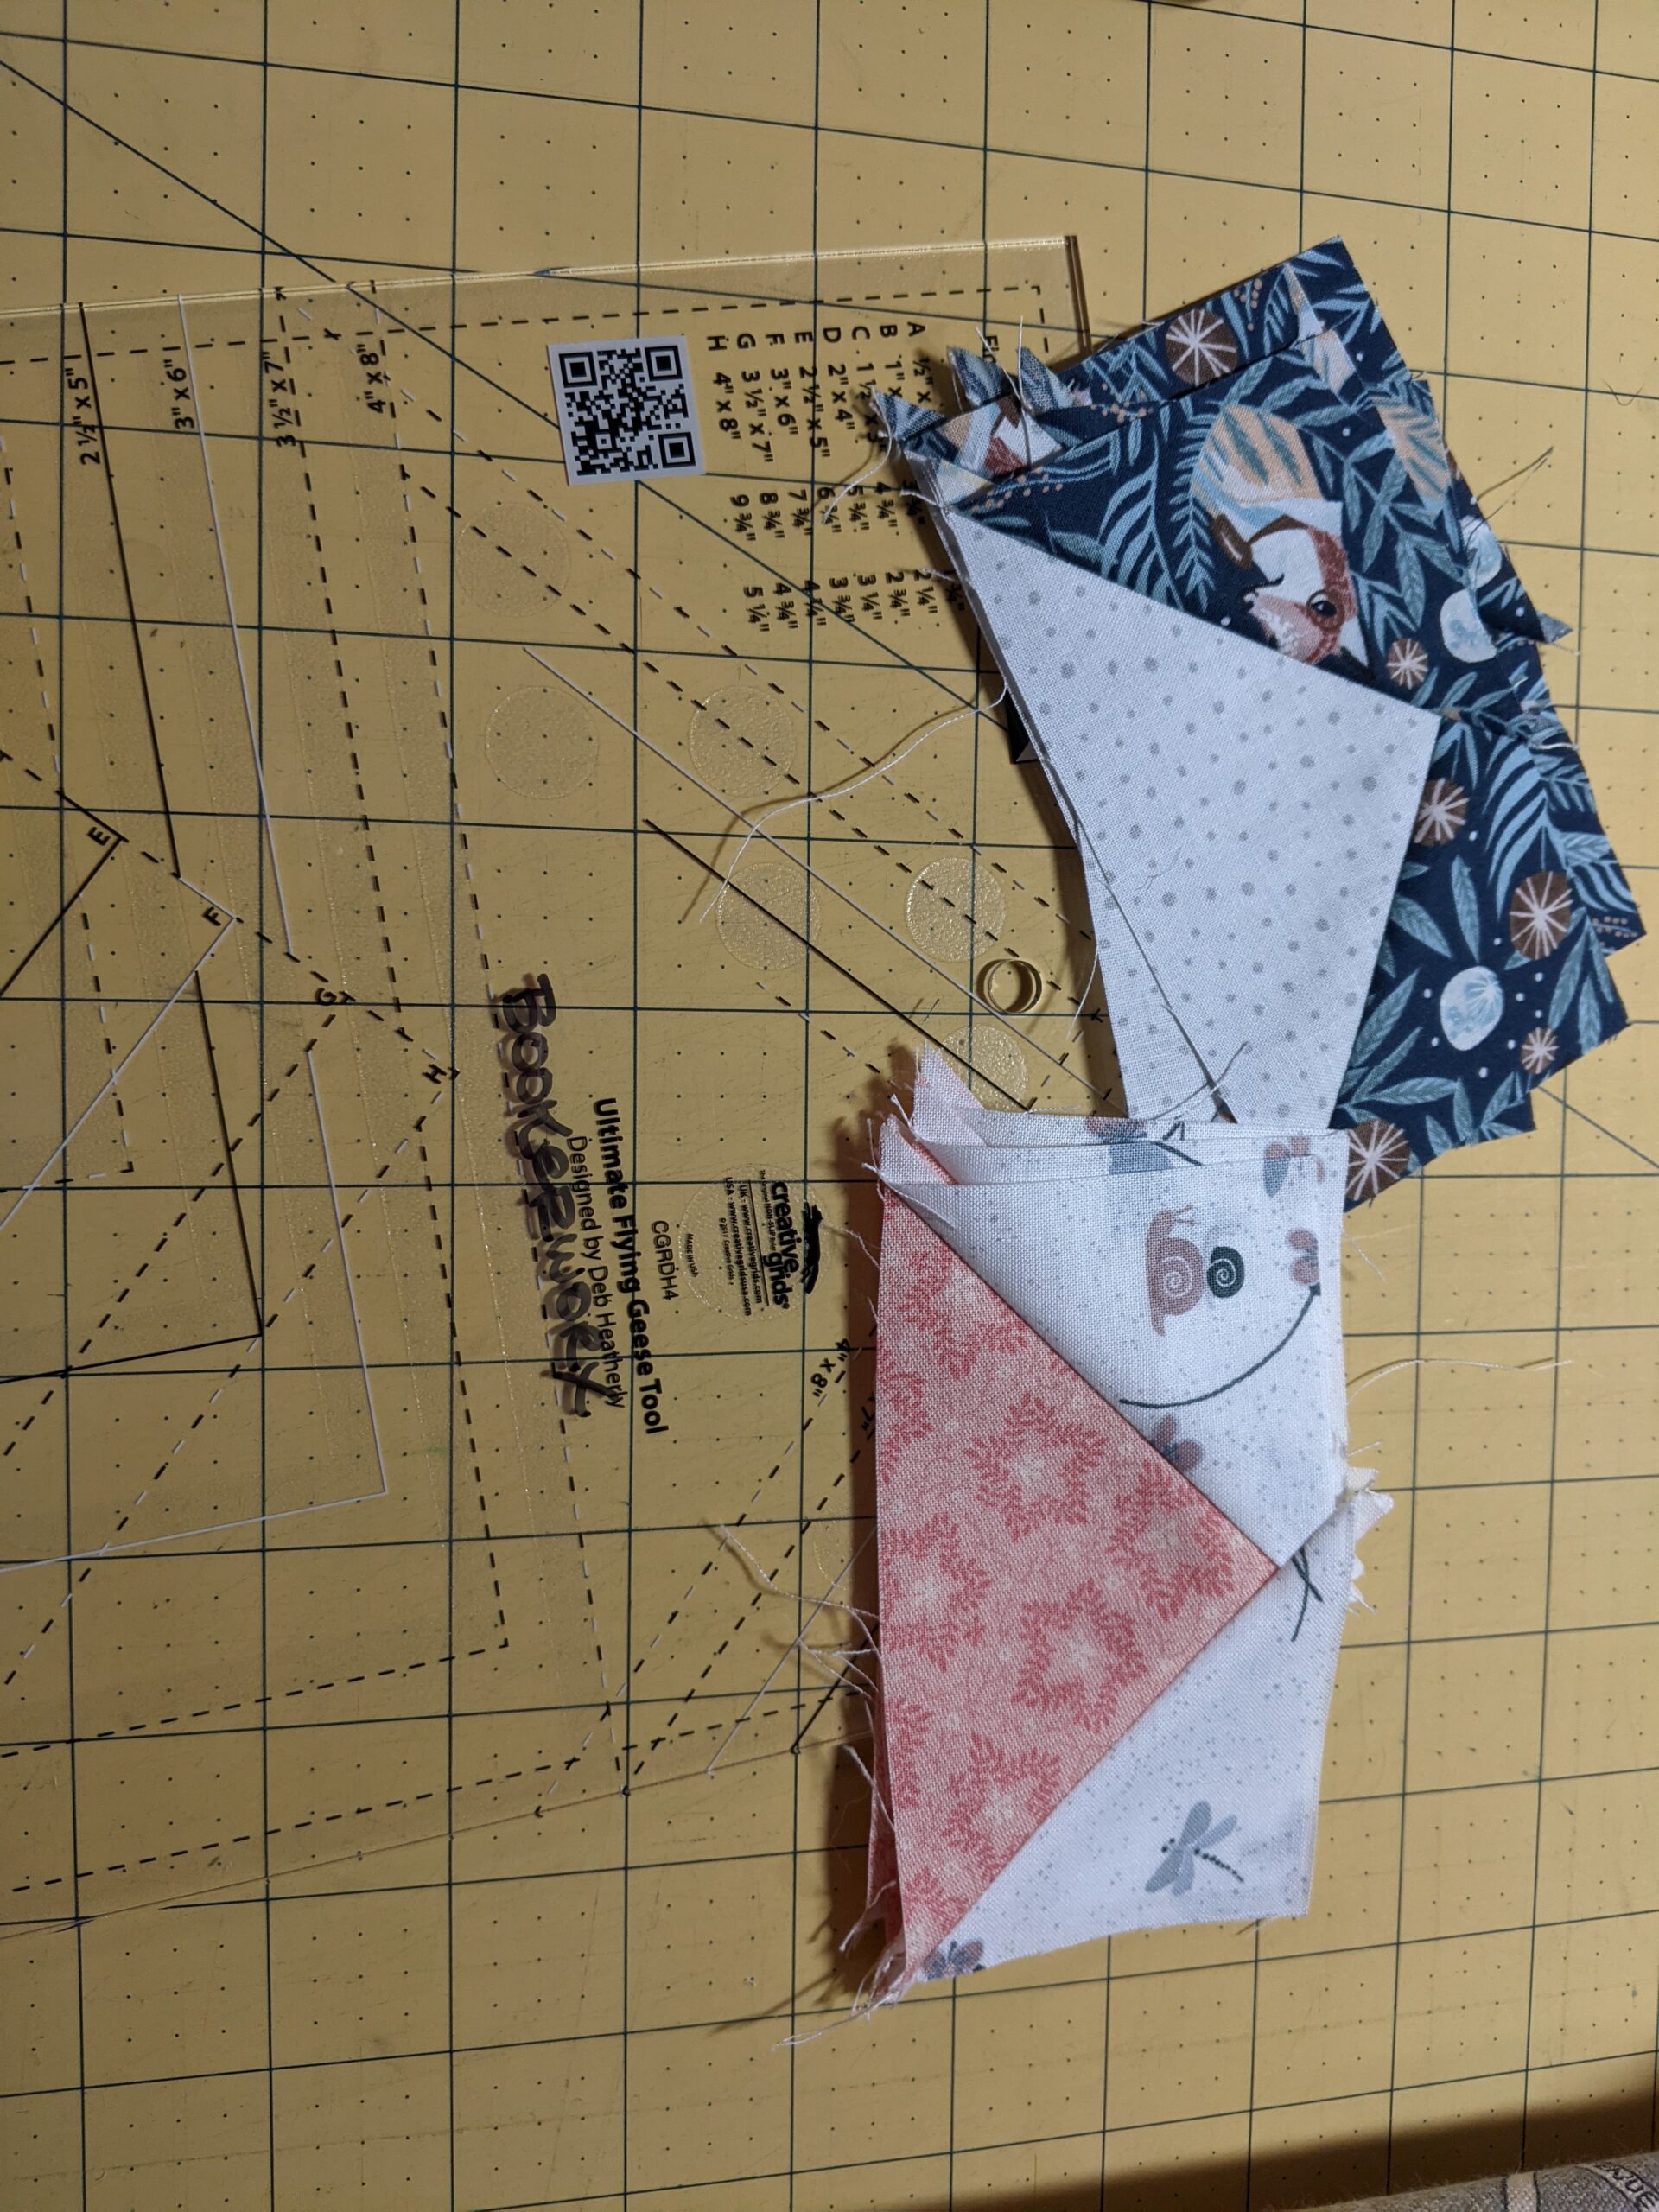
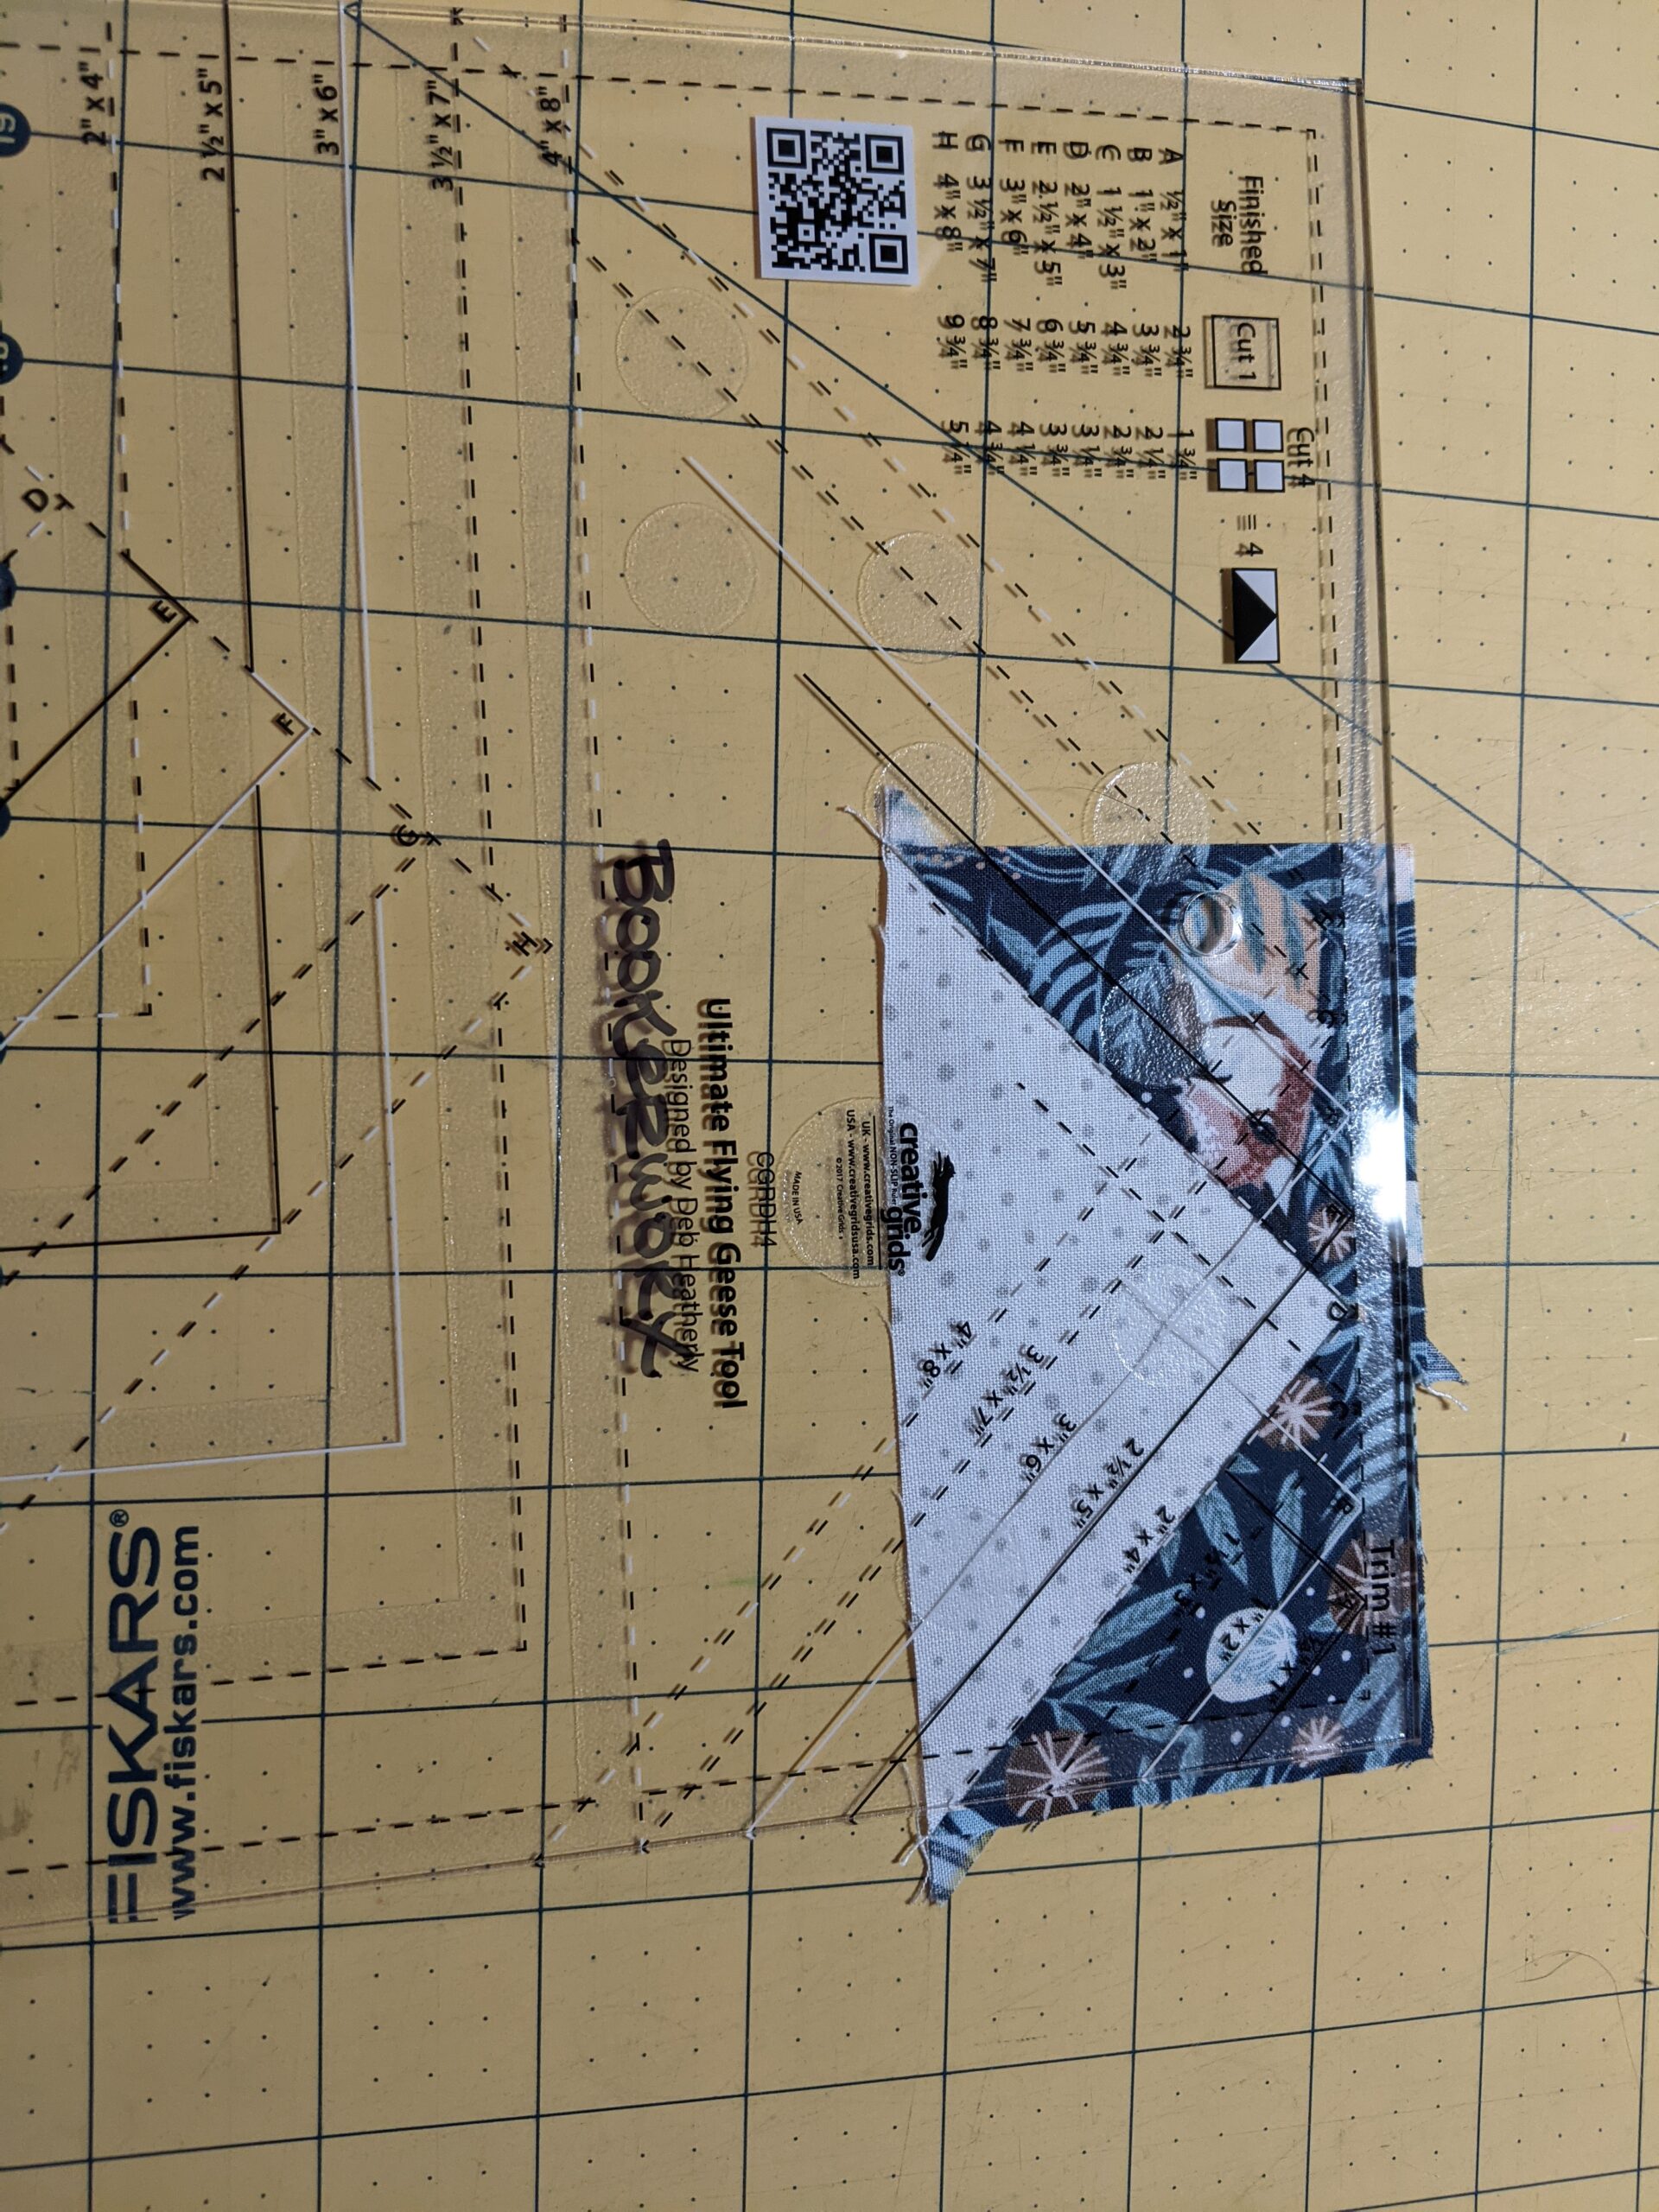
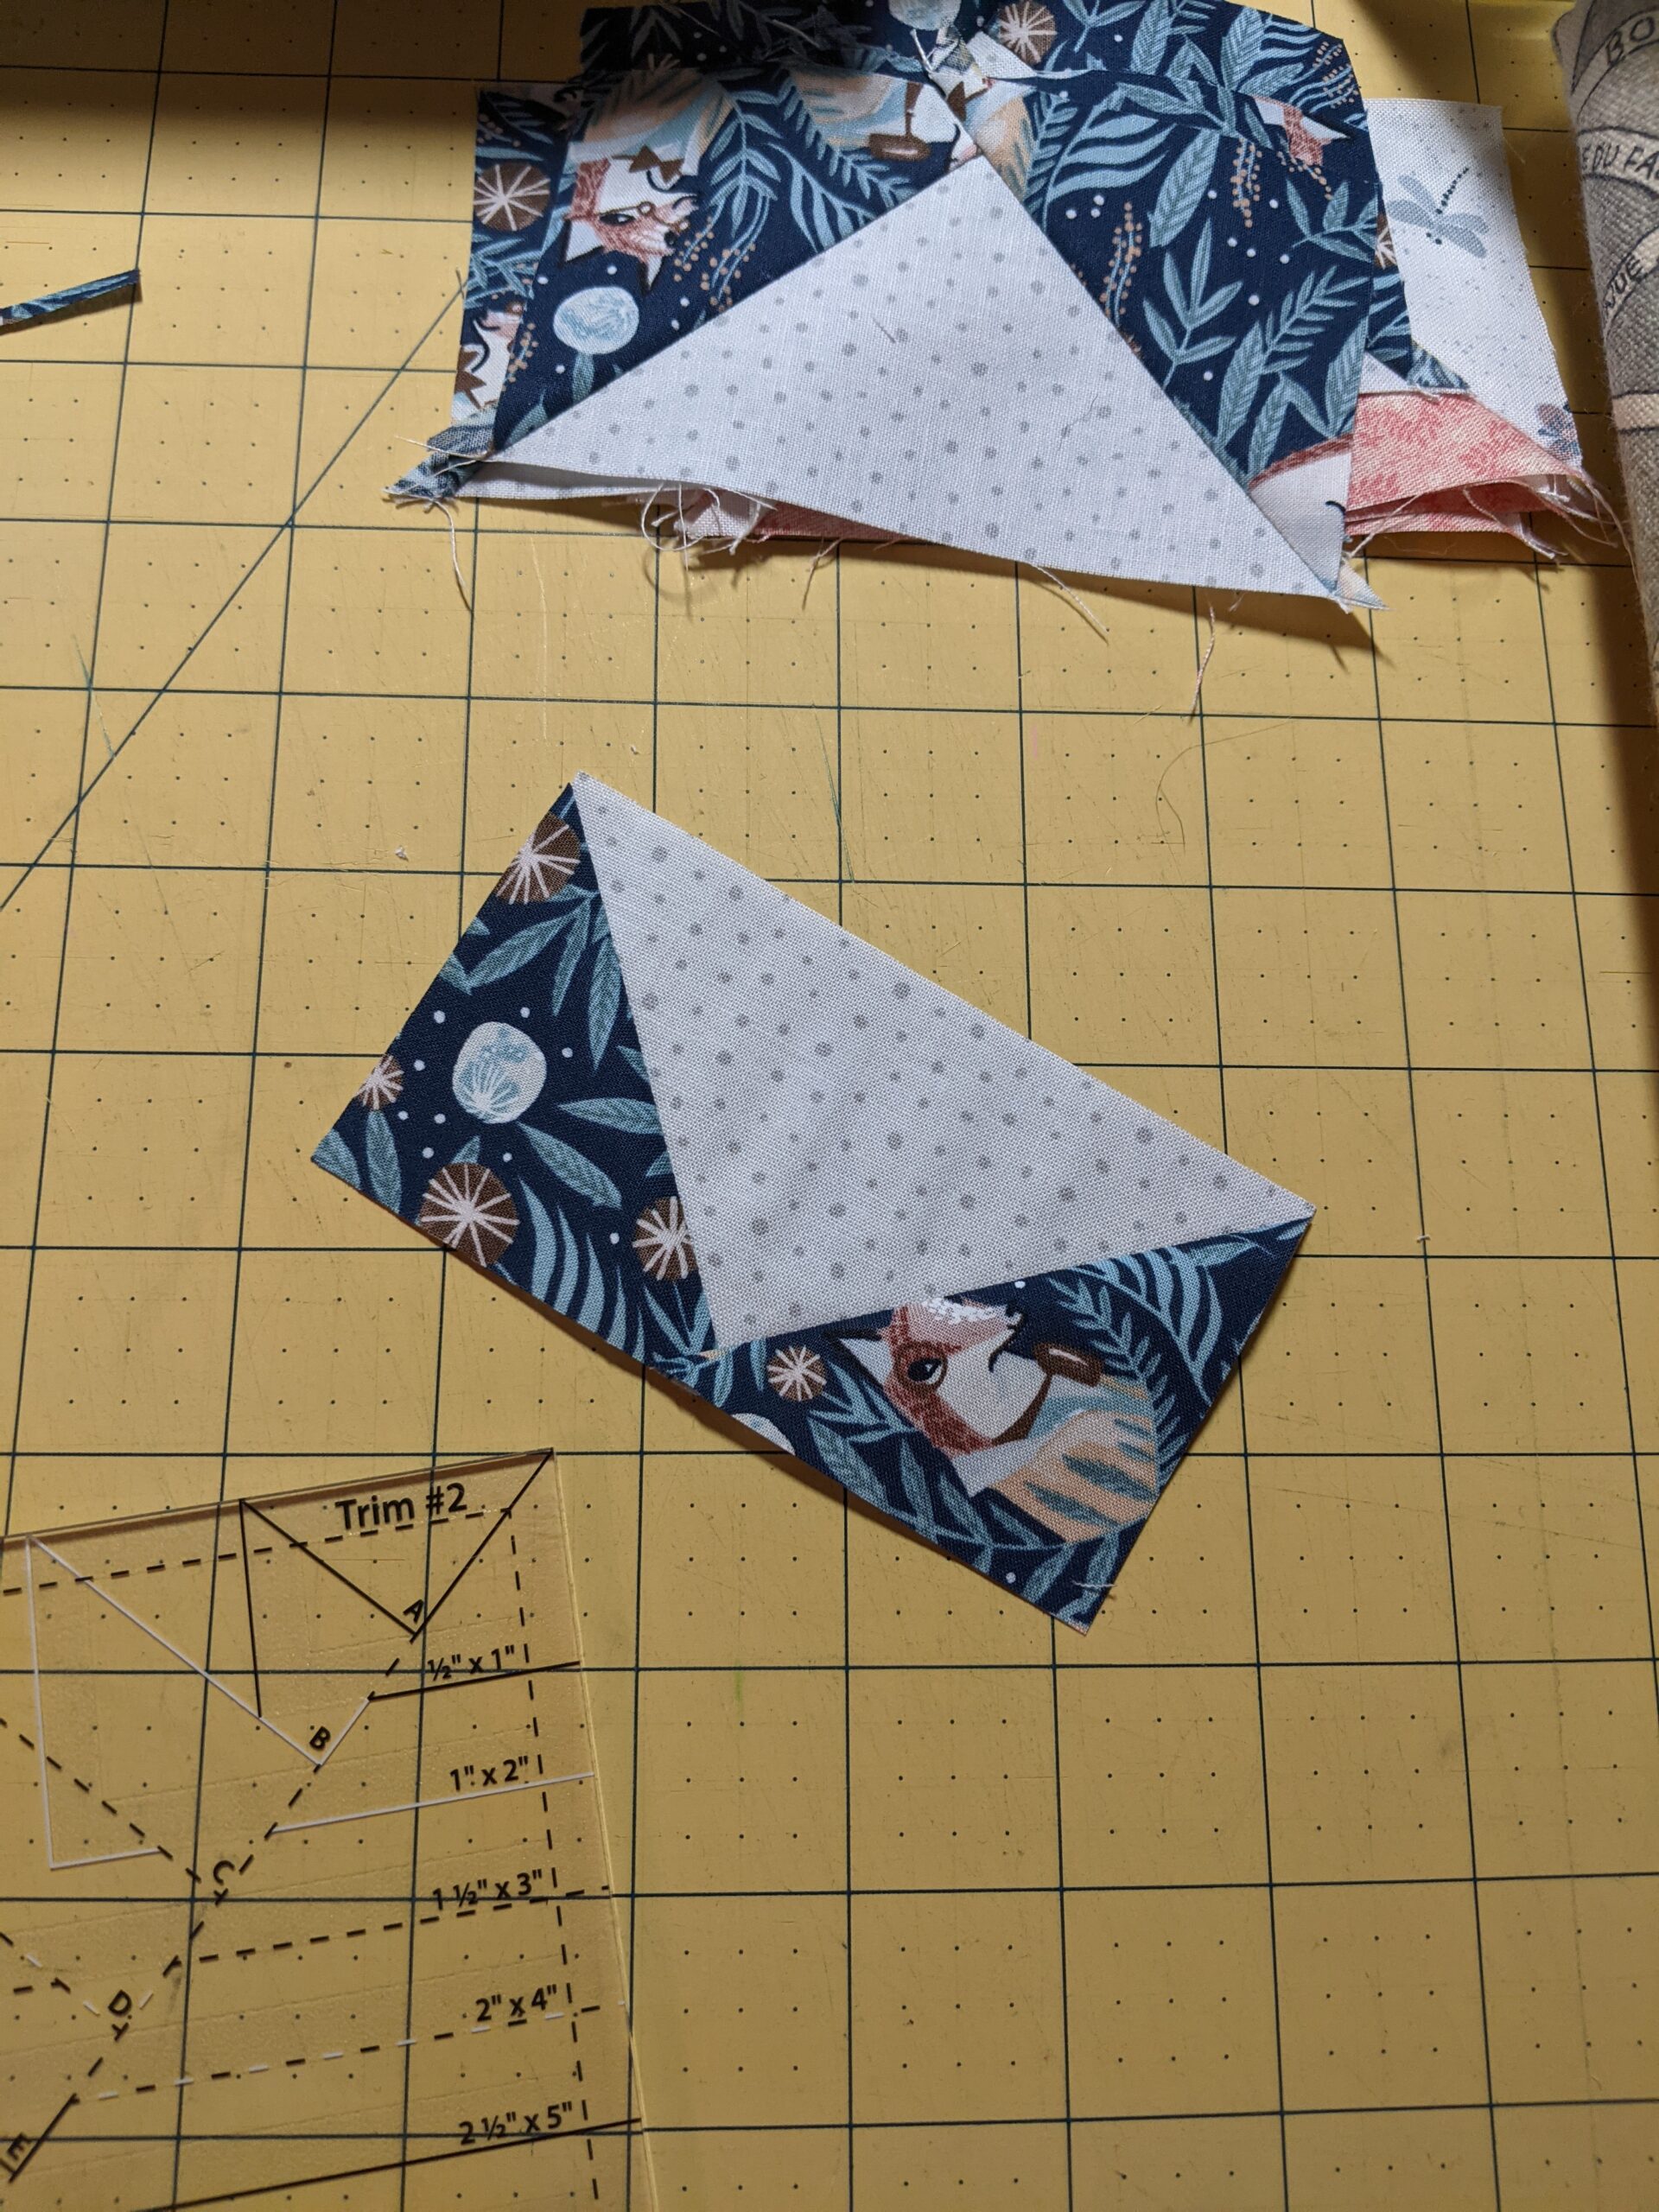
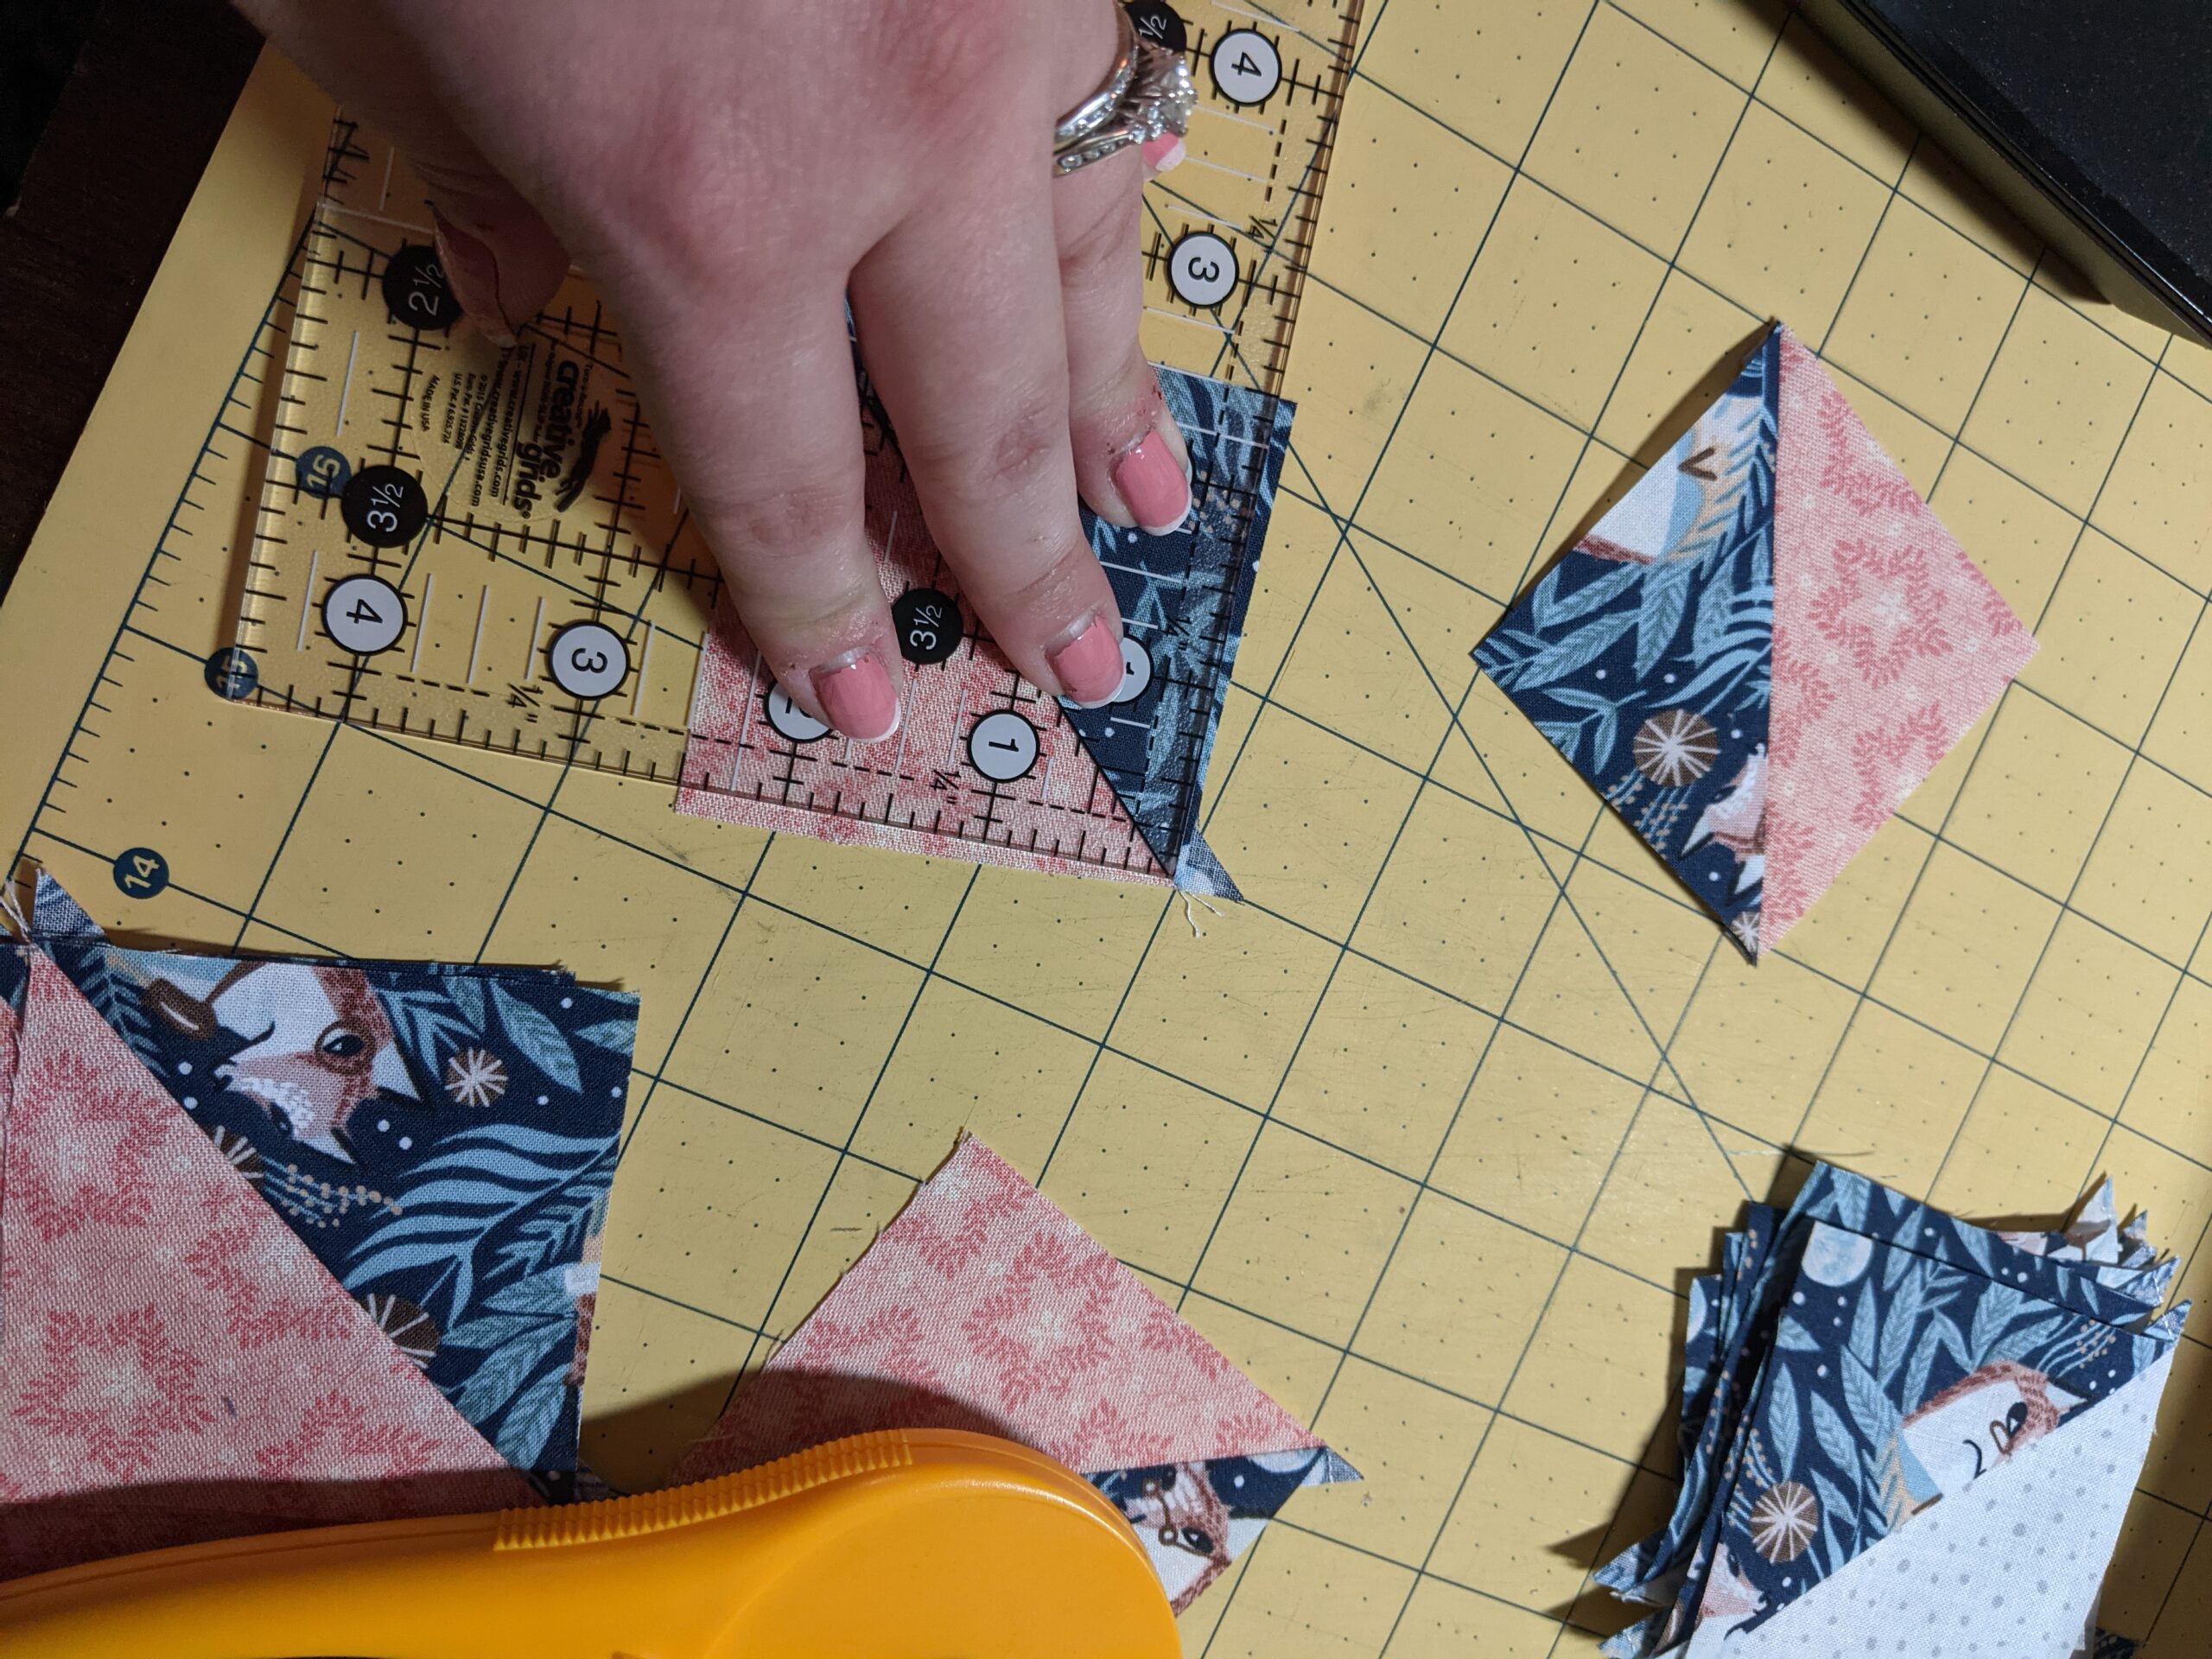
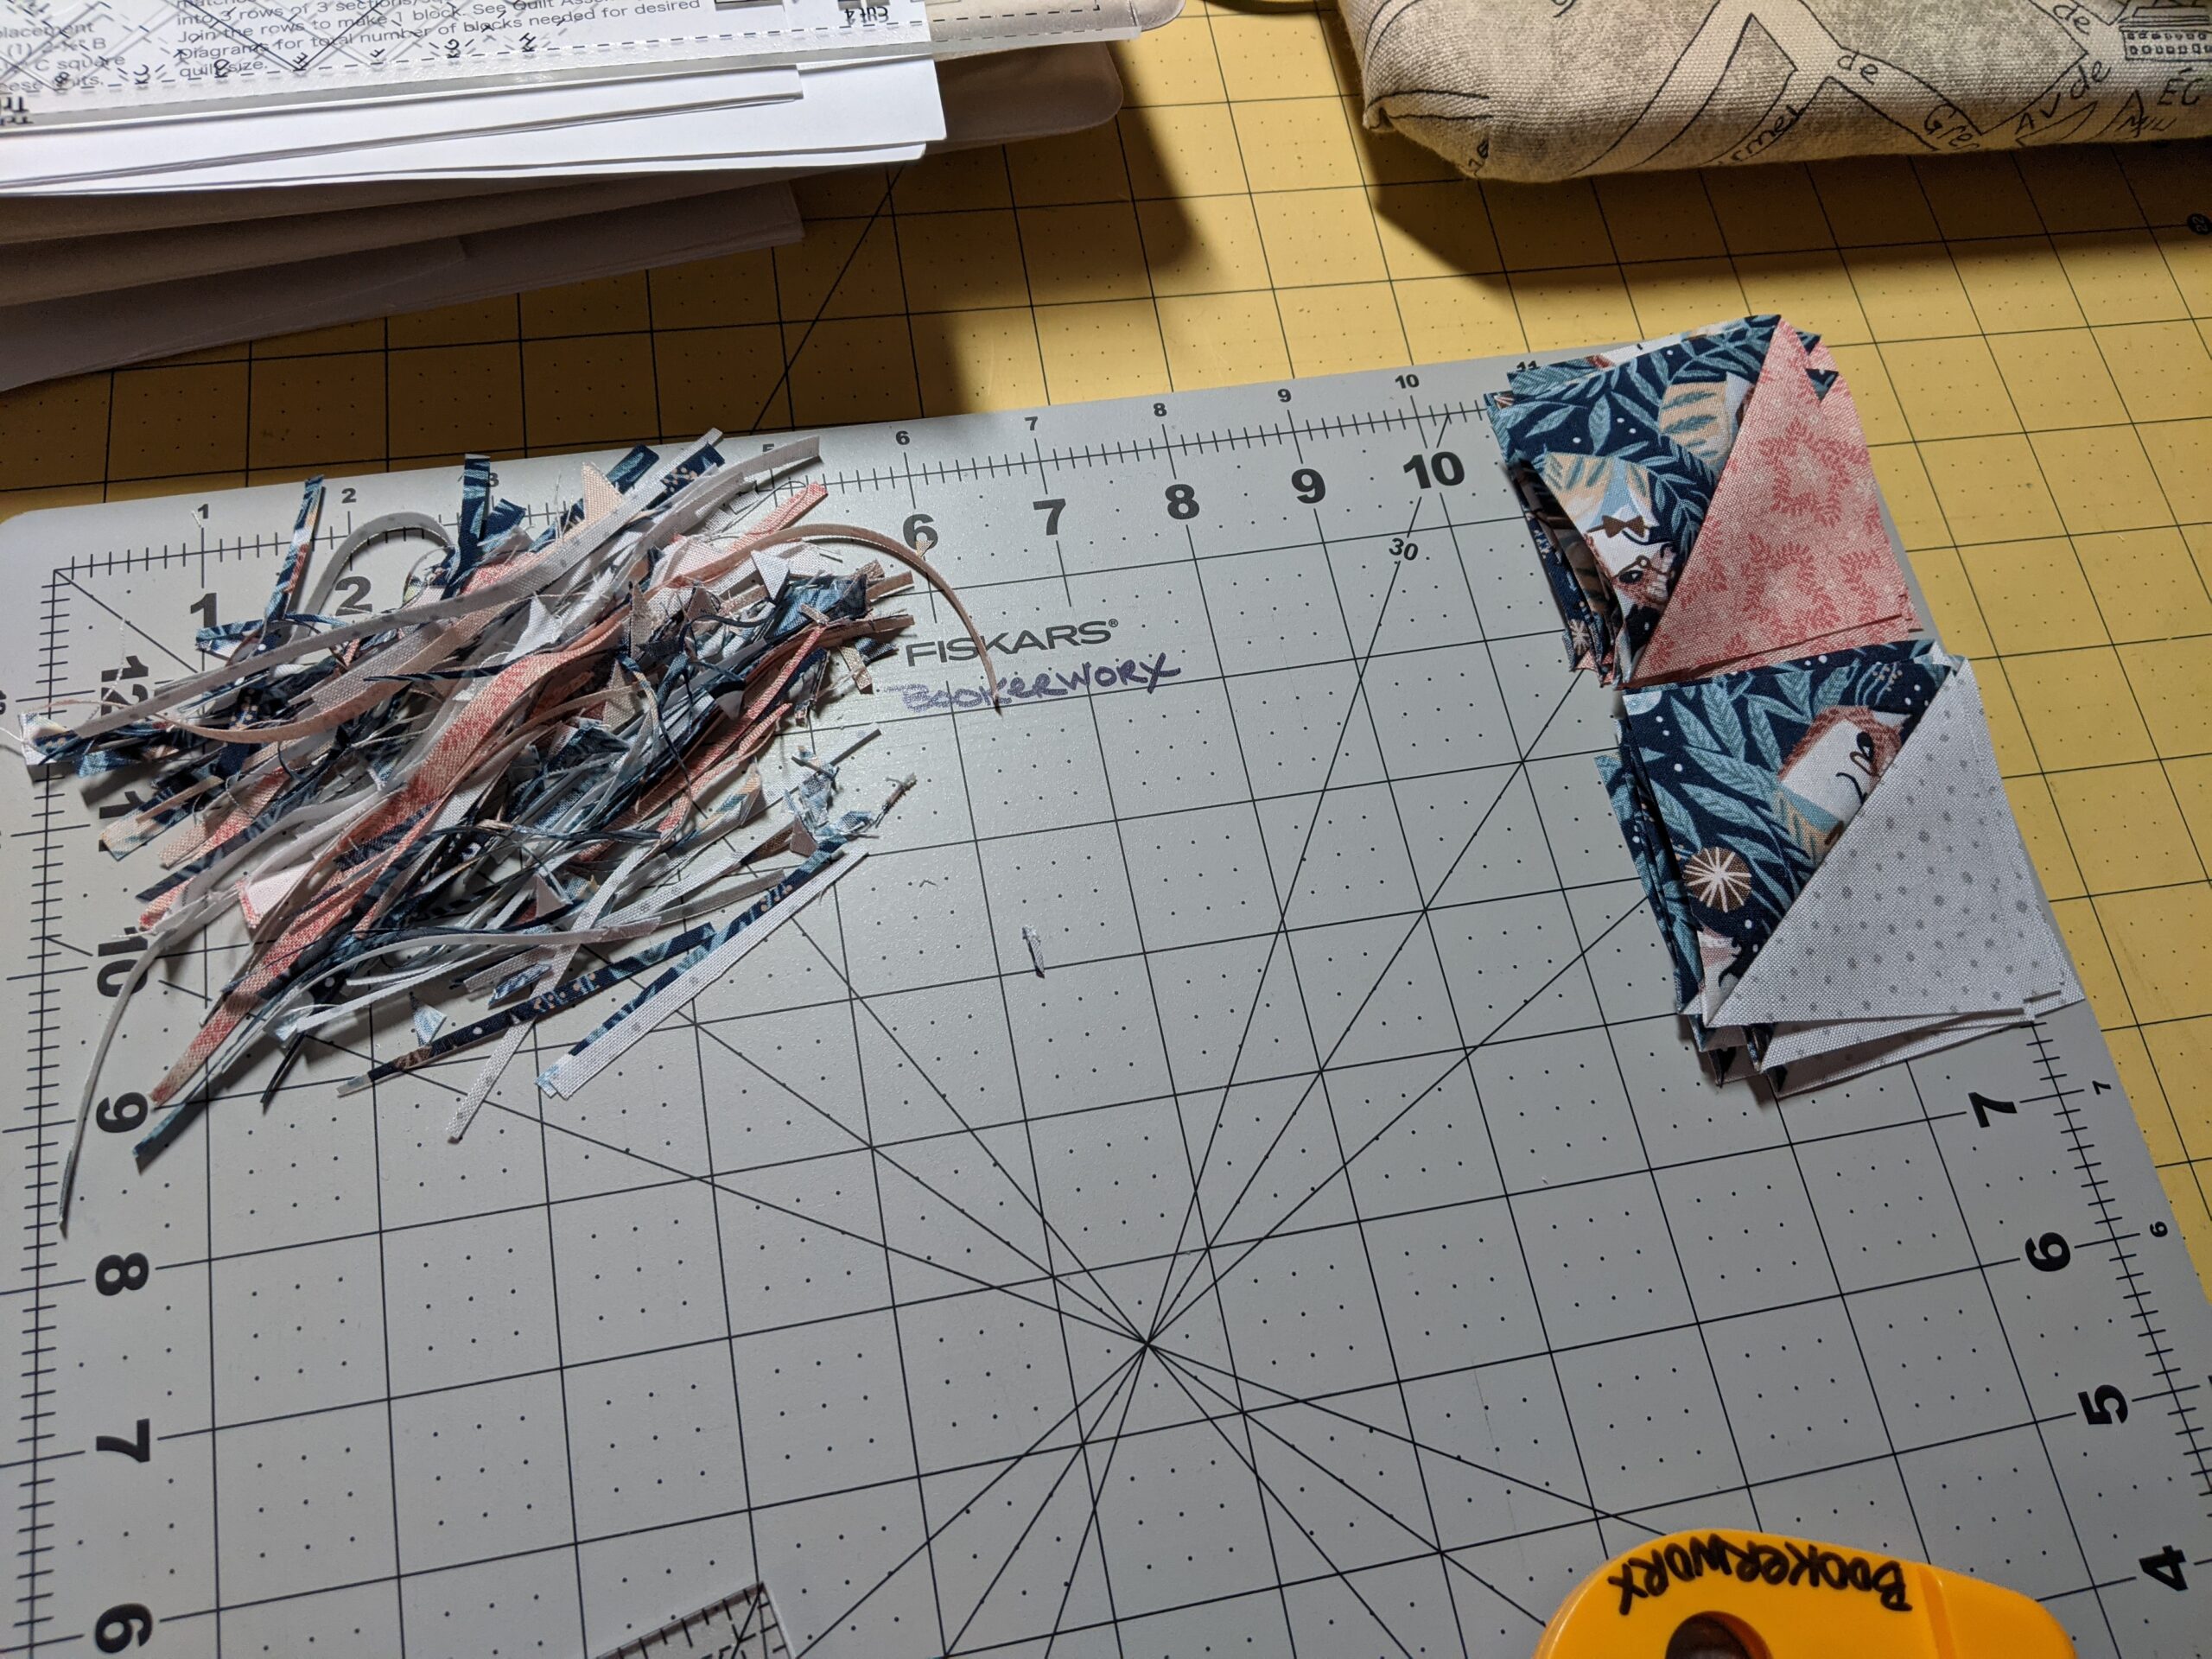
I made the Flying Geese, and used my beloved Creative Grids Ultimate Flying Geese Tool. I exclusively use Creative Grids for everything. I have not found ANY rulers that work as well or are as useful as Creative Grids. No, I am not sponsored by them or anything (although, I ‘d love to be….I Love You Creative Grids! I’d love to considered for a Sponsorship! lol) these are my unsolicited reviews. Anywho, this tool is wonderful because it has little geese in multiple sizes printed right on it….so I can just lay the ruler on the goose, line it up, trim and then move on to the next. I trim all of them on one side (well, technically I trim two sides here) and pile them and then flip them and the ruler and trim for the second time (sides three and four). Fast, efficient, easy. Love it. It trims them beautifully and also removes the dog ears. Remember: Accurate pressing and trimming is the ONLY way to get accurate piecing. You can not have one without the other two.
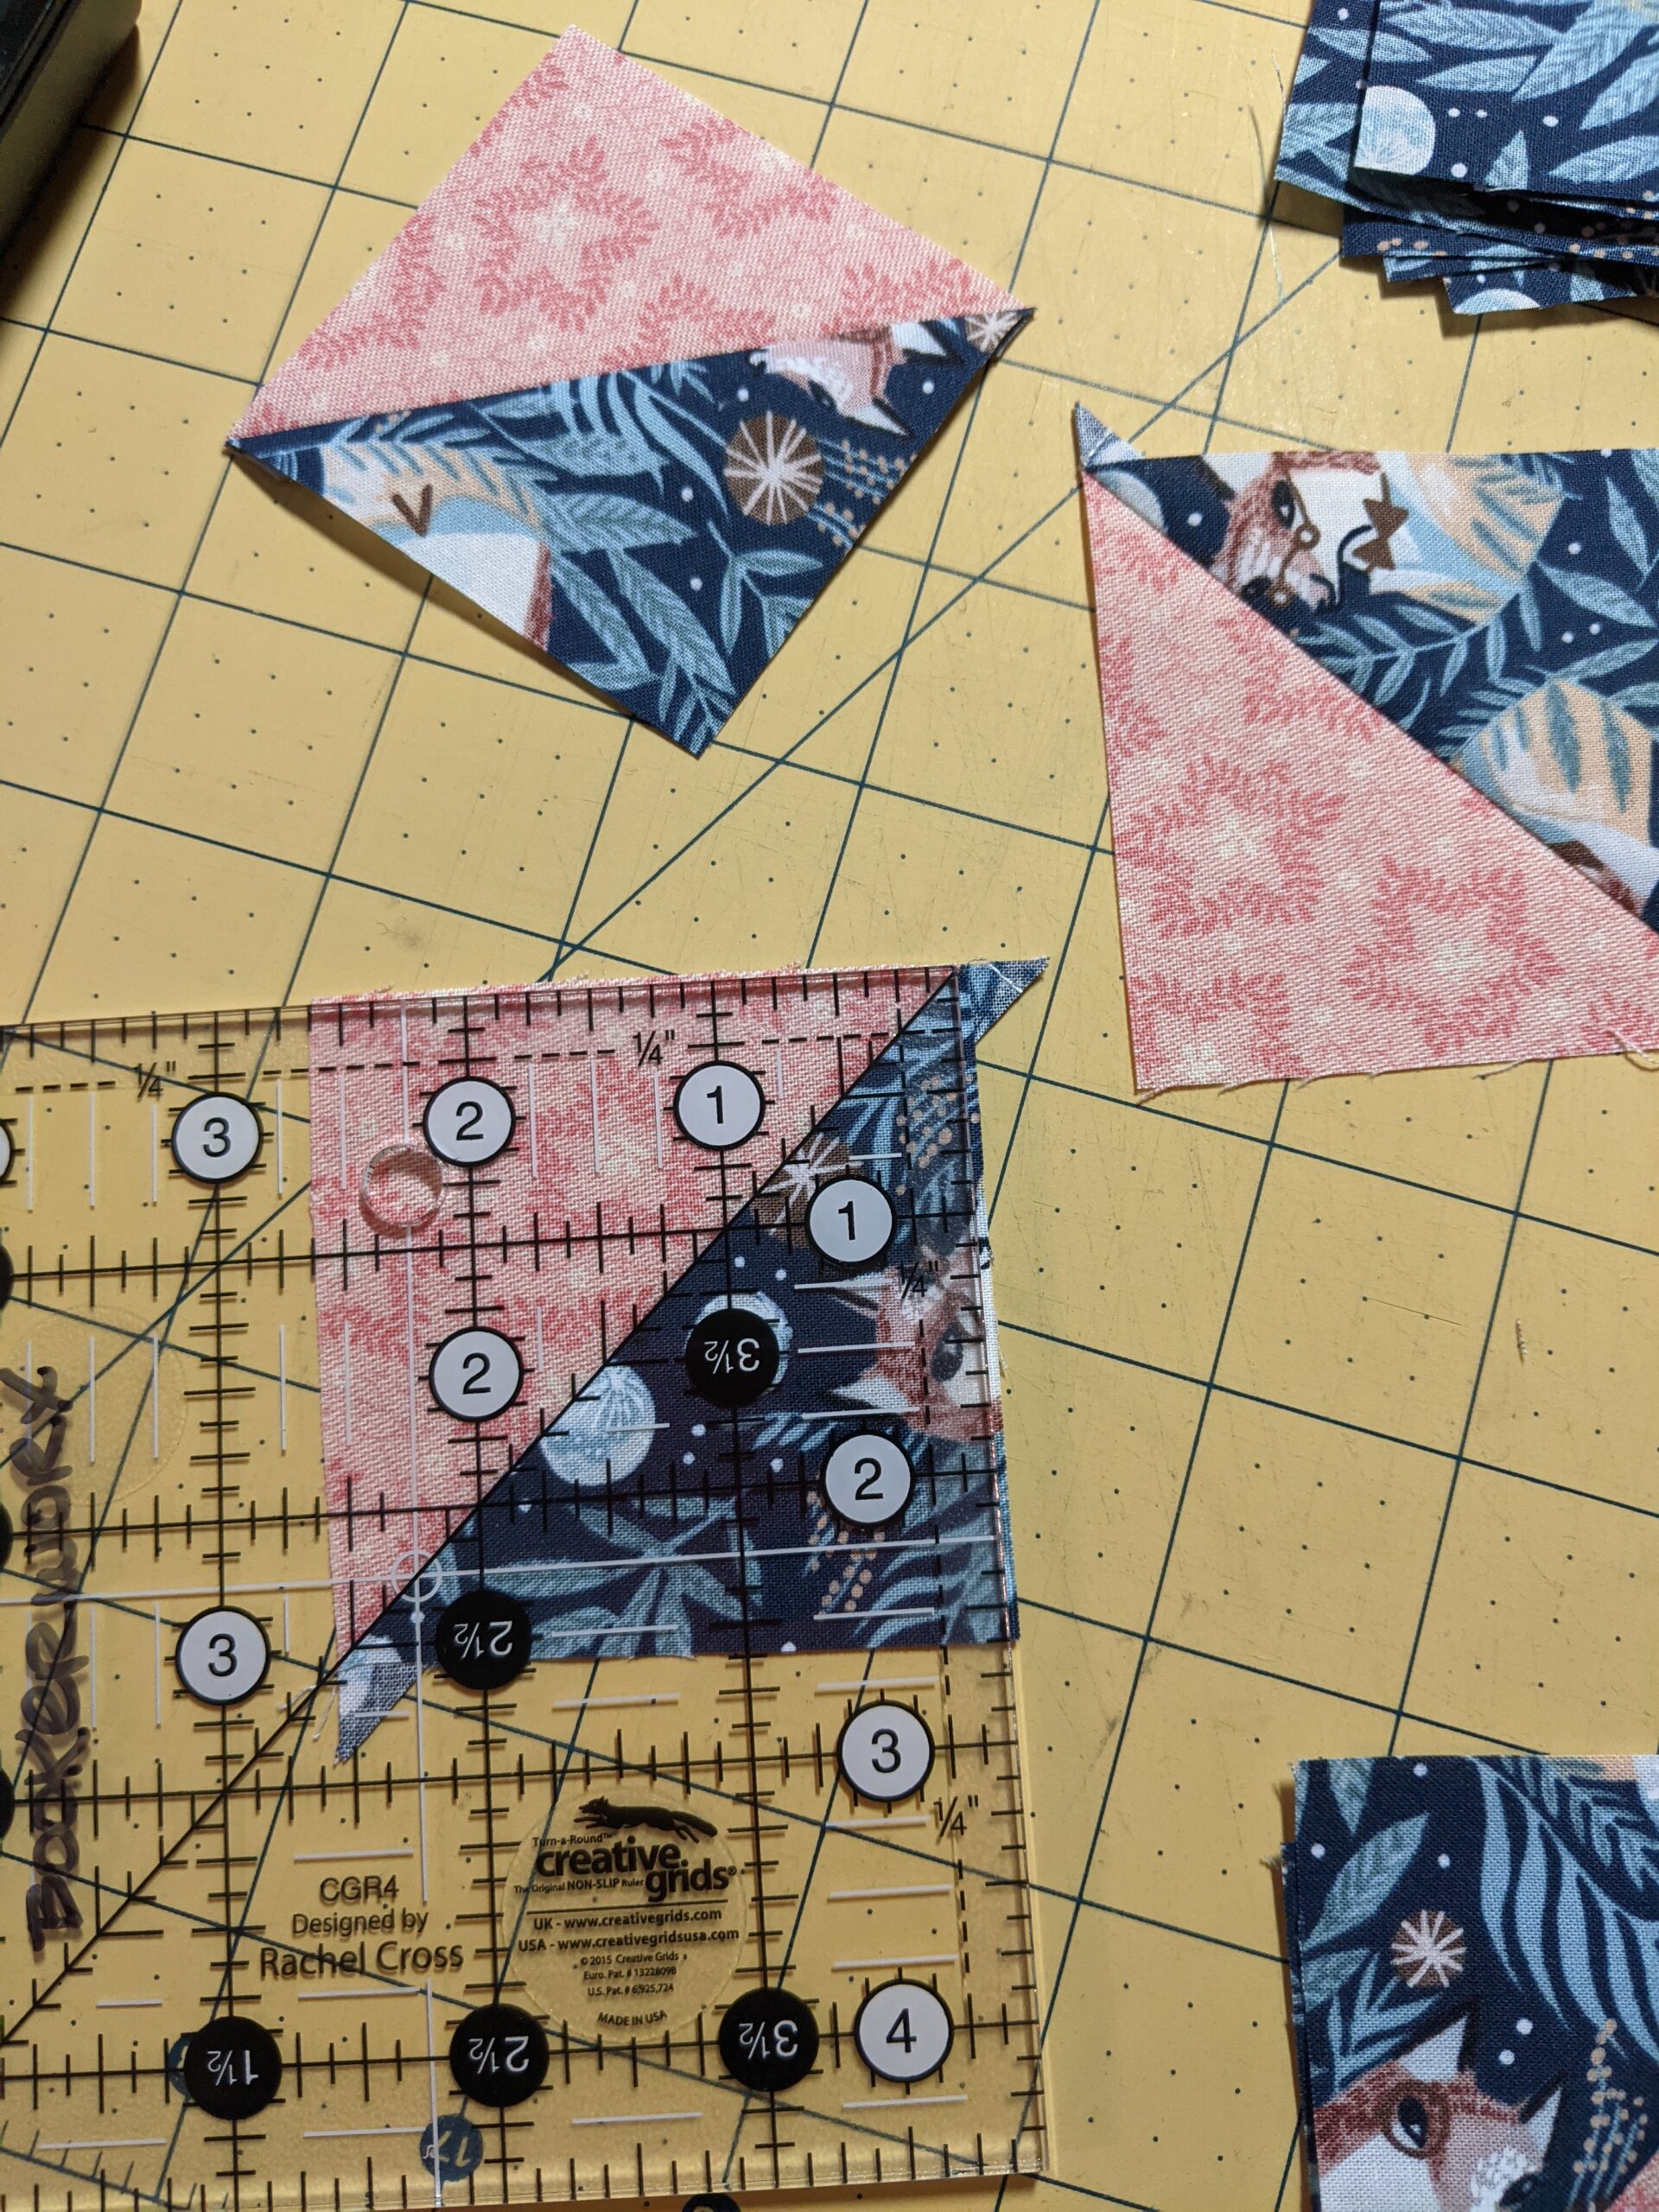
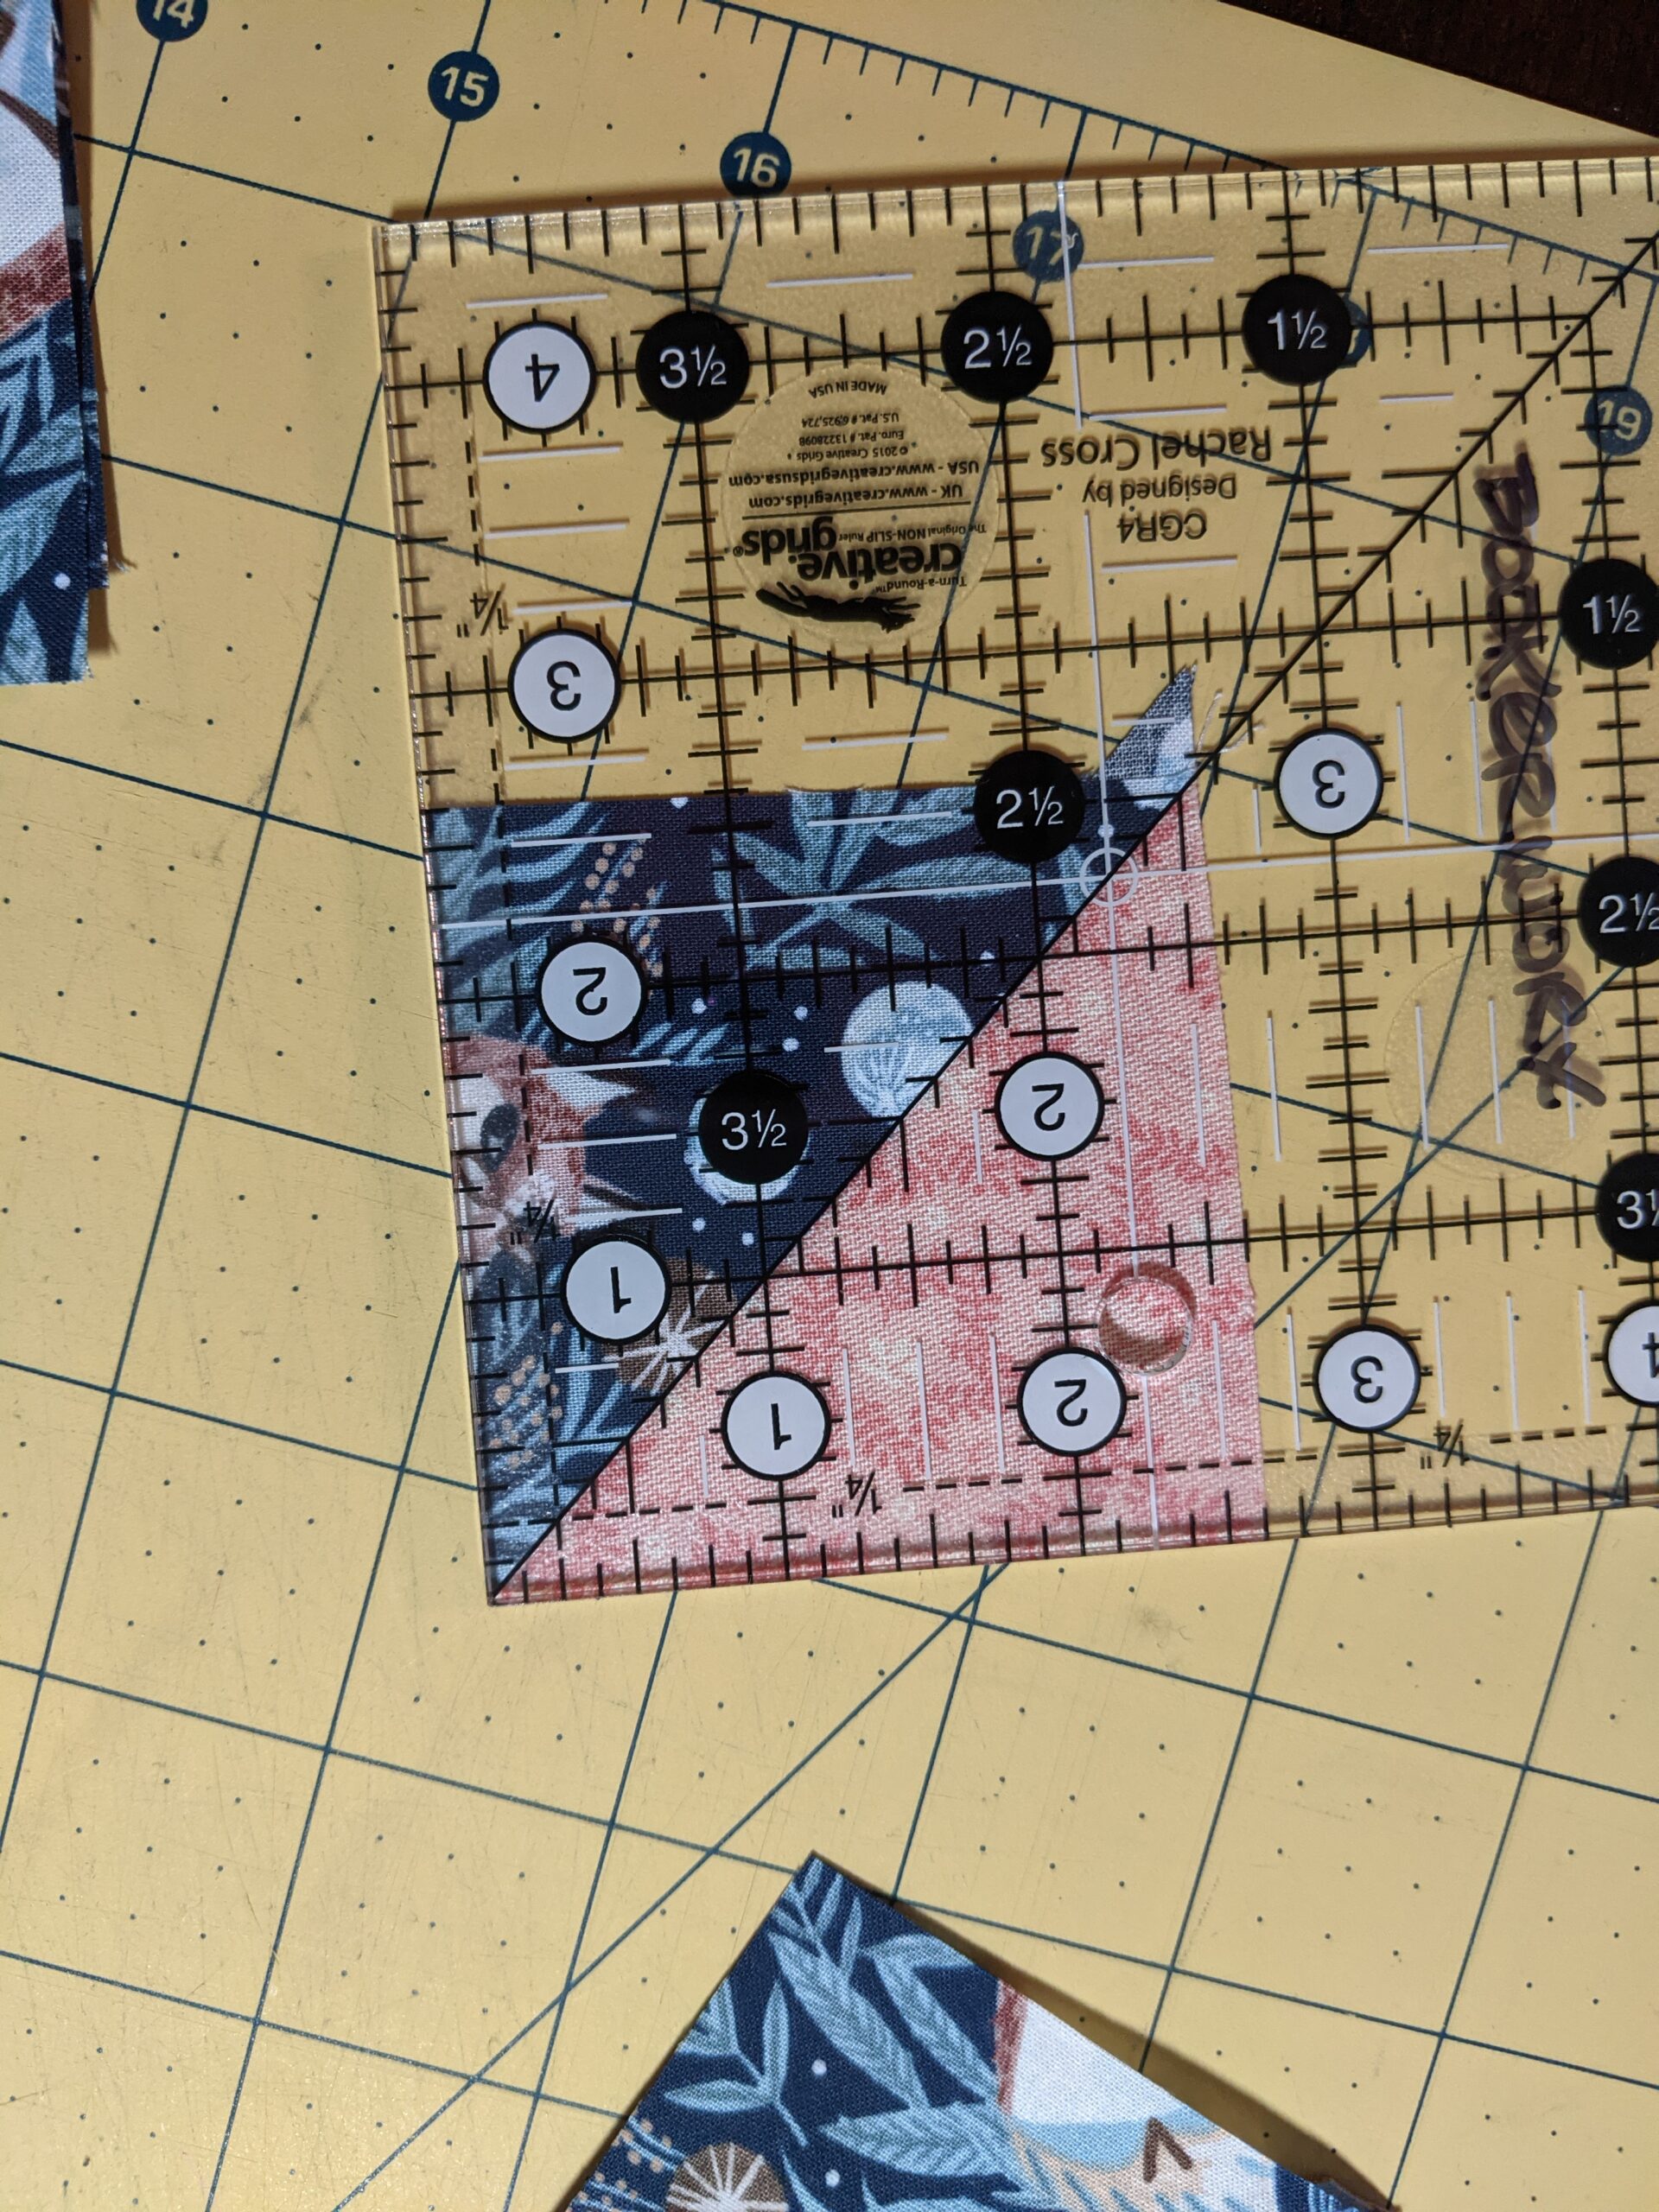
Continuing my love for Creative Grids, I used the Creative Grids Quilt Ruler 4.5″ Square to trim my Half Square Triangles. I could have also used my regular 4.5″ x 12.5″ Creative Grids ruler, but my space is very limited right now, so being able to flip the small square one around is awesome. I think the number one reason I love these rules is the grippy texture on the back, but a very close second is the legibility. I can very clearly read my measurements on any color fabric, and they are so good to highlight common measurements….in this case, the 2.5″ square. This particular ruler has a very clear 45degree line and a very clear set of notches at 2.5″. To trim a HST, I place the 45degree line on the diagonal formed by the two fabrics and then find the 2.5″ notch. I ensure that I center the untrimmed block so that it goes beyond the 2.5″ notch and trim the top two sides. I put it in a pile and trimmed the rest, then flipped the pile, and this time line up the diagonal and the 2.5″ notch on the freshly cut edge….line it up, trim and then done.

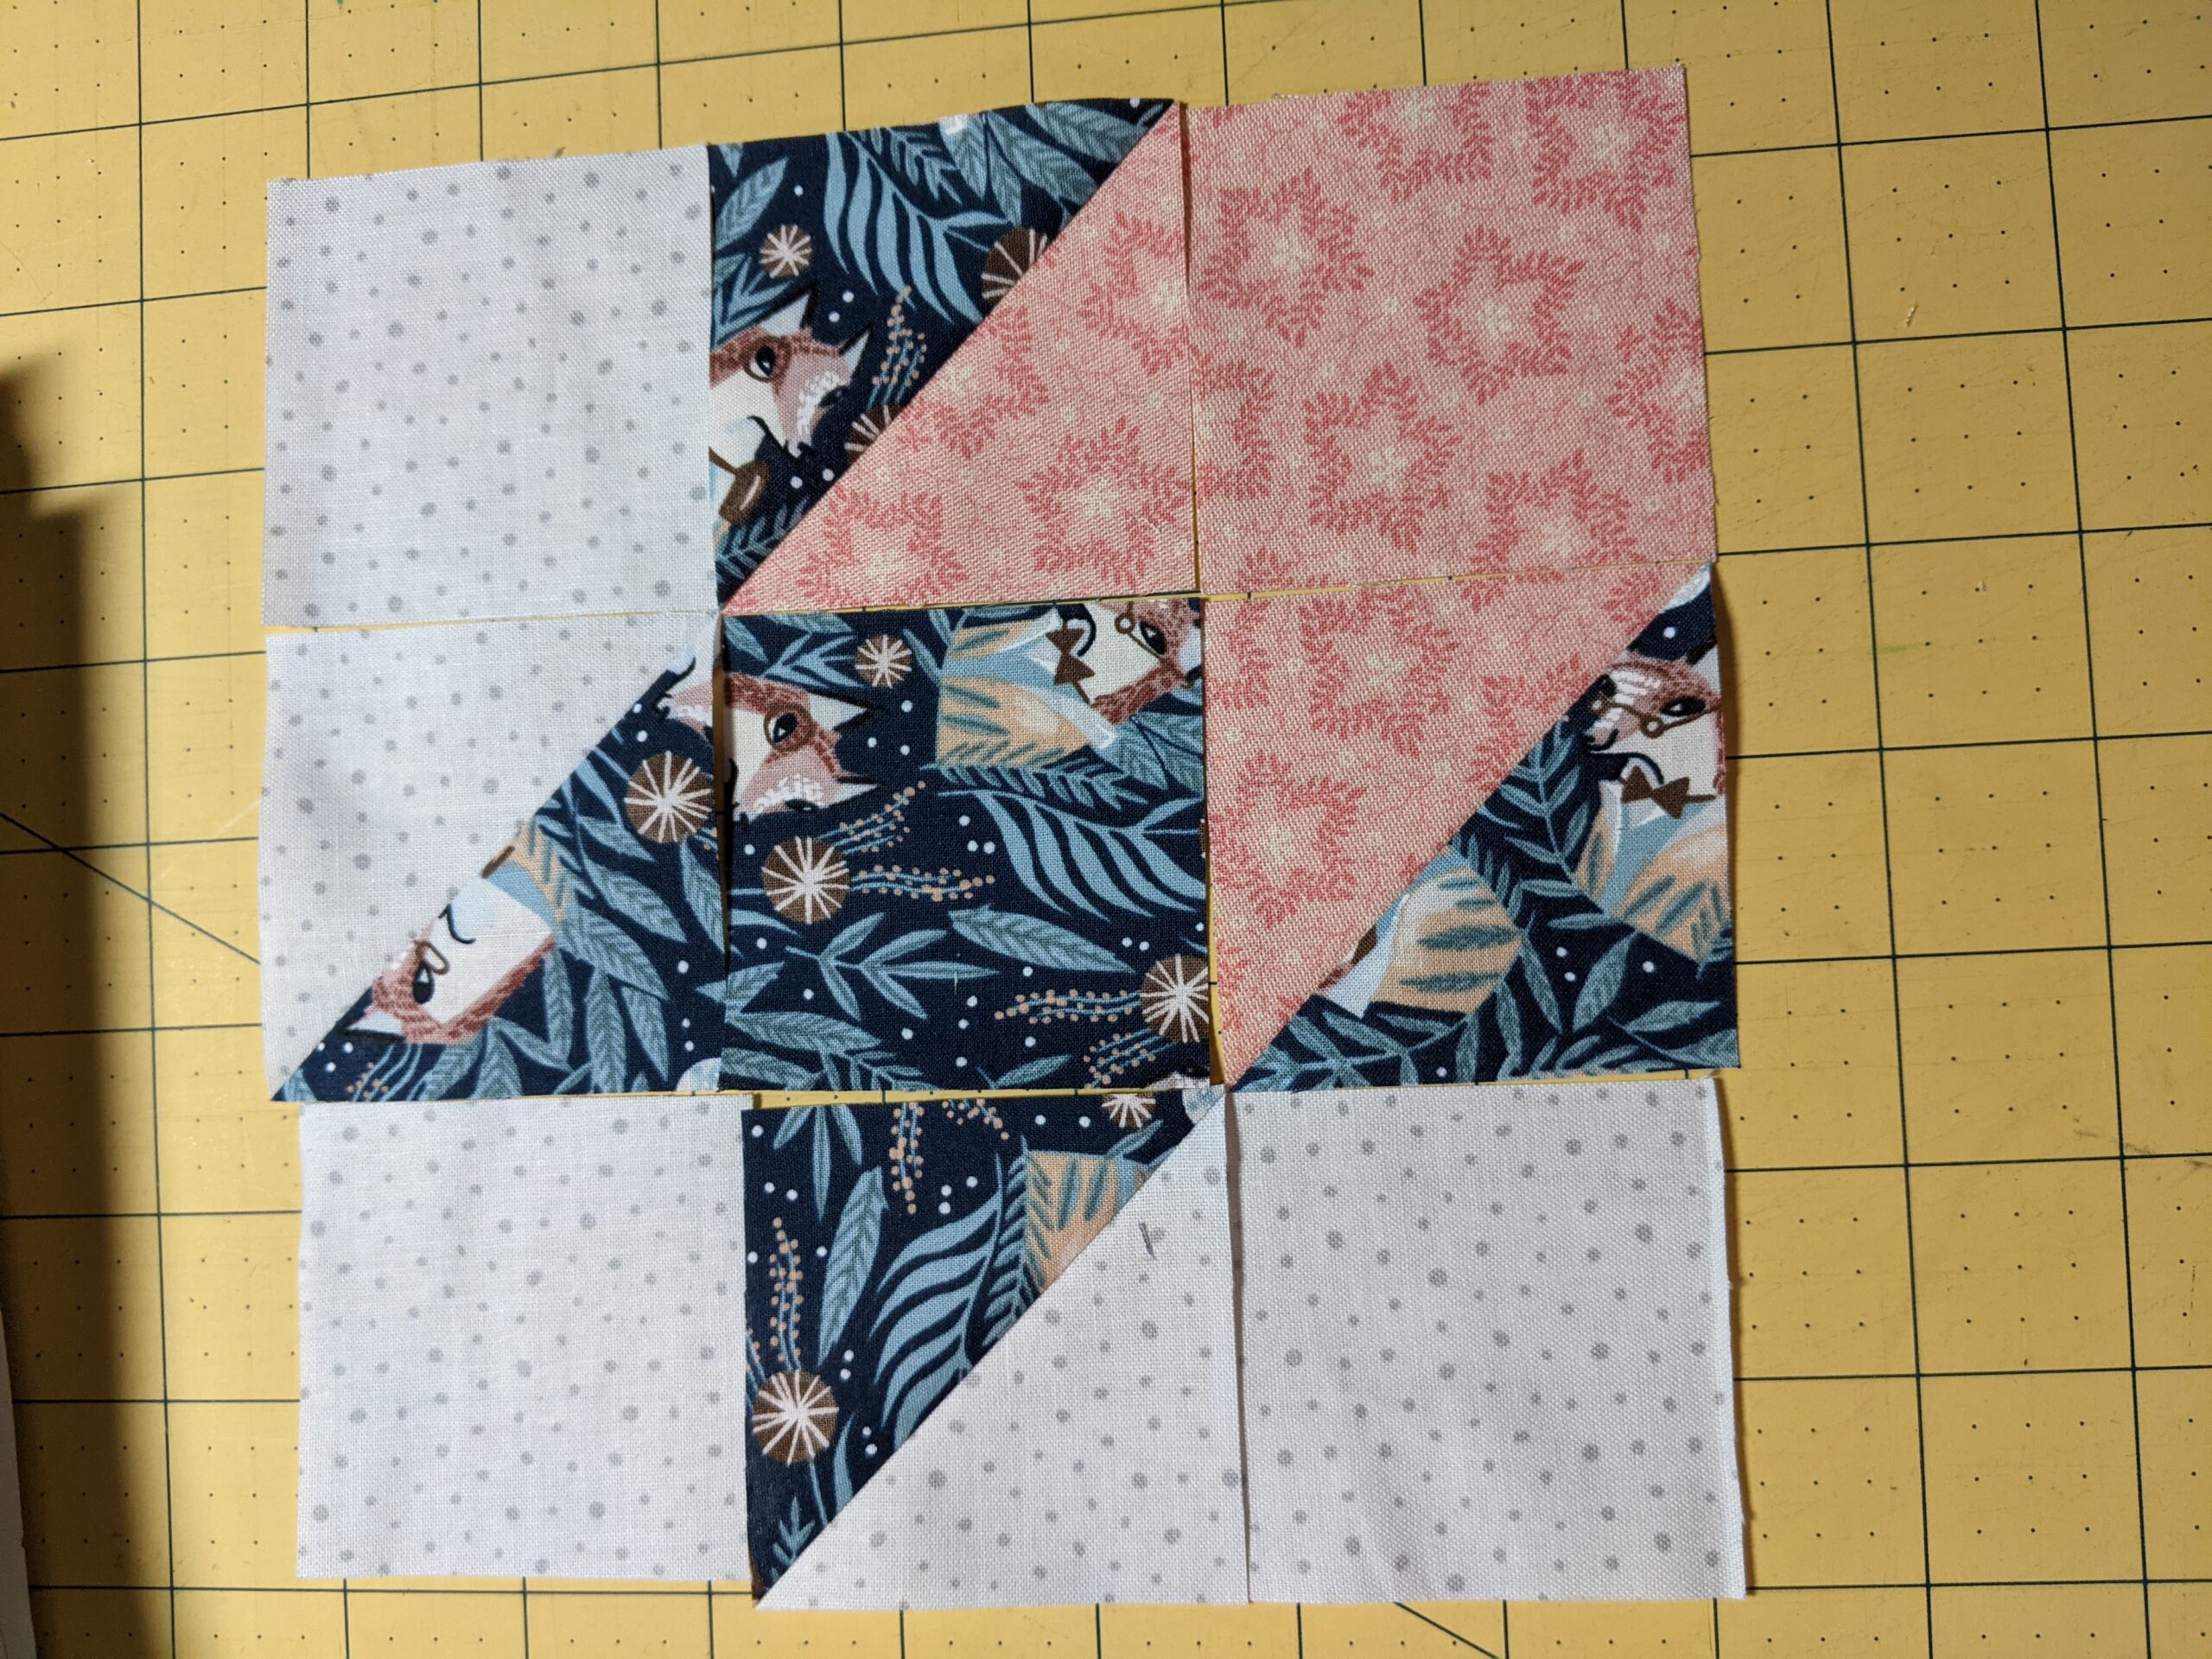
Okay, now we’ve trimmed everything, let’s lay it out and assemble the block. As you can see below, orientation is very important. I assembled this block after laying the entire block out. Moving forward, I’ll just assemble four “corner units” and four “geese units” and then assemble the block. That will mean a lot less worry about messing up the orientations. This was done with chain piecing. I will go into detail about that and how to pin properly to not lose points another day. Please zoom in on the assembled block. There are no missing points. I’m not trying to toot my own horn, but a simple pinning technique is the way to master this. I promise, I’ll let you know how to do it!
For those following along with the Quilt Math…
Flying Geese: There are 8 flying geese in each block (two different color sets of four) times 25 blocks for a total of 200 geese. (I have completed 8 out of 200)
Half Square Triangles: There are 16 total HSTs in each block (two different color sets of eight) times 25 blocks for a total of 400 HSTs. (I have completed 16 out of 400)
Hopefully, those numbers will adjust a bunch by the end of the day…Stay Tuned!
Hour Count:
Previous Hours: 20
Assembly of Test Block 1: 3 hours
Total Hours so far: 23
Next Step: Assembly Line until the cows come home…err…until the geese come home.