With Every Stitch a Story: An Entire Quilt From Start to Finish, Part 8: Finishing!
Quilt is sandwiched and tied. Now it’s time to bind it. There are several ways to bind, but for this quilt, I wanted to roll the backing to the front. The reason for this was that I wanted to bring some of the navy fabric from the back to frame the front and bring out the darker blues in the front. When I do this method of binding, I first run a stay stitch around the edge of my quilt sandwich just in case the binding ever comes undone.
Then, I use my clips to secure the “binding” properly. I prefer to use clips instead of pins here because it’s less porcupine-y to put through the machine when I’m stitching it. Before clips, I definitely had some battle wounds after binding. No matter how ginger you were with it, you always had some pin poking you.
When it is time to stitch the binding on, ensure you have room where your sewing machine is to hold the majority of the bulk. Some people find it easier to add a card table next to their space to help hold the bulk. I use my sous-quilter, my loving husband, to help me. We have the process down to a science at this point. The main objective is to not have the weight of the fabric pull at the needle. You will get uneven stitches or you could break the needle.
It is worth noting that you should always wear eye protection when binding or quilting. It is recommended in almost all Machine User’s Manuals that you wear eye protection ANY time you are sewing more than just two layers of cotton together. I’ve definitely broken a needle before and was cut just under my eye by the flying shard. I had forgotten to put my safety glasses on and was exceptionally lucky. The shard cut my skin about a quarter inch from my eye….just a bit higher, and I could have lost my vision. I now keep my safety glasses on top of my machine so that I see them and remember to wear them when doing anything bulky. Go to you local home improvement store and splurge on the nice glasses (about $8-$12) not the chemistry class ones. Mine just look the sunglasses that are clear. They are comfortable and not bulky….and off my soap box I go.
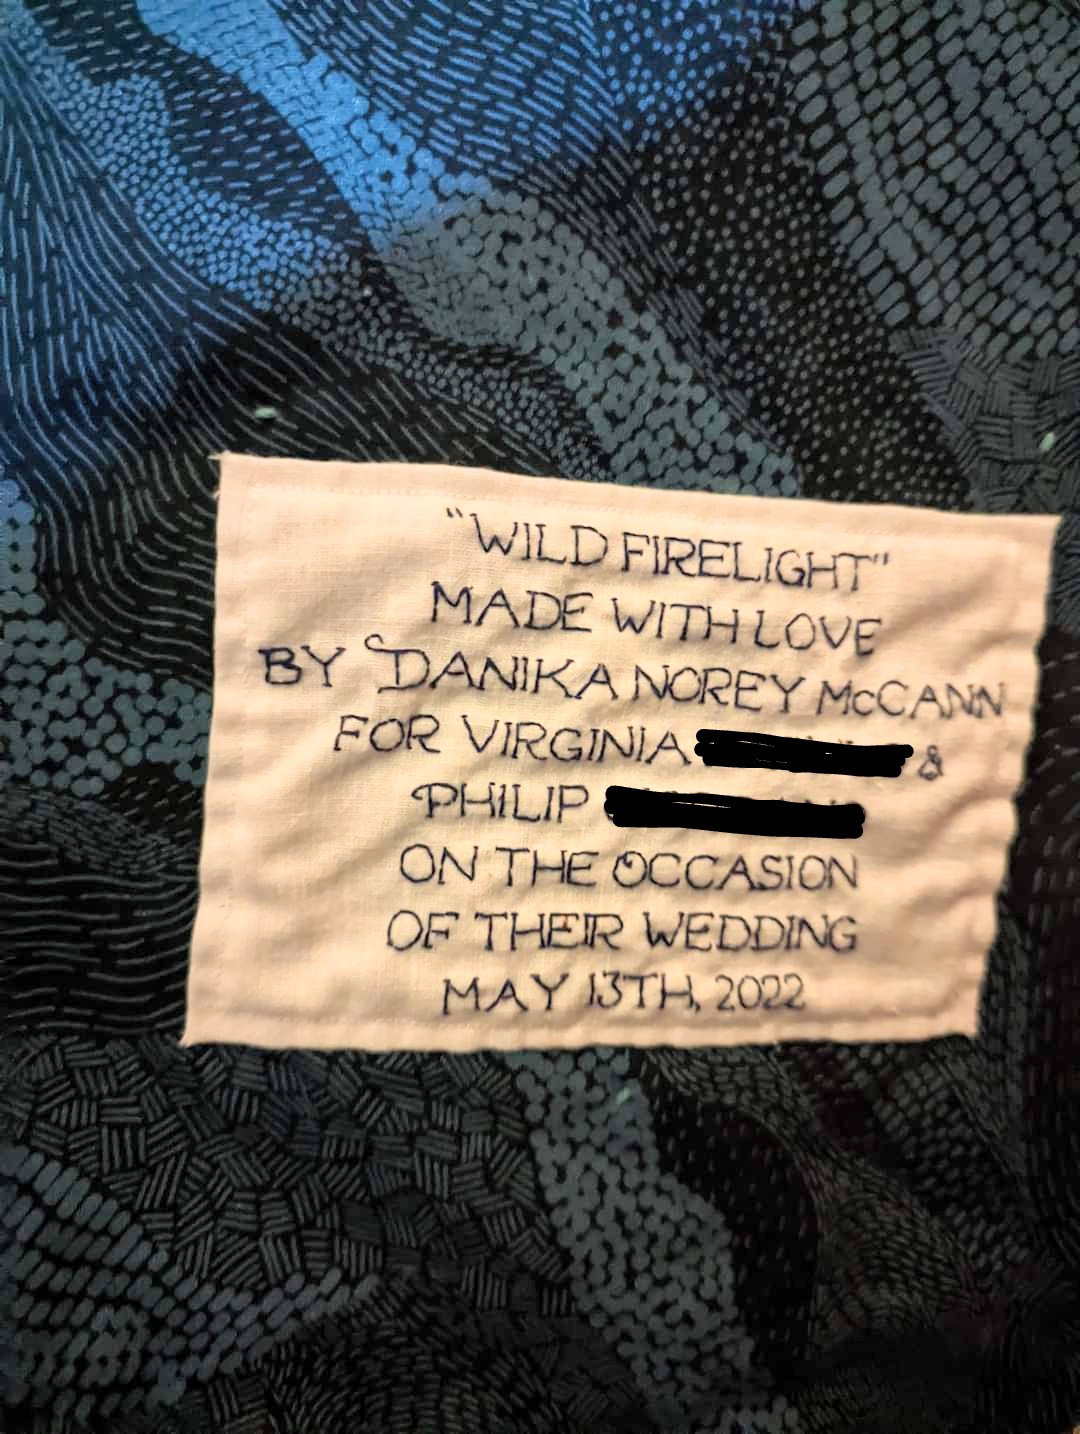
After binding, the label needs to be put on. I have all of my labels hand made by Anne Lemin of Quilted Lovelies in Texas. She embroiders them all for me and I absolutely love them. I hand stitch my labels on just before I’m going to wash the quilt. Remember: a Quilt is not finished unless it has a label on it!
I ALWAYS wash my quilts before giving them to their new owners. I always try to do a pretty harsh wash cycle for a few reasons. I want to make sure the quilt will survive if someone accidentally puts through a regular, hot wash. So, generally I wash my quilts for their first wash in hot. I add color catchers in to the machine and I ensure they come out clean. I will repeat was until the color catchers are white. I do not want a quilt to run after its out of my hands. I also watch the time on the machine and DO NOT let it sit in the washer for more than five minutes. If its going to run, the dye sitting on wet fabric will set in a short amount of time, so you don’t want it to sit.
When washing a quilt, you’ll want to put it in on the gentle cycle in warm or cold. If you have a front loader, it can go through the whole cycle in there, but if you have a top-loader, the quilt CANNOT agitate. It can rip the stitching and cause lots of damage. If you have a top loader, let it fill and soak. As soon as it starts agitating, stop the machine. If it is very heavily soiled, grab your biggest wooden spoon and start smushing it (technically term, I swear) and then push the knob passed agitate to spin, close your washer and let it finish with a spin and rinse.
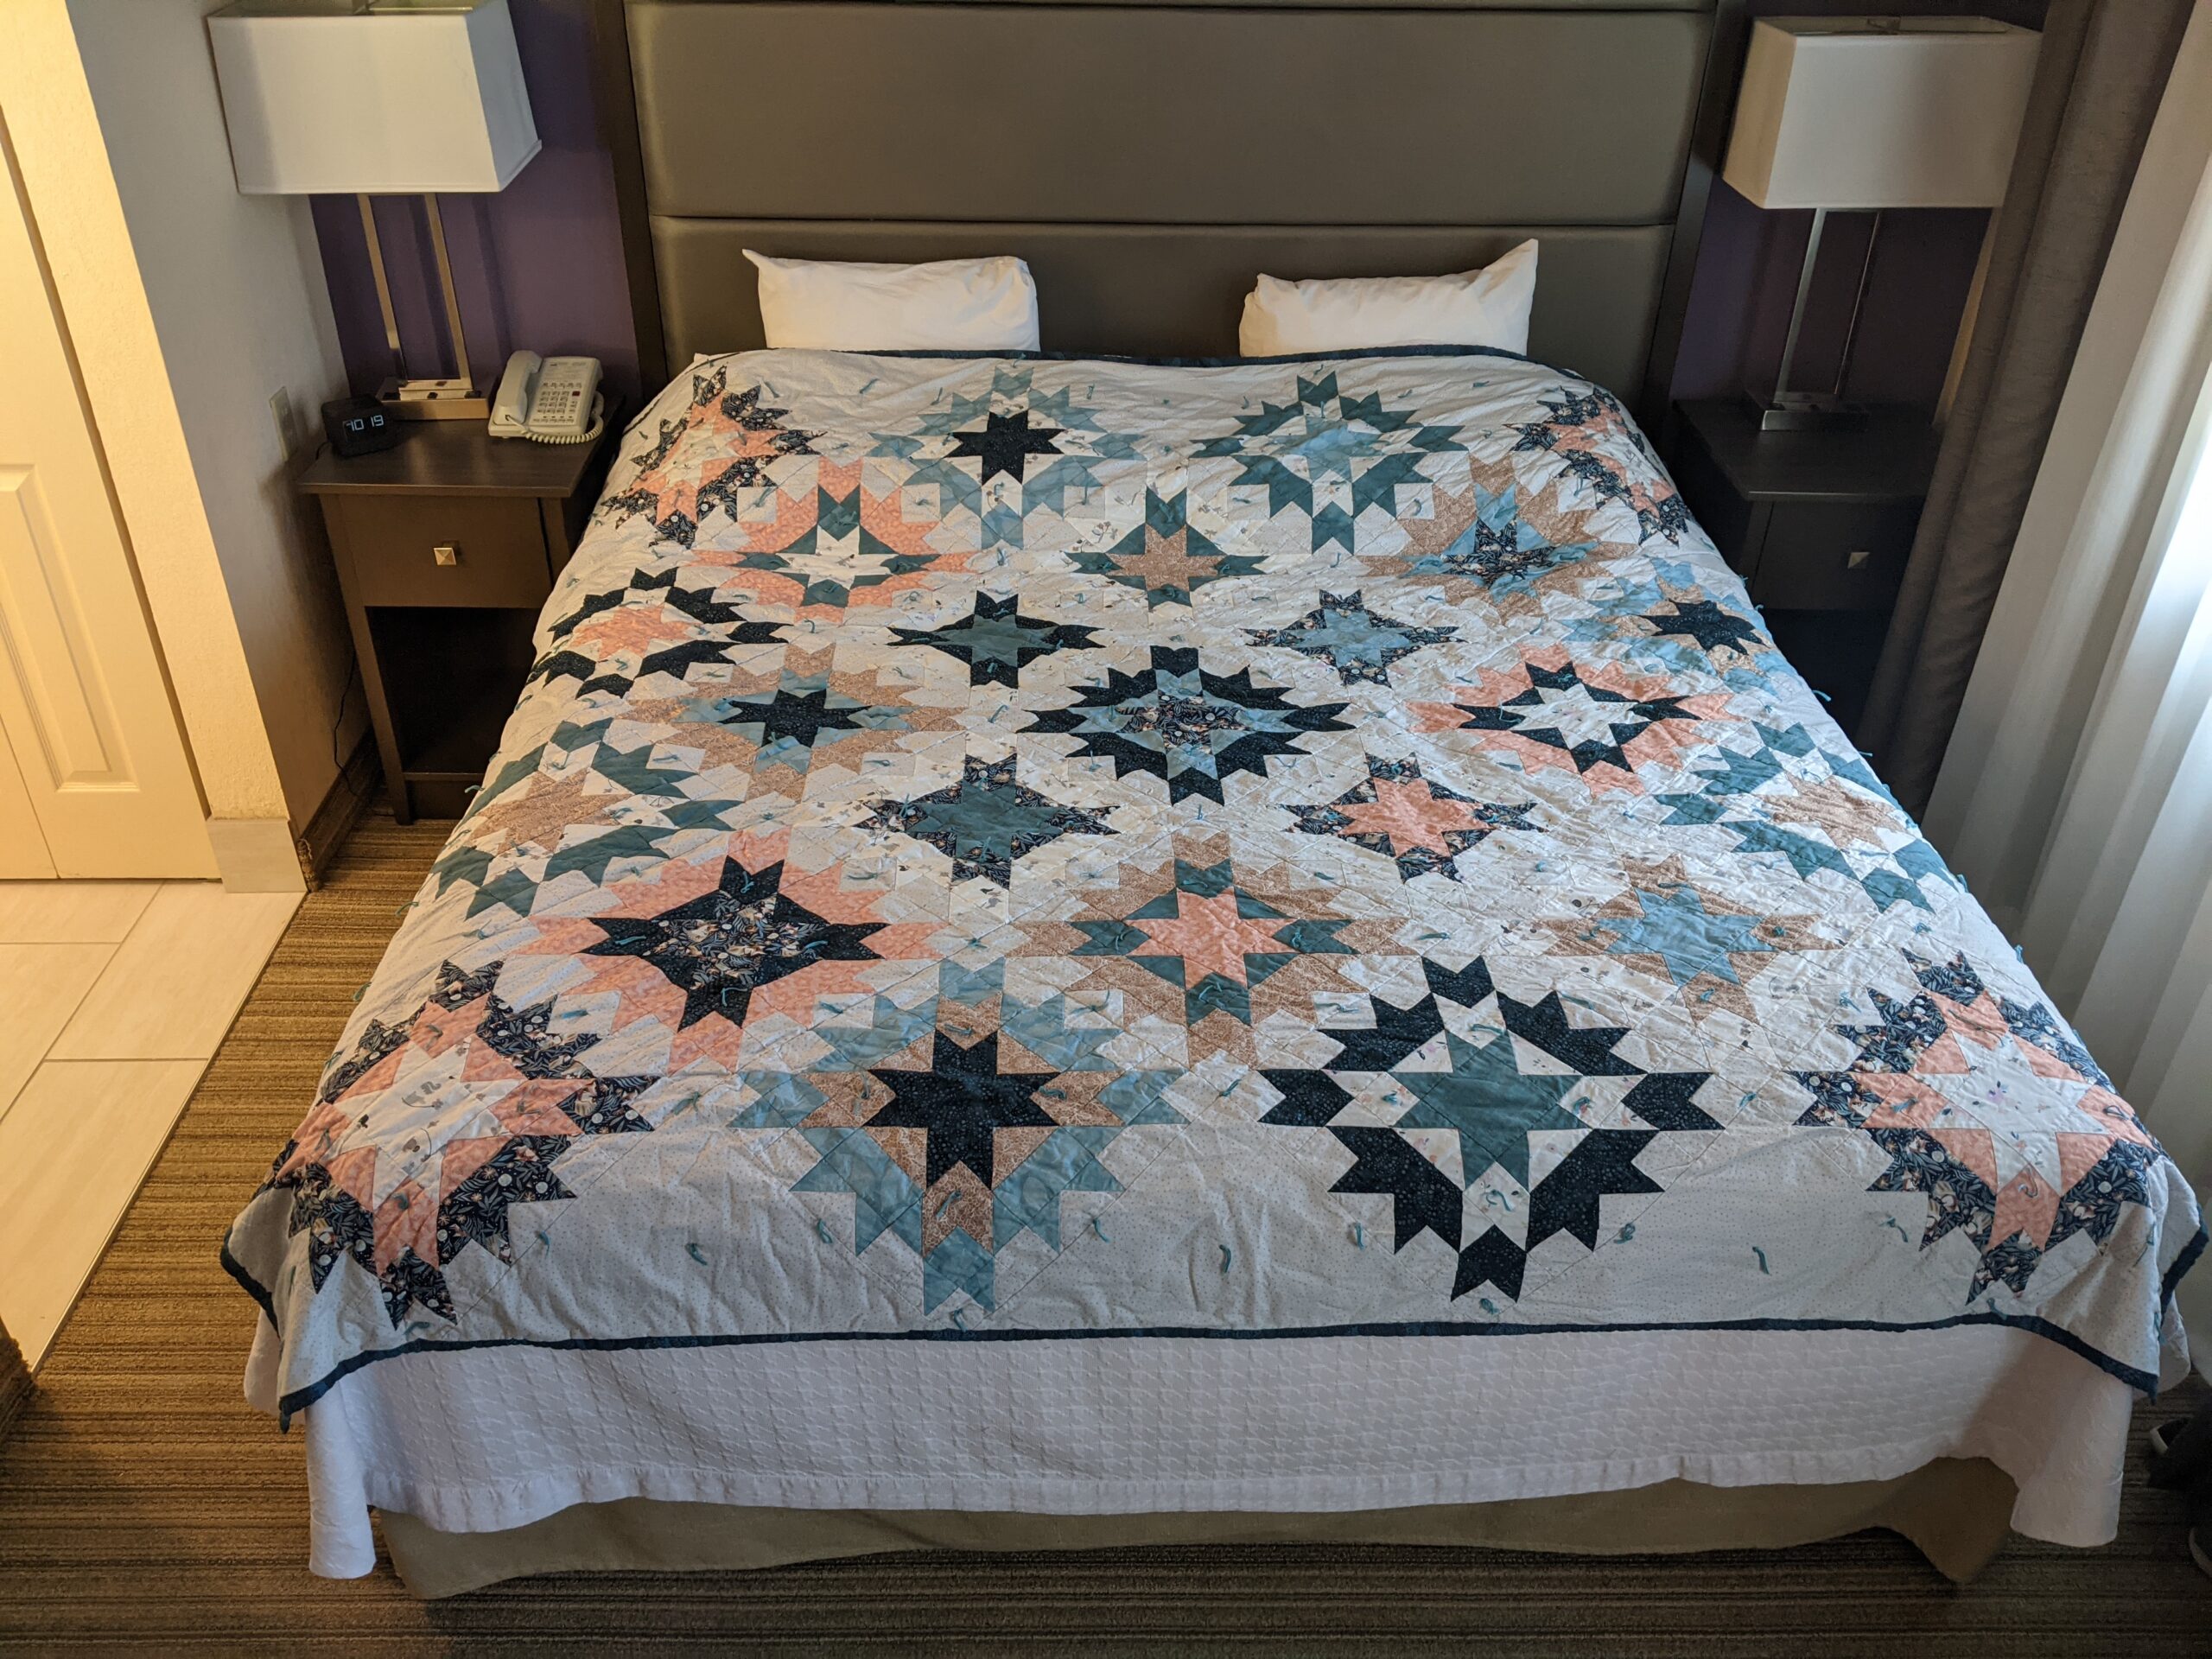
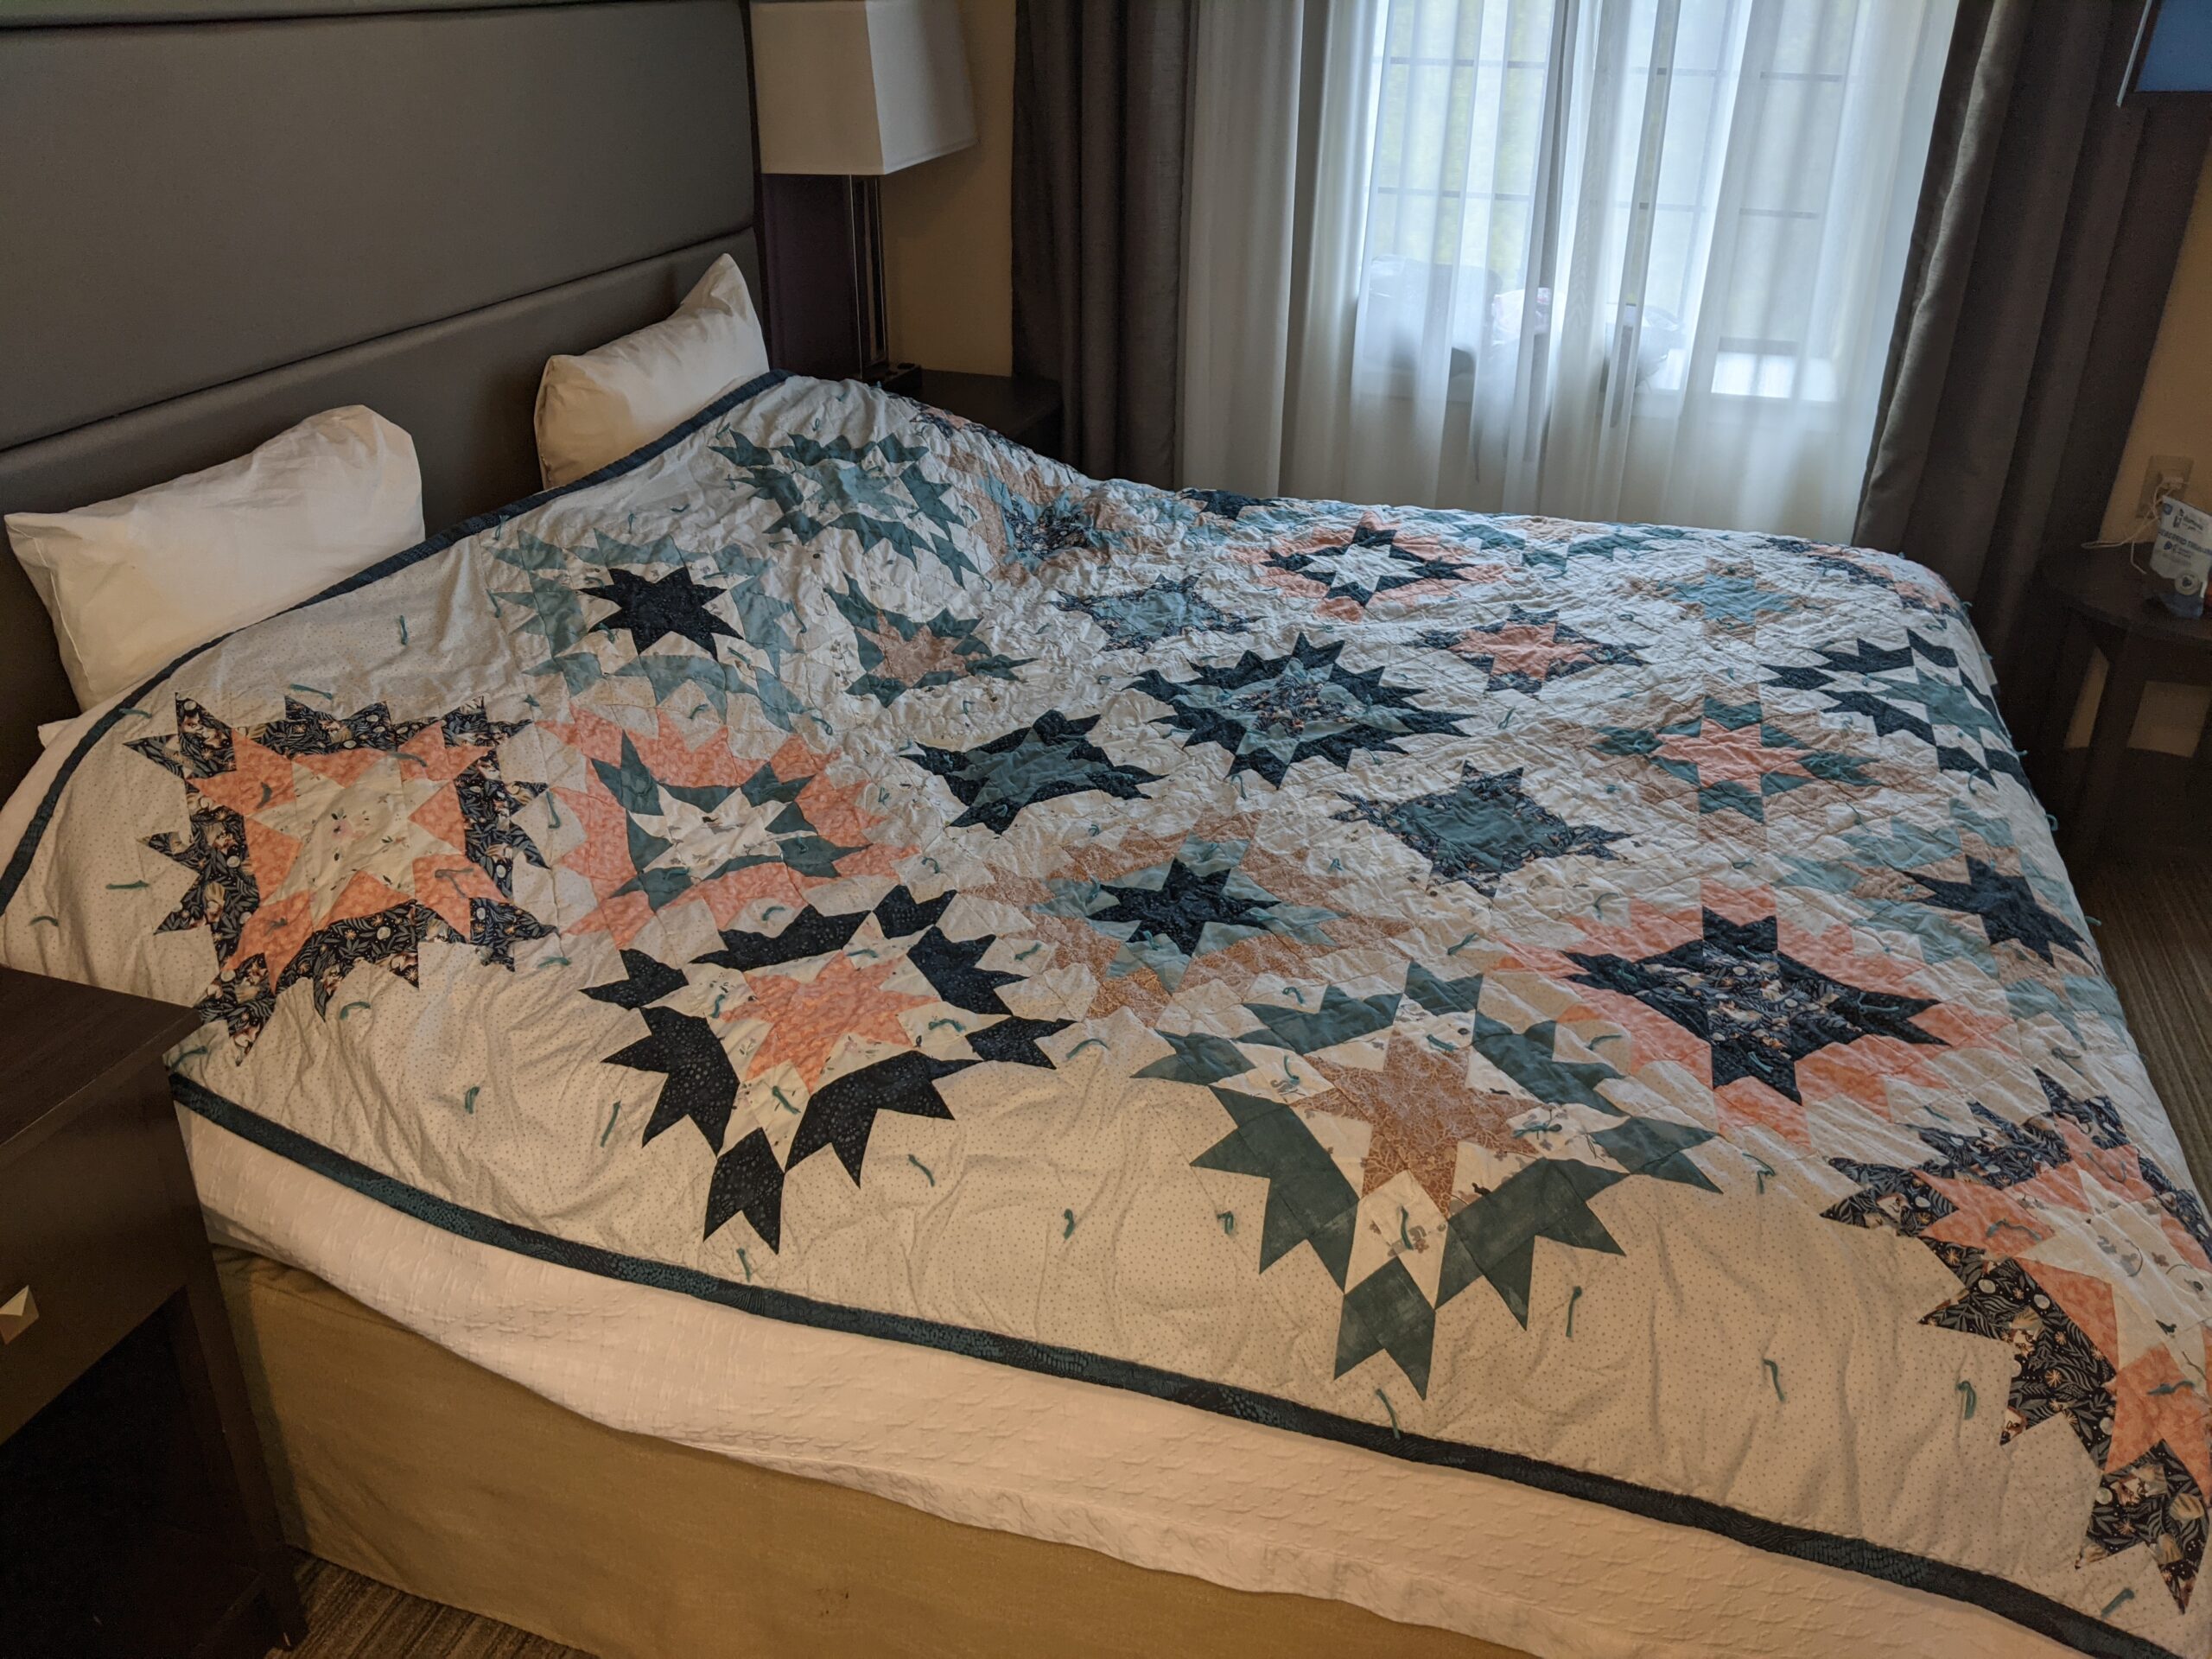
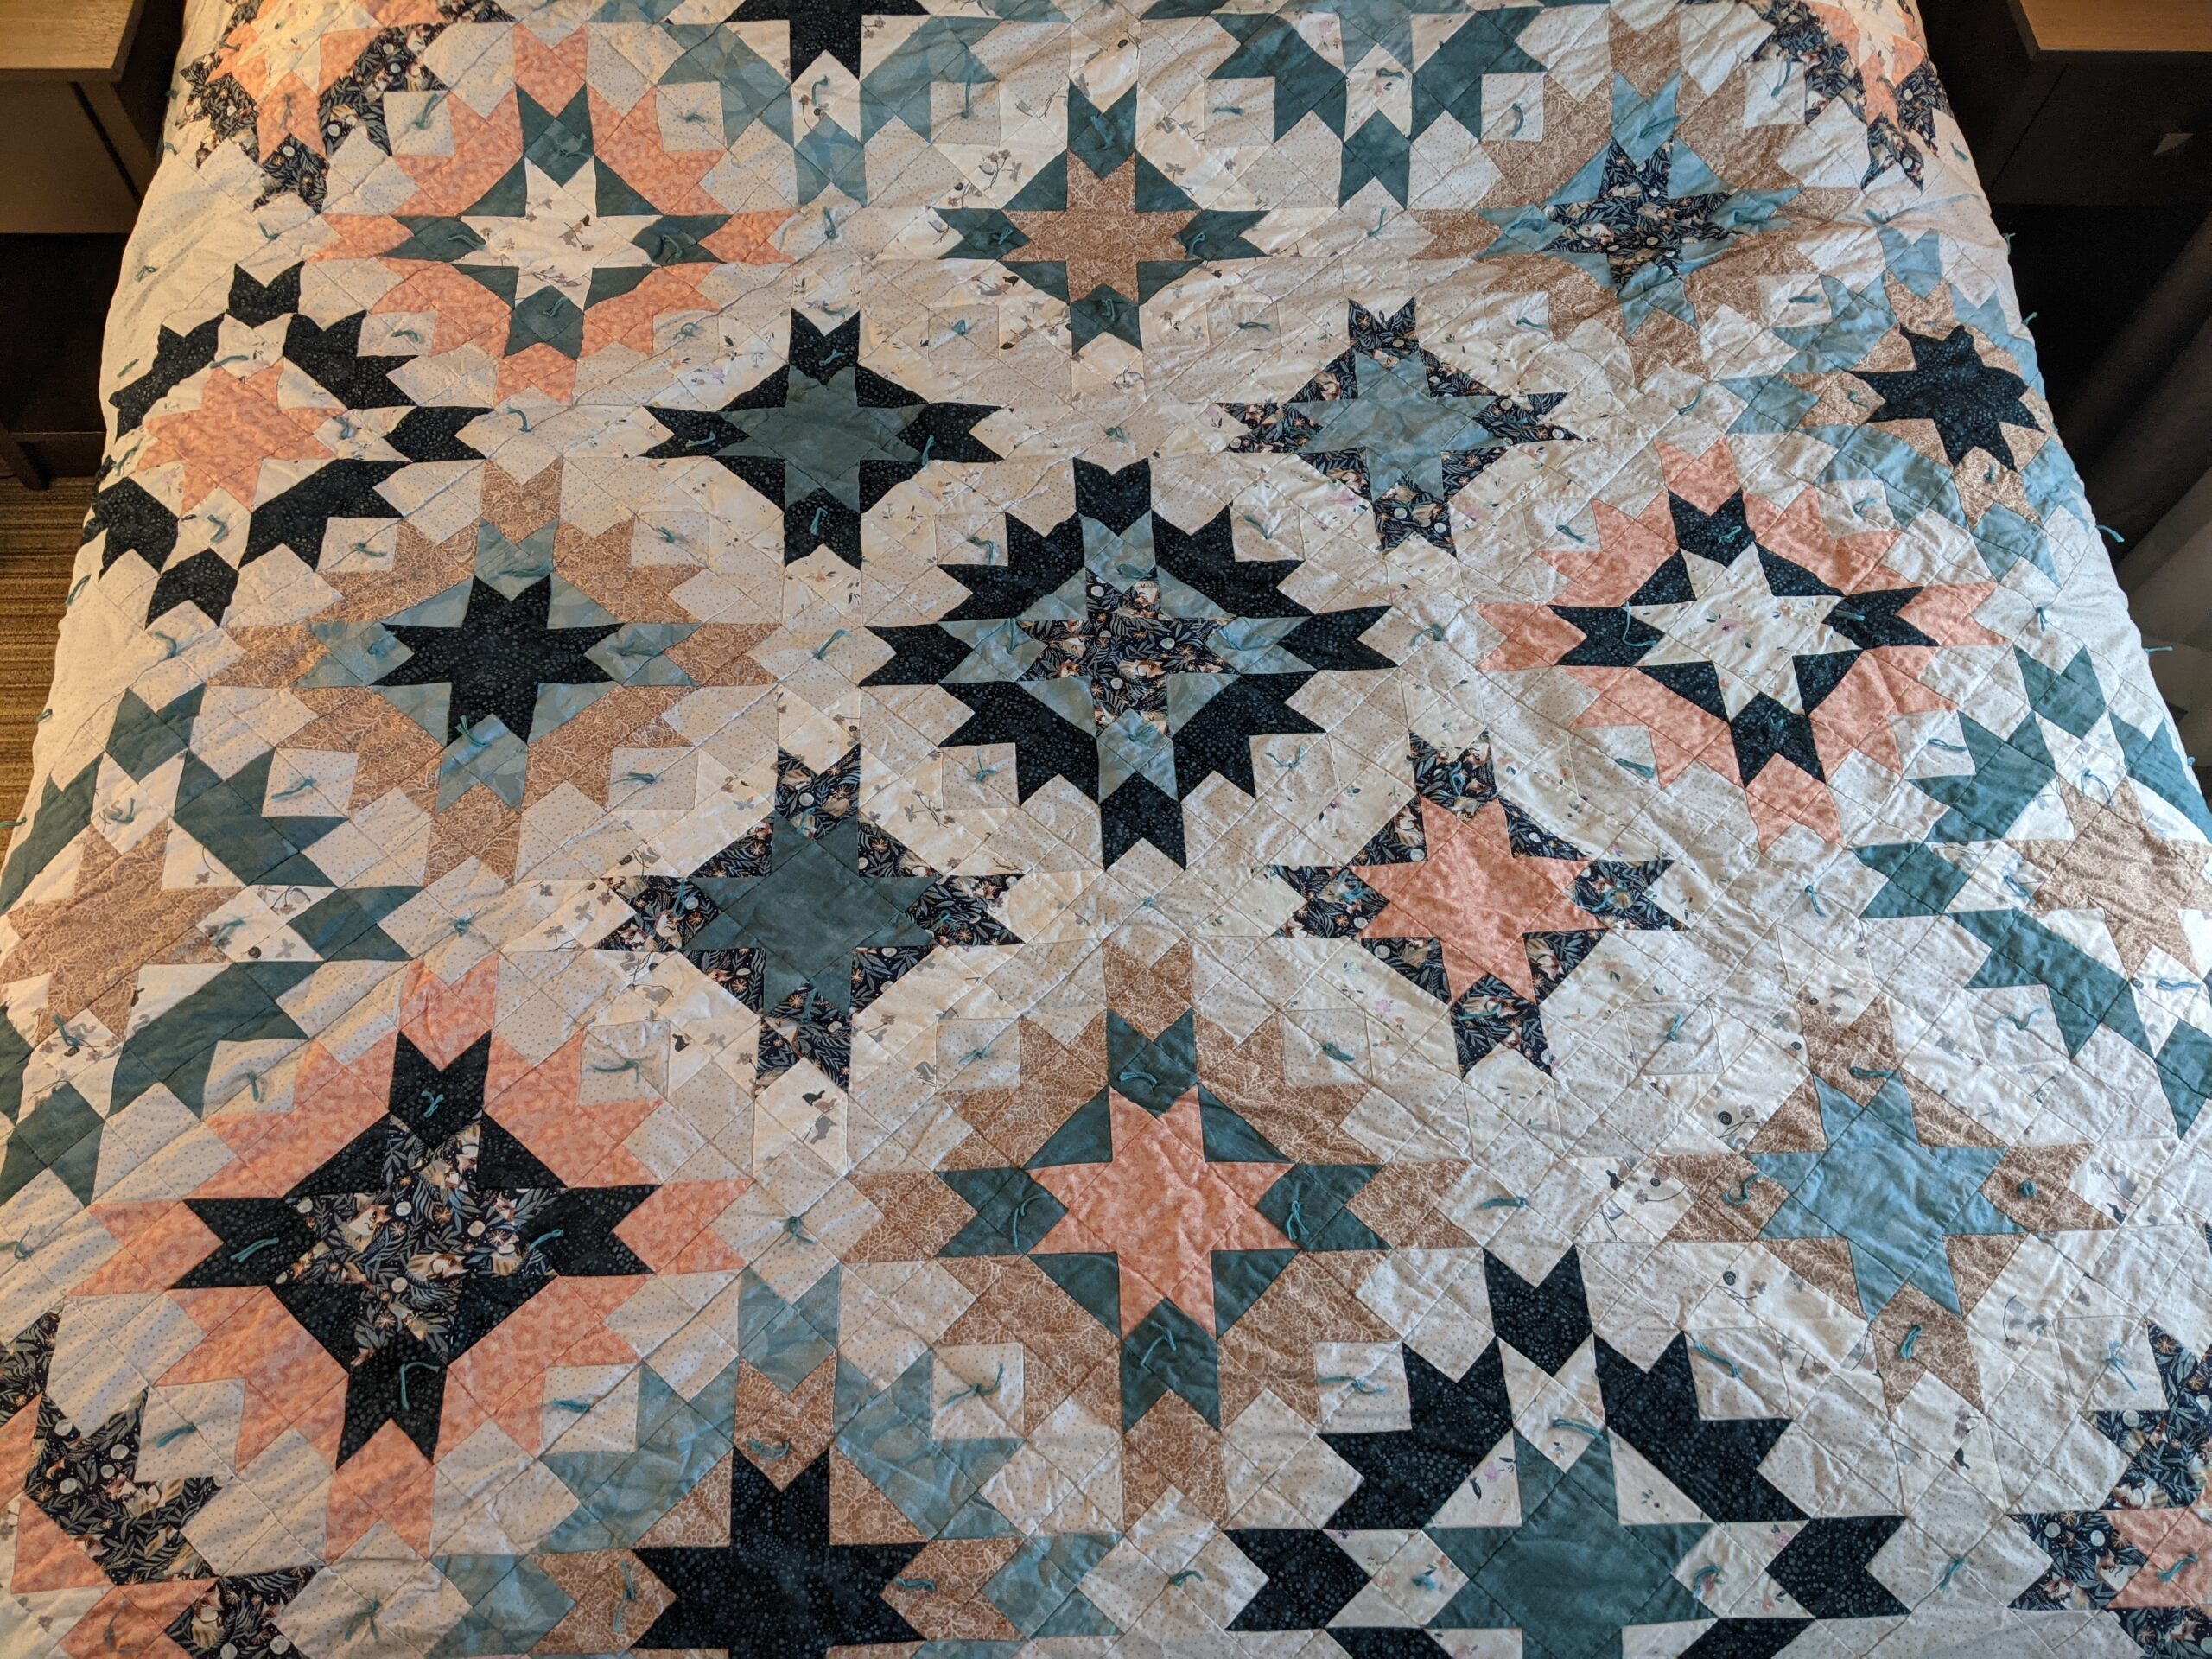
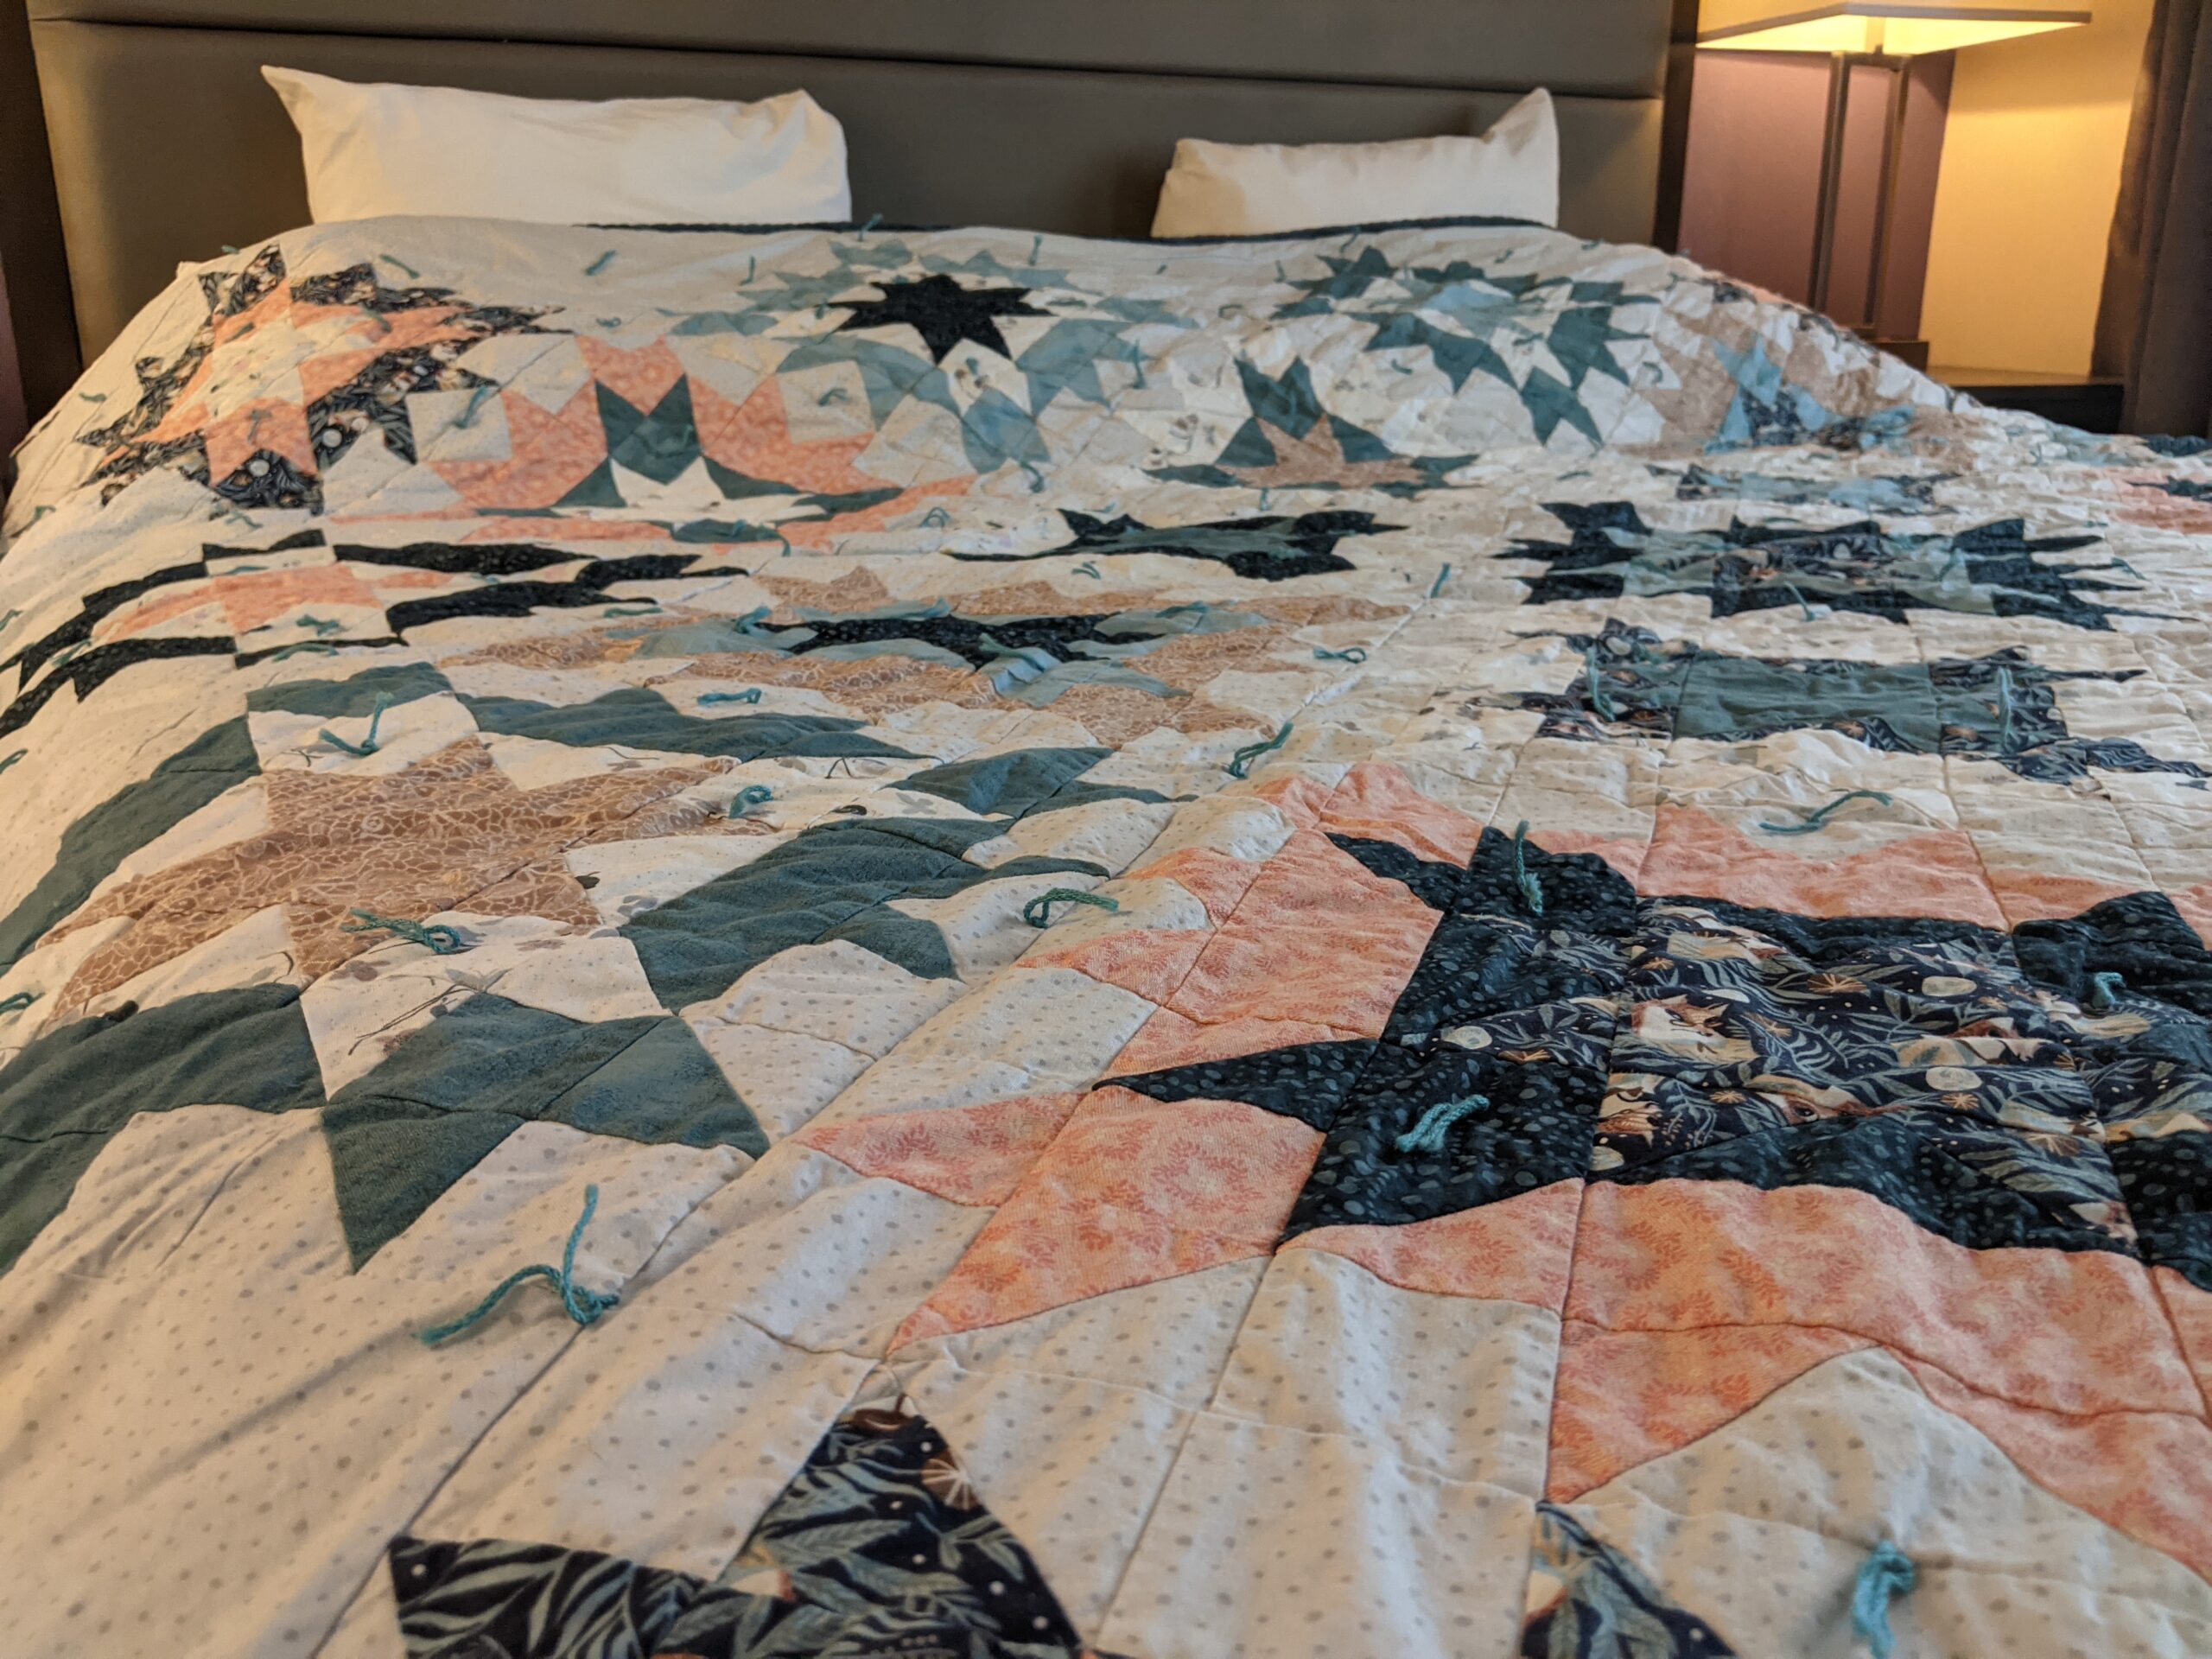
I’ve apparently made it my habit to photograph finished quilts in hotels. Here’s a few more photos for your enjoyment.
Here’s the details on Wild Firelight
Title: Wild Firelight
Pattern: “Firelight” by Sharon Holland Designs, colors and finished size not to pattern specifications
Size: larger than Queen, finished ~93″ x 93″
Fabric: Colors curated by me, purchased from Burkholder Fabric in Denver, Pennsylvania while at retreat
Piecing: Machine stitched on Mavis, the Bernina 770QE, with Connecting Threads Essential 50 weight, 100% Cotton, in White
Cutting: all by hand
Quilting: Tied with Takhi Cotton Classic, 100% cotton yarn purchased at Cornwall Yarn Shop
Backing: “Elements Earth” in Navy by Northcott Fabrics, 108″ fabric purchased from Beetle & Fred in Beacon, New York
Label: Hand Embroidered by Anne Lemin of Quilted Lovelies, machine stitched by Danika to attach to quilt back
Batting: Quilter’s Dream
Finished Date: May 2022
Total Hours: 98 hours