With Every Stitch a Story: An Entire Quilt From Start to Finish, Part 7: A Quilt Sandwich
Ham and Cheese? Peanut Butter and Jelly? Nope! How about a Quilt Sandwich!!
Once the top is finished, you have a few options. If you have time (I definitely did NOT) you could prep your top for a longarmer or quilt the top yourself, either by hand or by machine. I often quilt my own quilts, but this one is larger than Queen sized, so I think Mavis (my Bernina 770QE) would have had a bit of trouble handling this one. I definitely did not have enough time alotted to get this to a longarmer to quilt it for me, so this one had to be sandwiched and tied.
If I was sending it off, the prep would be much different. I would not sandwich it at all but give all three layers (the top, the batting and the backing) to the longarmer. If you are using a longarmer, please make sure you check with your individual longarmer to ensure you prep the quilt exactly how they like it. Everyone has different methods and preferences and you’ll want to make sure you’ve given it to them the way they prefer.
Some of the prep, however, is exactly the same. You will always want your finished top to be well pressed, free of any pins and square. You also want to ensure that it lays flat. If it doesn’t lay flat before it’s quilted, it won’t lay flat afterwards.
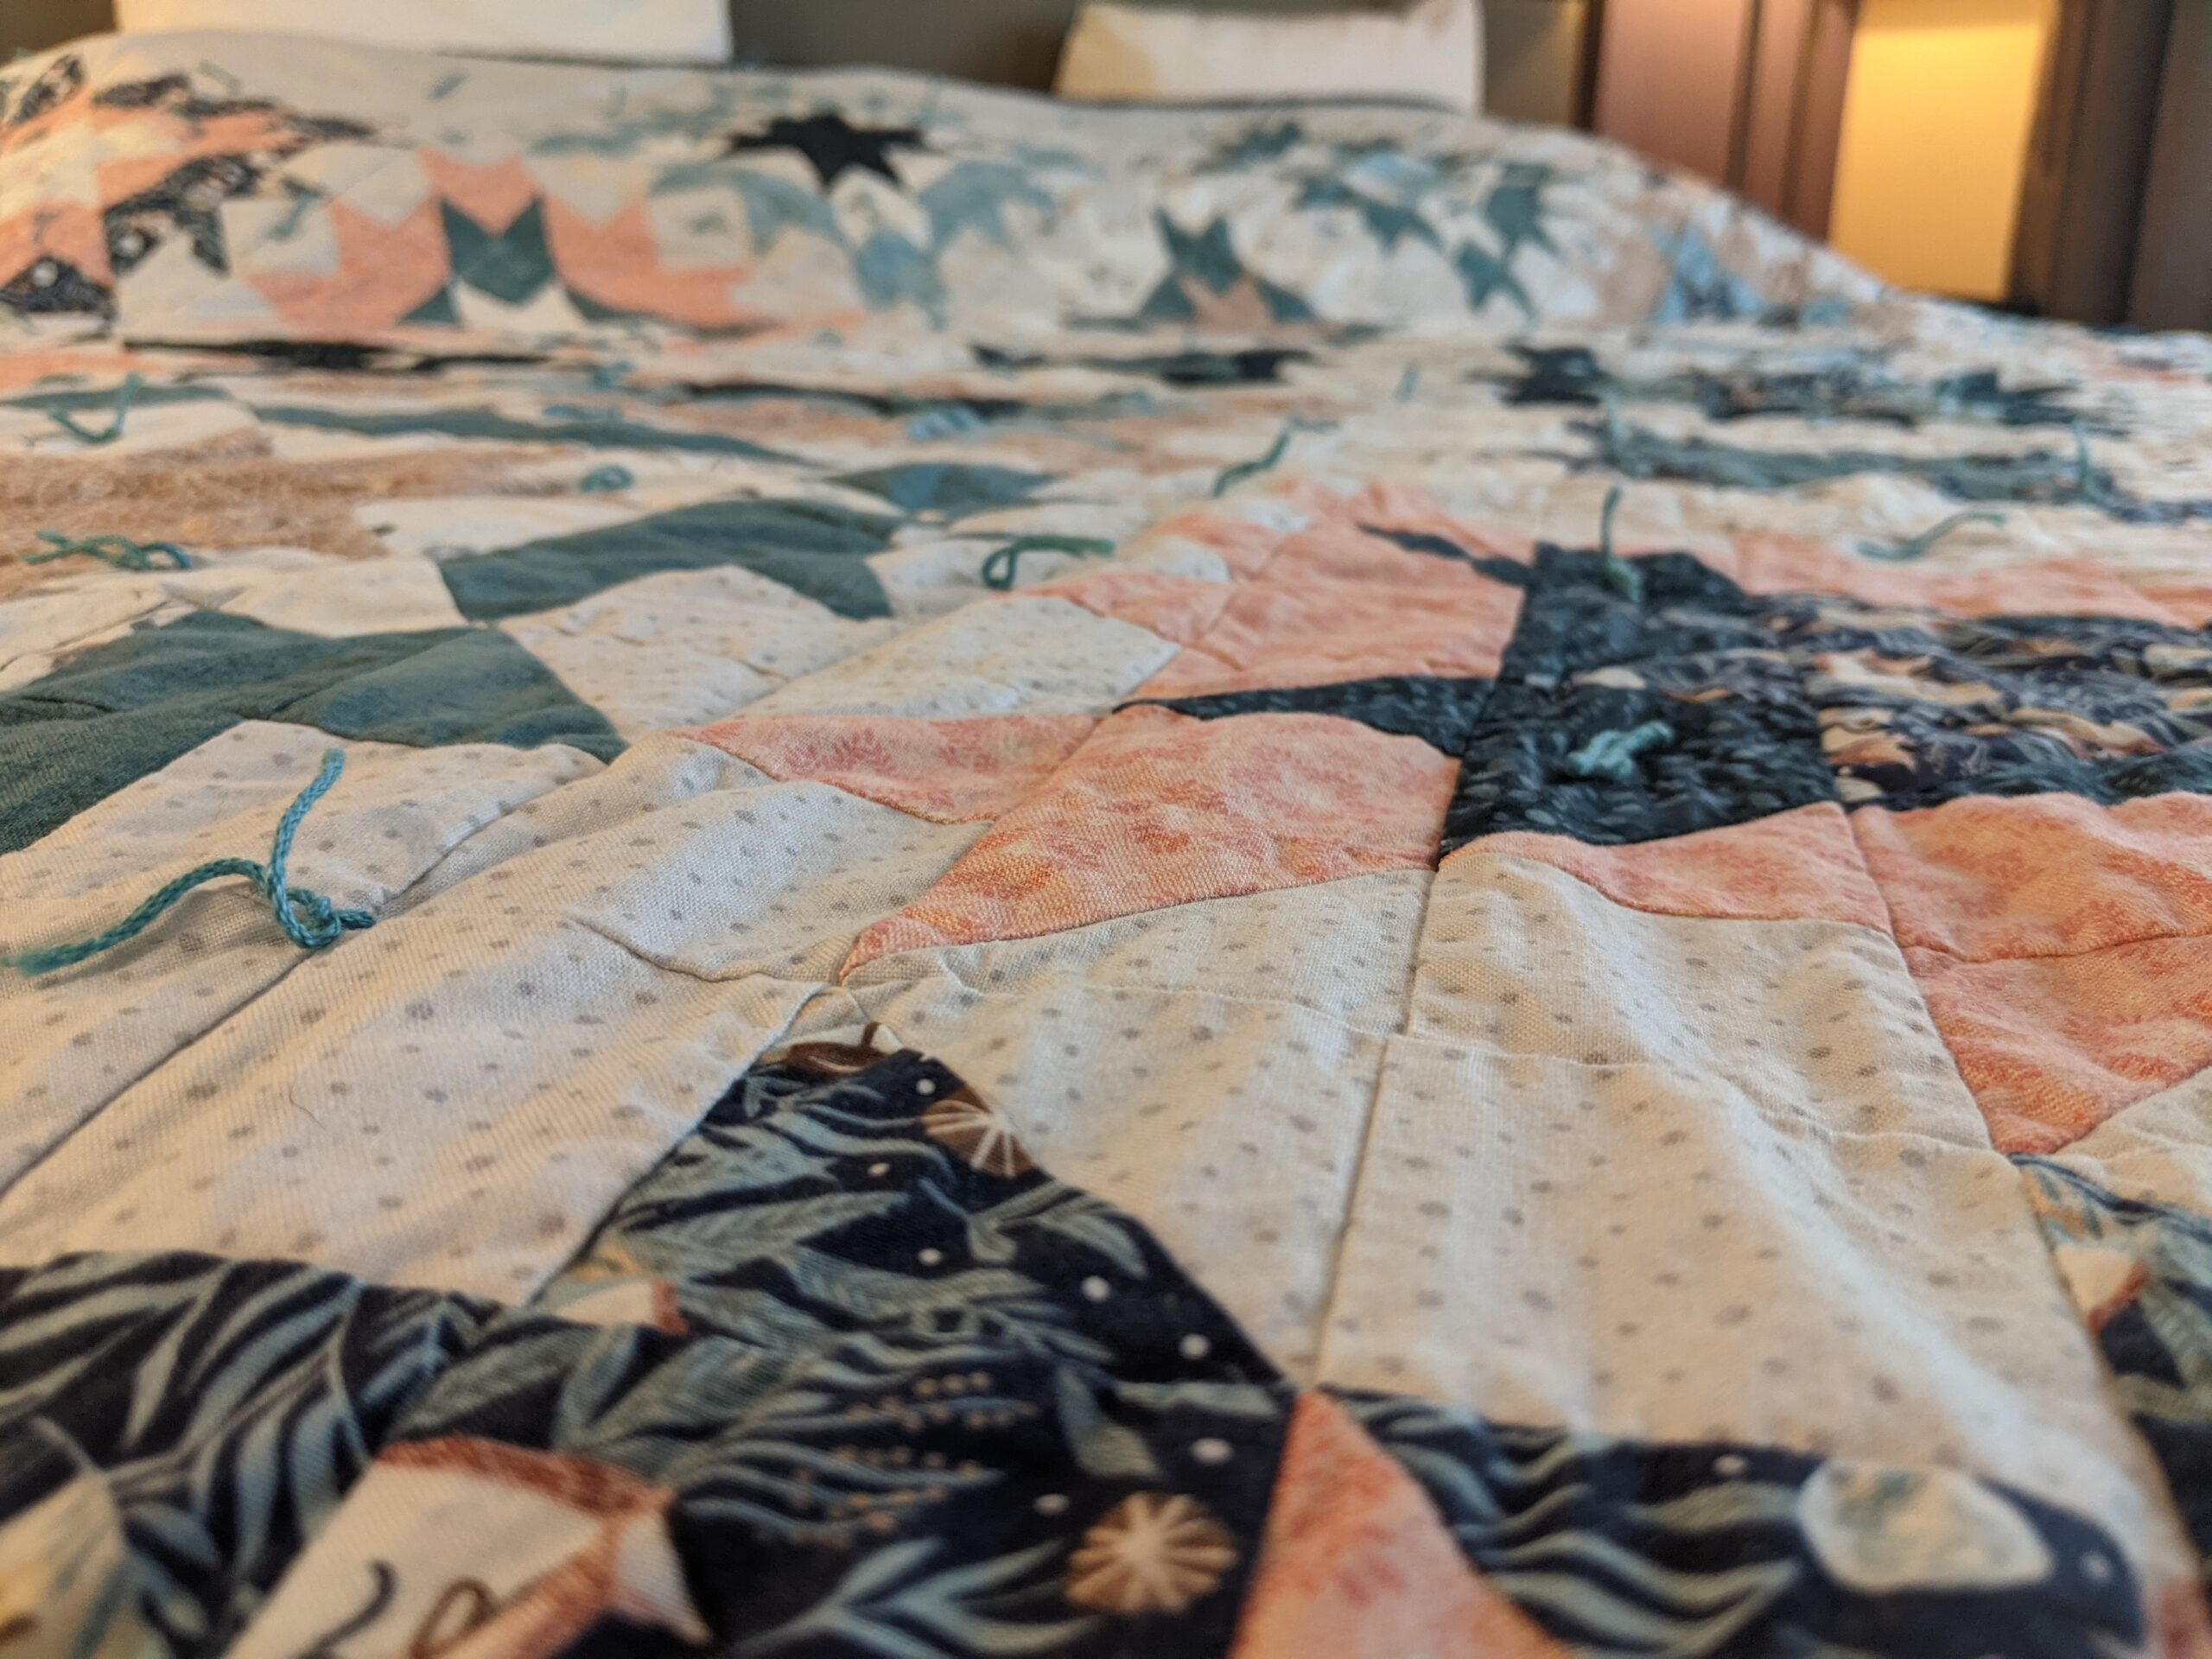
If this quilt was going to be quilted by me, either by hand or on Mavis, I would sandwich as I will describe below. However, I will not be quilting this, but tying it. I love a tied quilt. It could almost be called my signature. I think it’s a charming way to bring back the original, utilitarian, folky way of finishing a heirloom and I love it. I also think it adds a wonderful textured and dimensional layer.
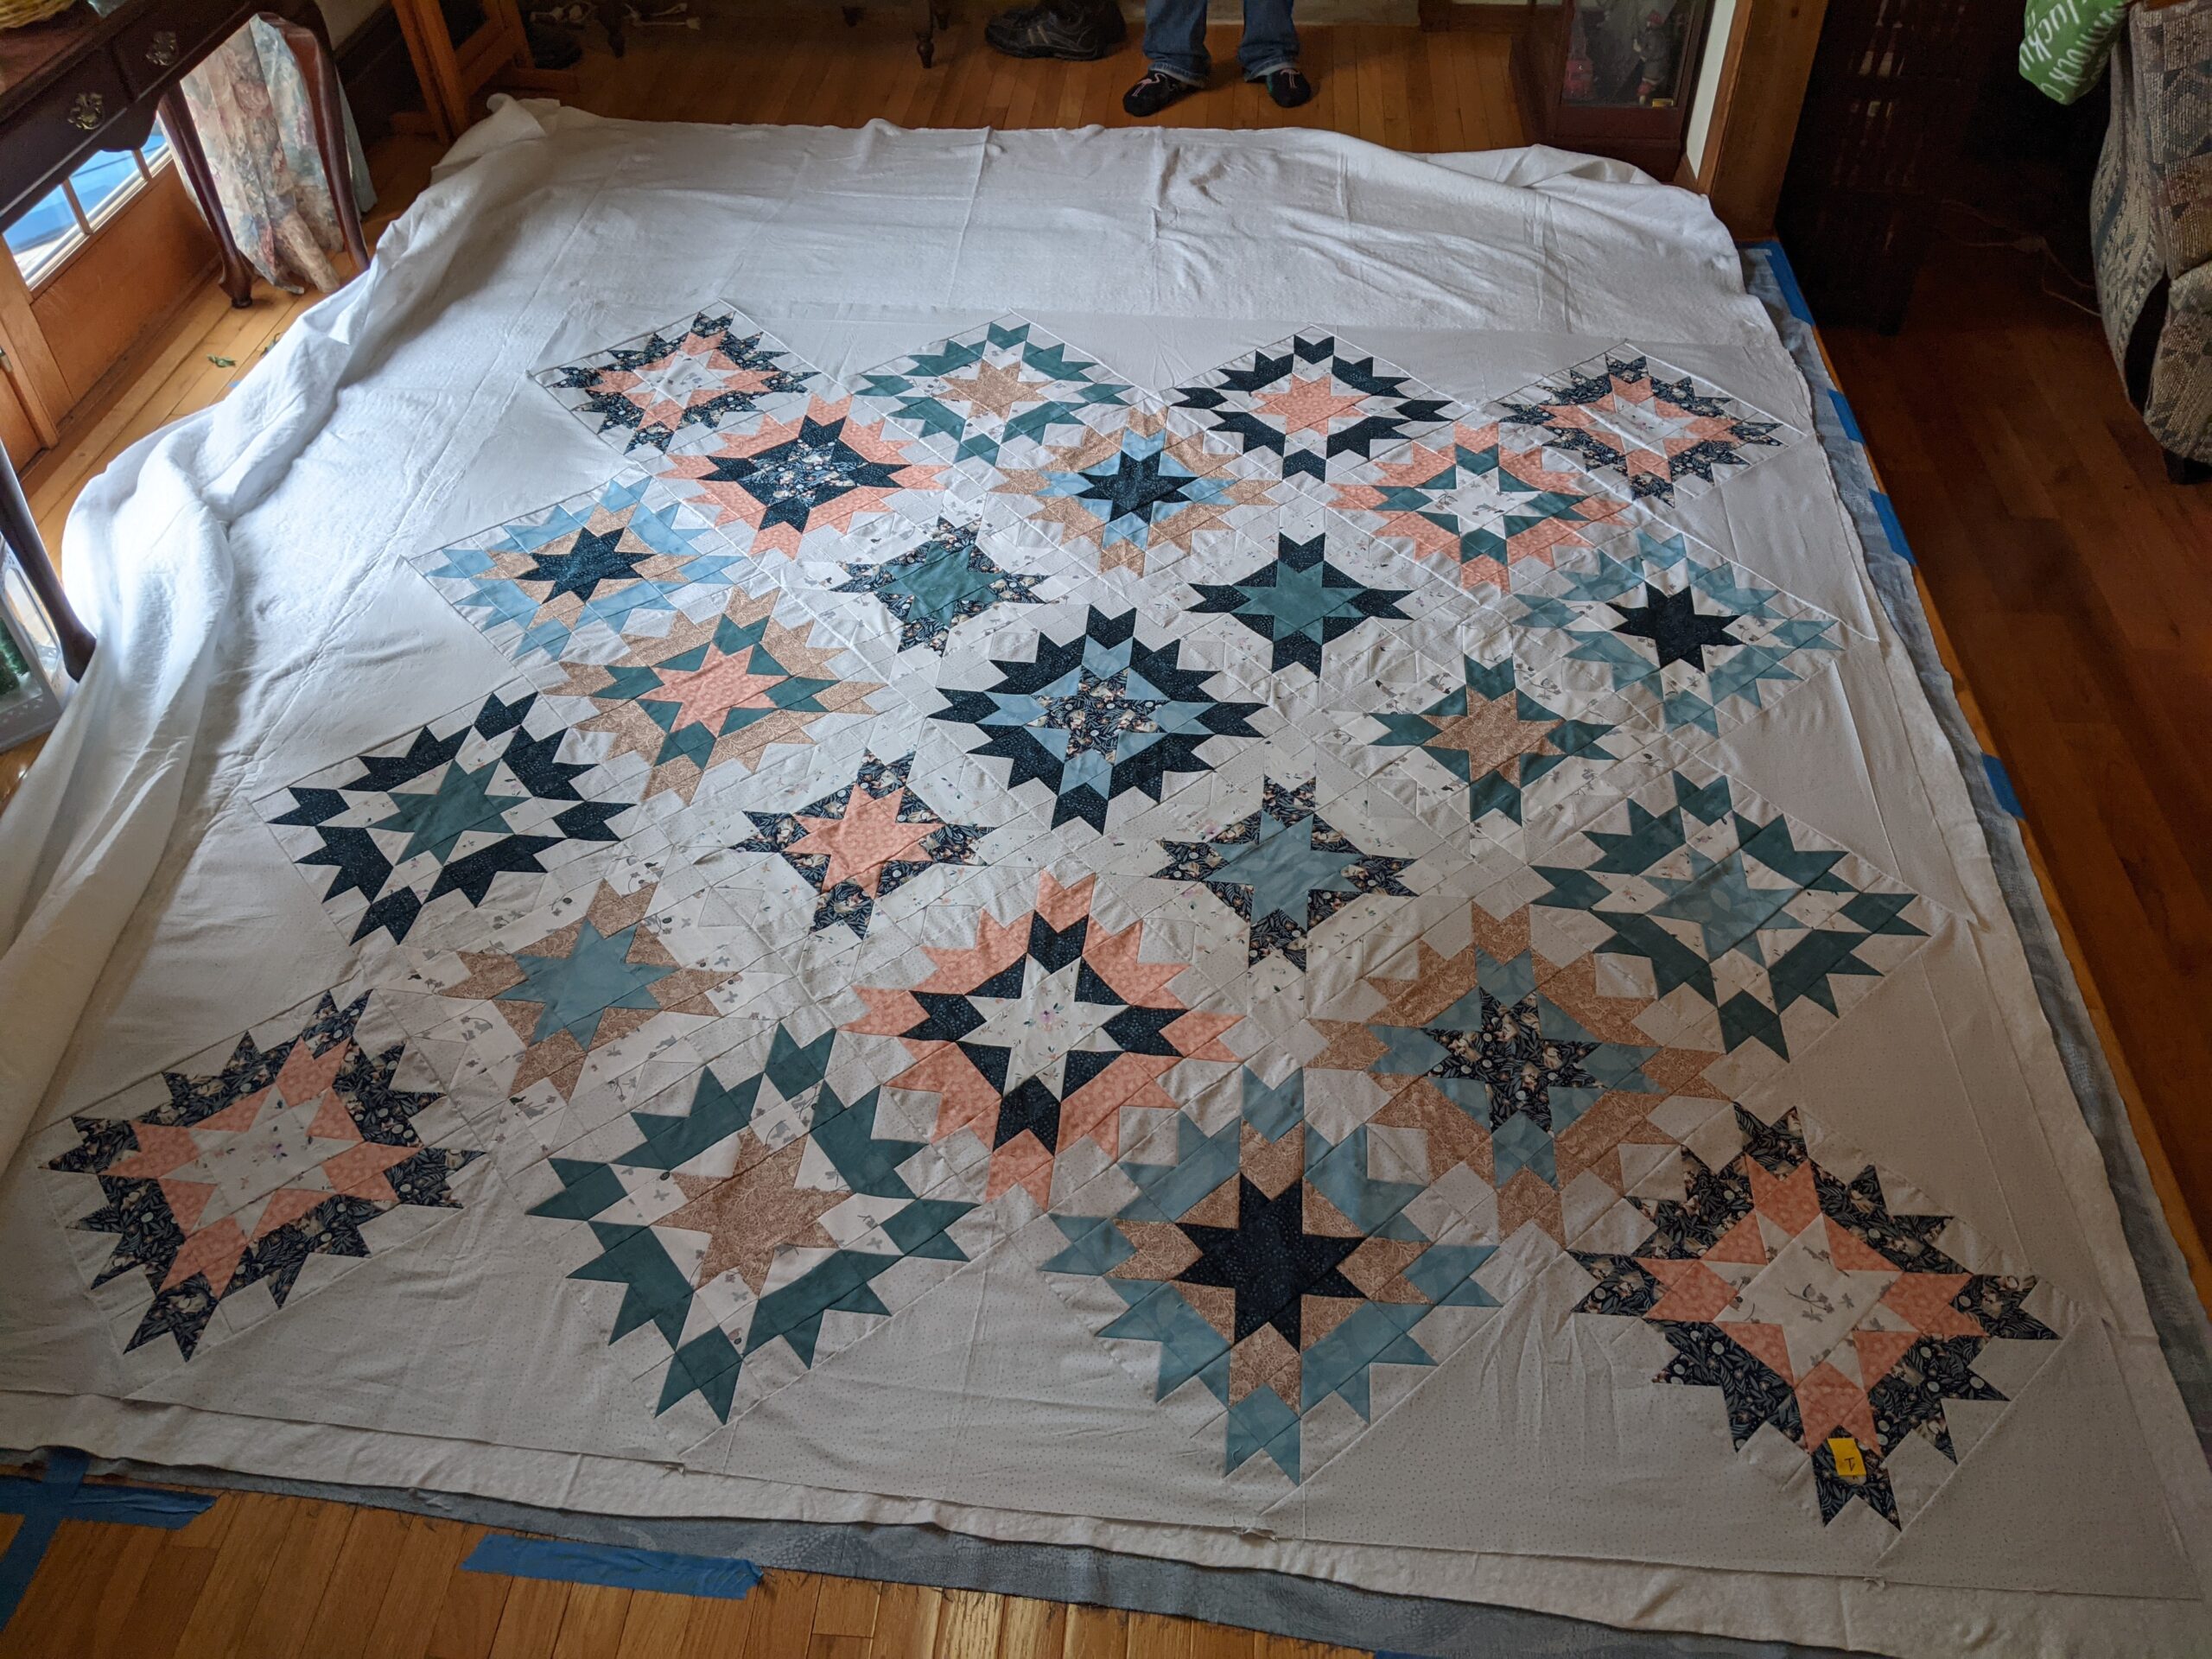
The first step to sandwiching a quilt is to find a space large enough to lay out the entire thing. As you can see in the photo above, this was the floor of my mother-in-law’s “nothing” room….it’s sort of a parlor pass through between her family room and dining room. Strategically, it has a step down into the family room, which made for a back-saving spot to pin-baste. Once you find a spot, you want to lay out your backing with wrong side up. I then use blue painter’s tape to tape down the backing. Be VERY careful to not actually stretch/distort the backing fabric. You want to ensure there are no creases or folds in it, but you don’t want to stretch it at all. Smooth, not Stretched!! (Helpful Hint: Press your backing fabric or if it’s a single piece of backing, throw it into the dryer with a wet towel for a few minutes to release all wrinkles.)
Next, you will want to lay out your batting. Please follow the manufacturer’s instructions for this. Some battings need to be pre-washed, others will have a front and back, some need to be pressed or put in the dryer to get the wrinkles out. You also must note something exceptionally important on the manufacturer’s instructions: How far apart your quilting or tying needs to be. This is so important, because if your batting says every 8 inches and you secure it every 10, you risk getting sagging and bunching down the line.
Once you get the batting onto the backing, I use a smoothing method that involves starting from the center and working my way out to the edges. I carefully smooth the batting with my hands and let static help me stick the layers together. I don’t like to use spray baste (because I really dislike the use of the chemicals and have so far never needed it) but if that’s your preference, no worries….just don’t ask me how to use it because I have no idea. I try to put all my extra fabric and batting towards the same edges so that I can waste the least amount of it and get the biggest pieces of left-overs. When deciding on placement, you must consider how you are finishing and binding. If you are quilting the quilt, they tend to stretch a bit, and you will need extra backing and batting on the edges (about three inches). If you are rolling the back to the front as your binding, you will also need extra backing on the edges. More about this when I discuss trimming the sandwich.
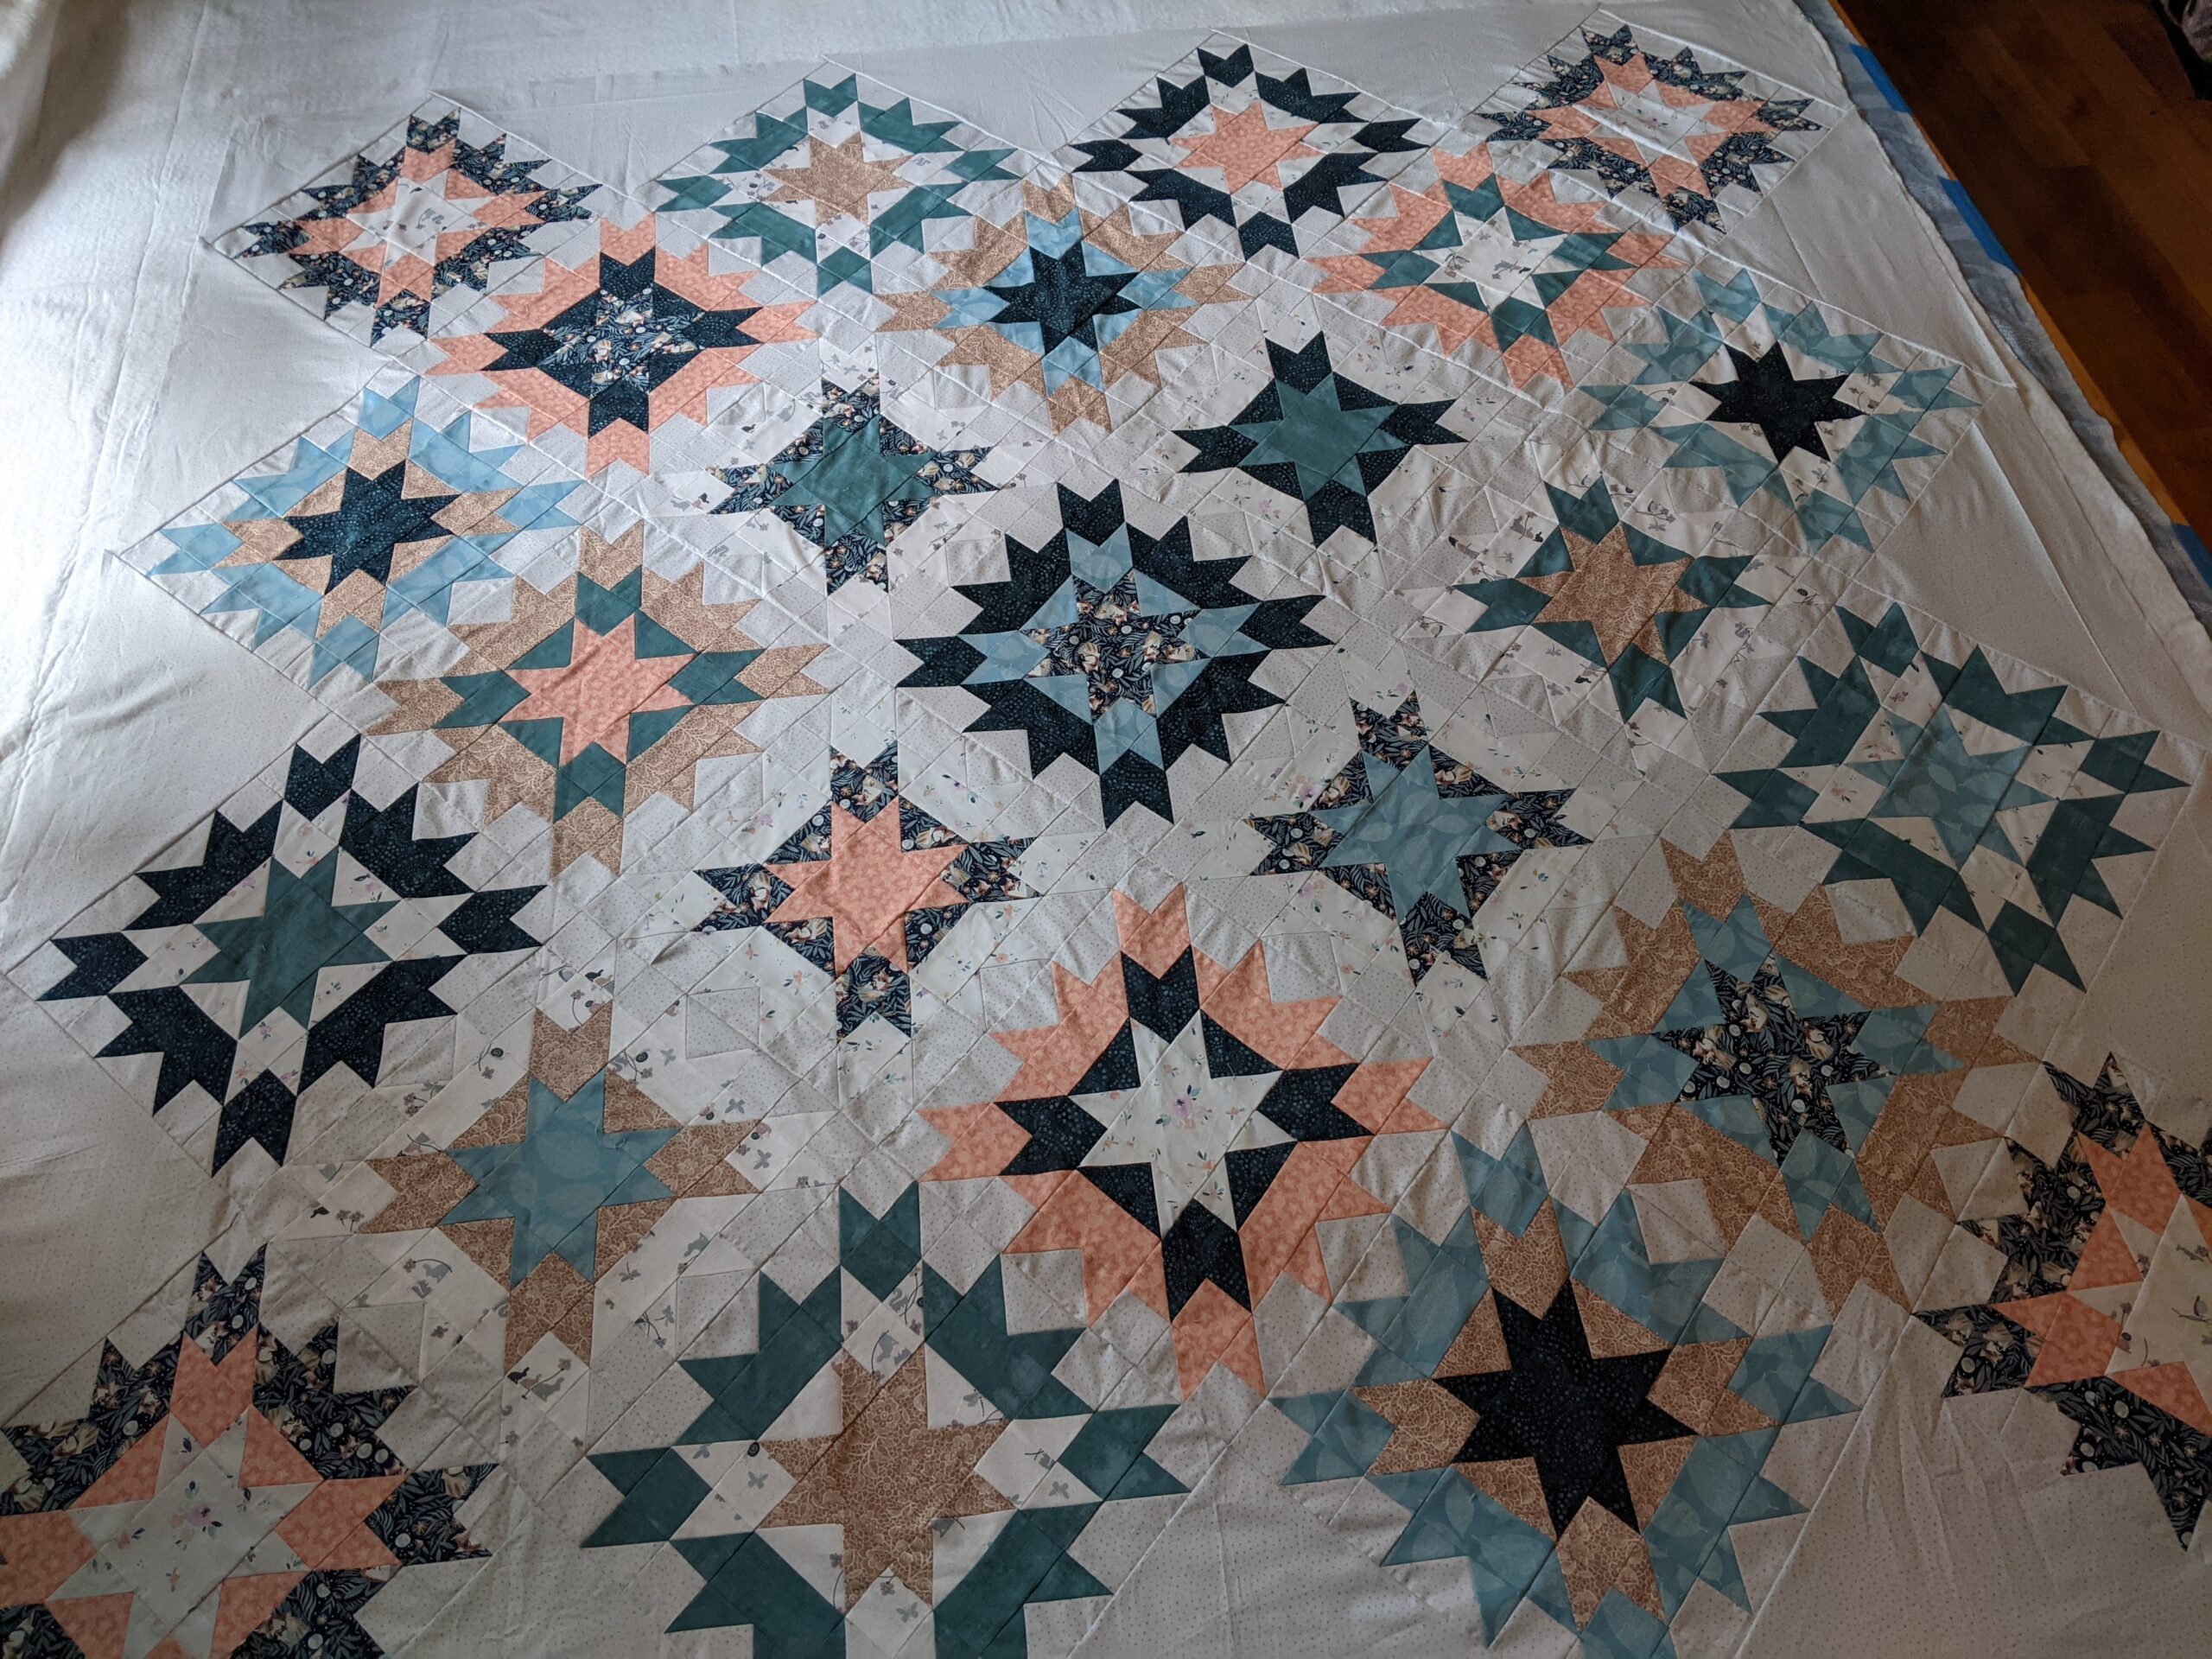
After the backing and batting are smooth and wrinkle free, place the Quilt top right side up. Smooth it in the same way you smoothed the batting. Pin baste. I use curved safety pins that are rust resistant. (Hint: I store them open in a jar so that they are ready to go when I need them….okay, okay, it’s actually a Talenti ice cream container….it’s a hard job emptying those, but you know, it’s a sacrifice for the art and all.) I pin baste every 6 to 10 inches depending on the materials I’m using and how fast I’m finishing it. If I’m basting and tying right there at the same time, I’m going to use less pins than if I’m moving the quilt after basting. Be sure to pin baste from the center out and use ample pins around the edges and corners to ensure no shifting.
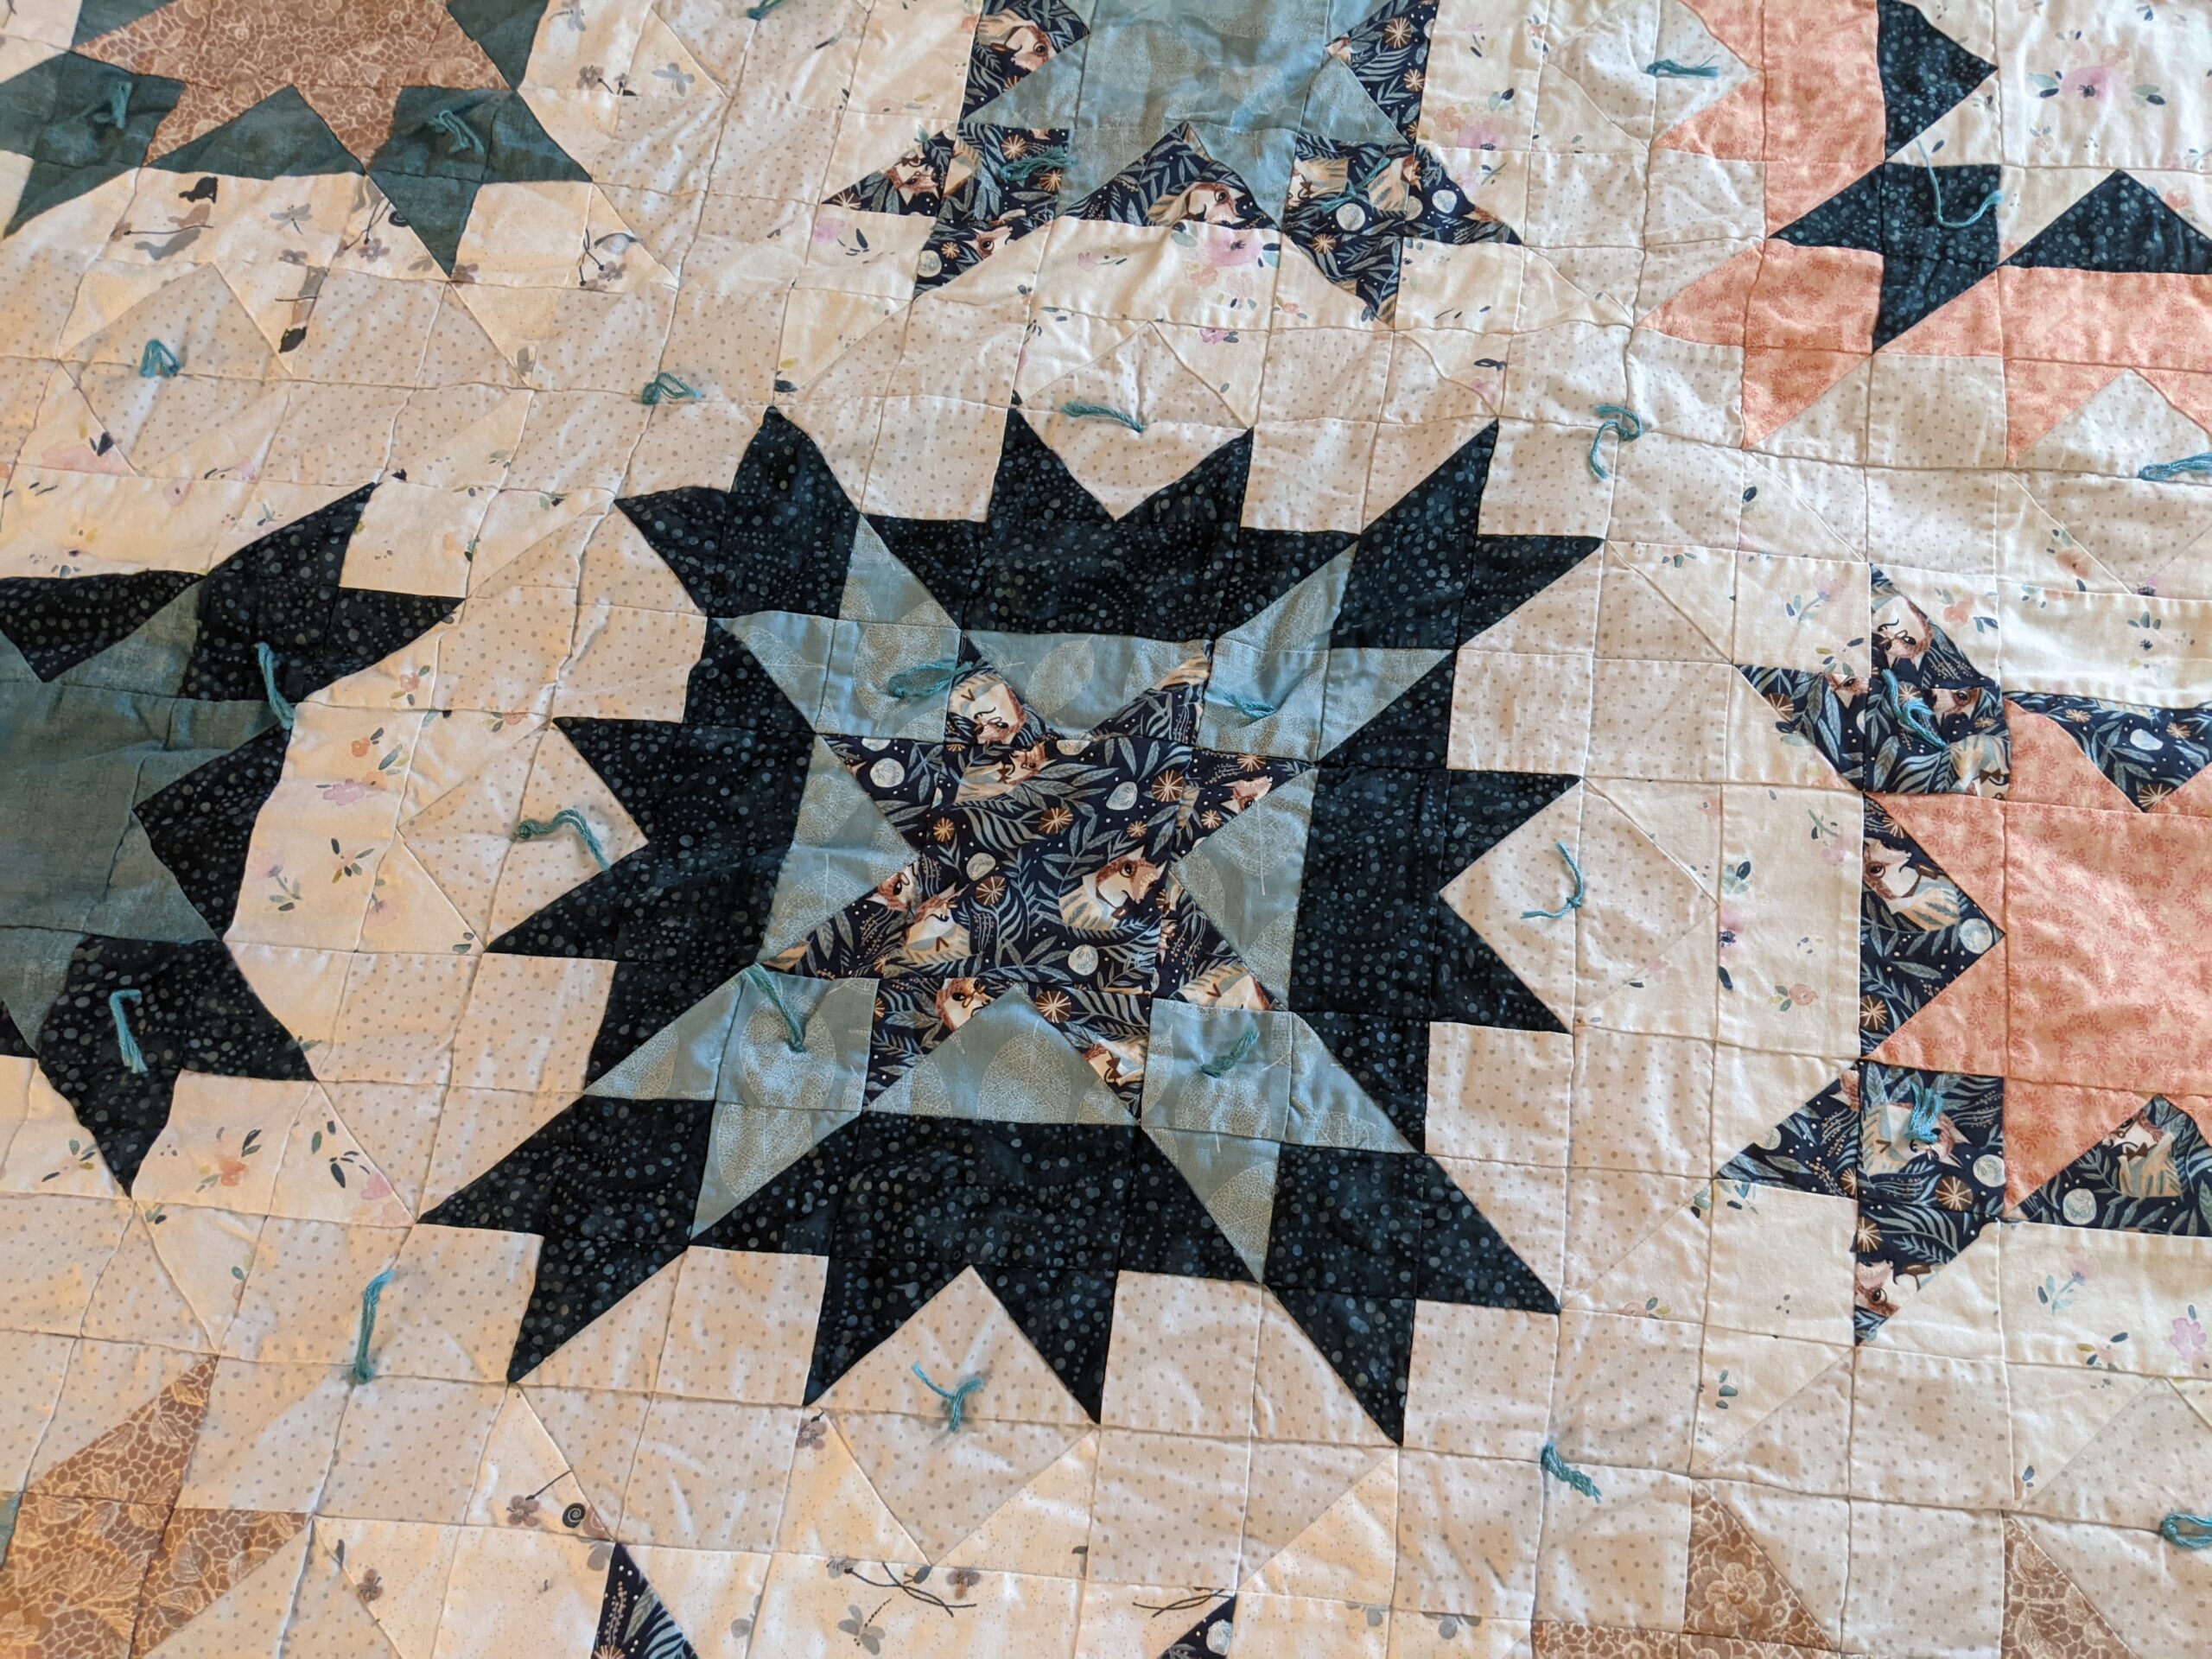
At this point, it’s time to quilt or tie. As I mentioned earlier, I tied this quilt. I always use high quality cotton yarn to tie my quilts. I buy them from my local Yarn Shop, The Cornwall Yarn Shop. Gail, the owner, is always very accommodating and lets me color match until the cows come home. I prefer 100% cotton yarn because I’m using 100% cotton every thing else, so it just wears the same, especially when washed.
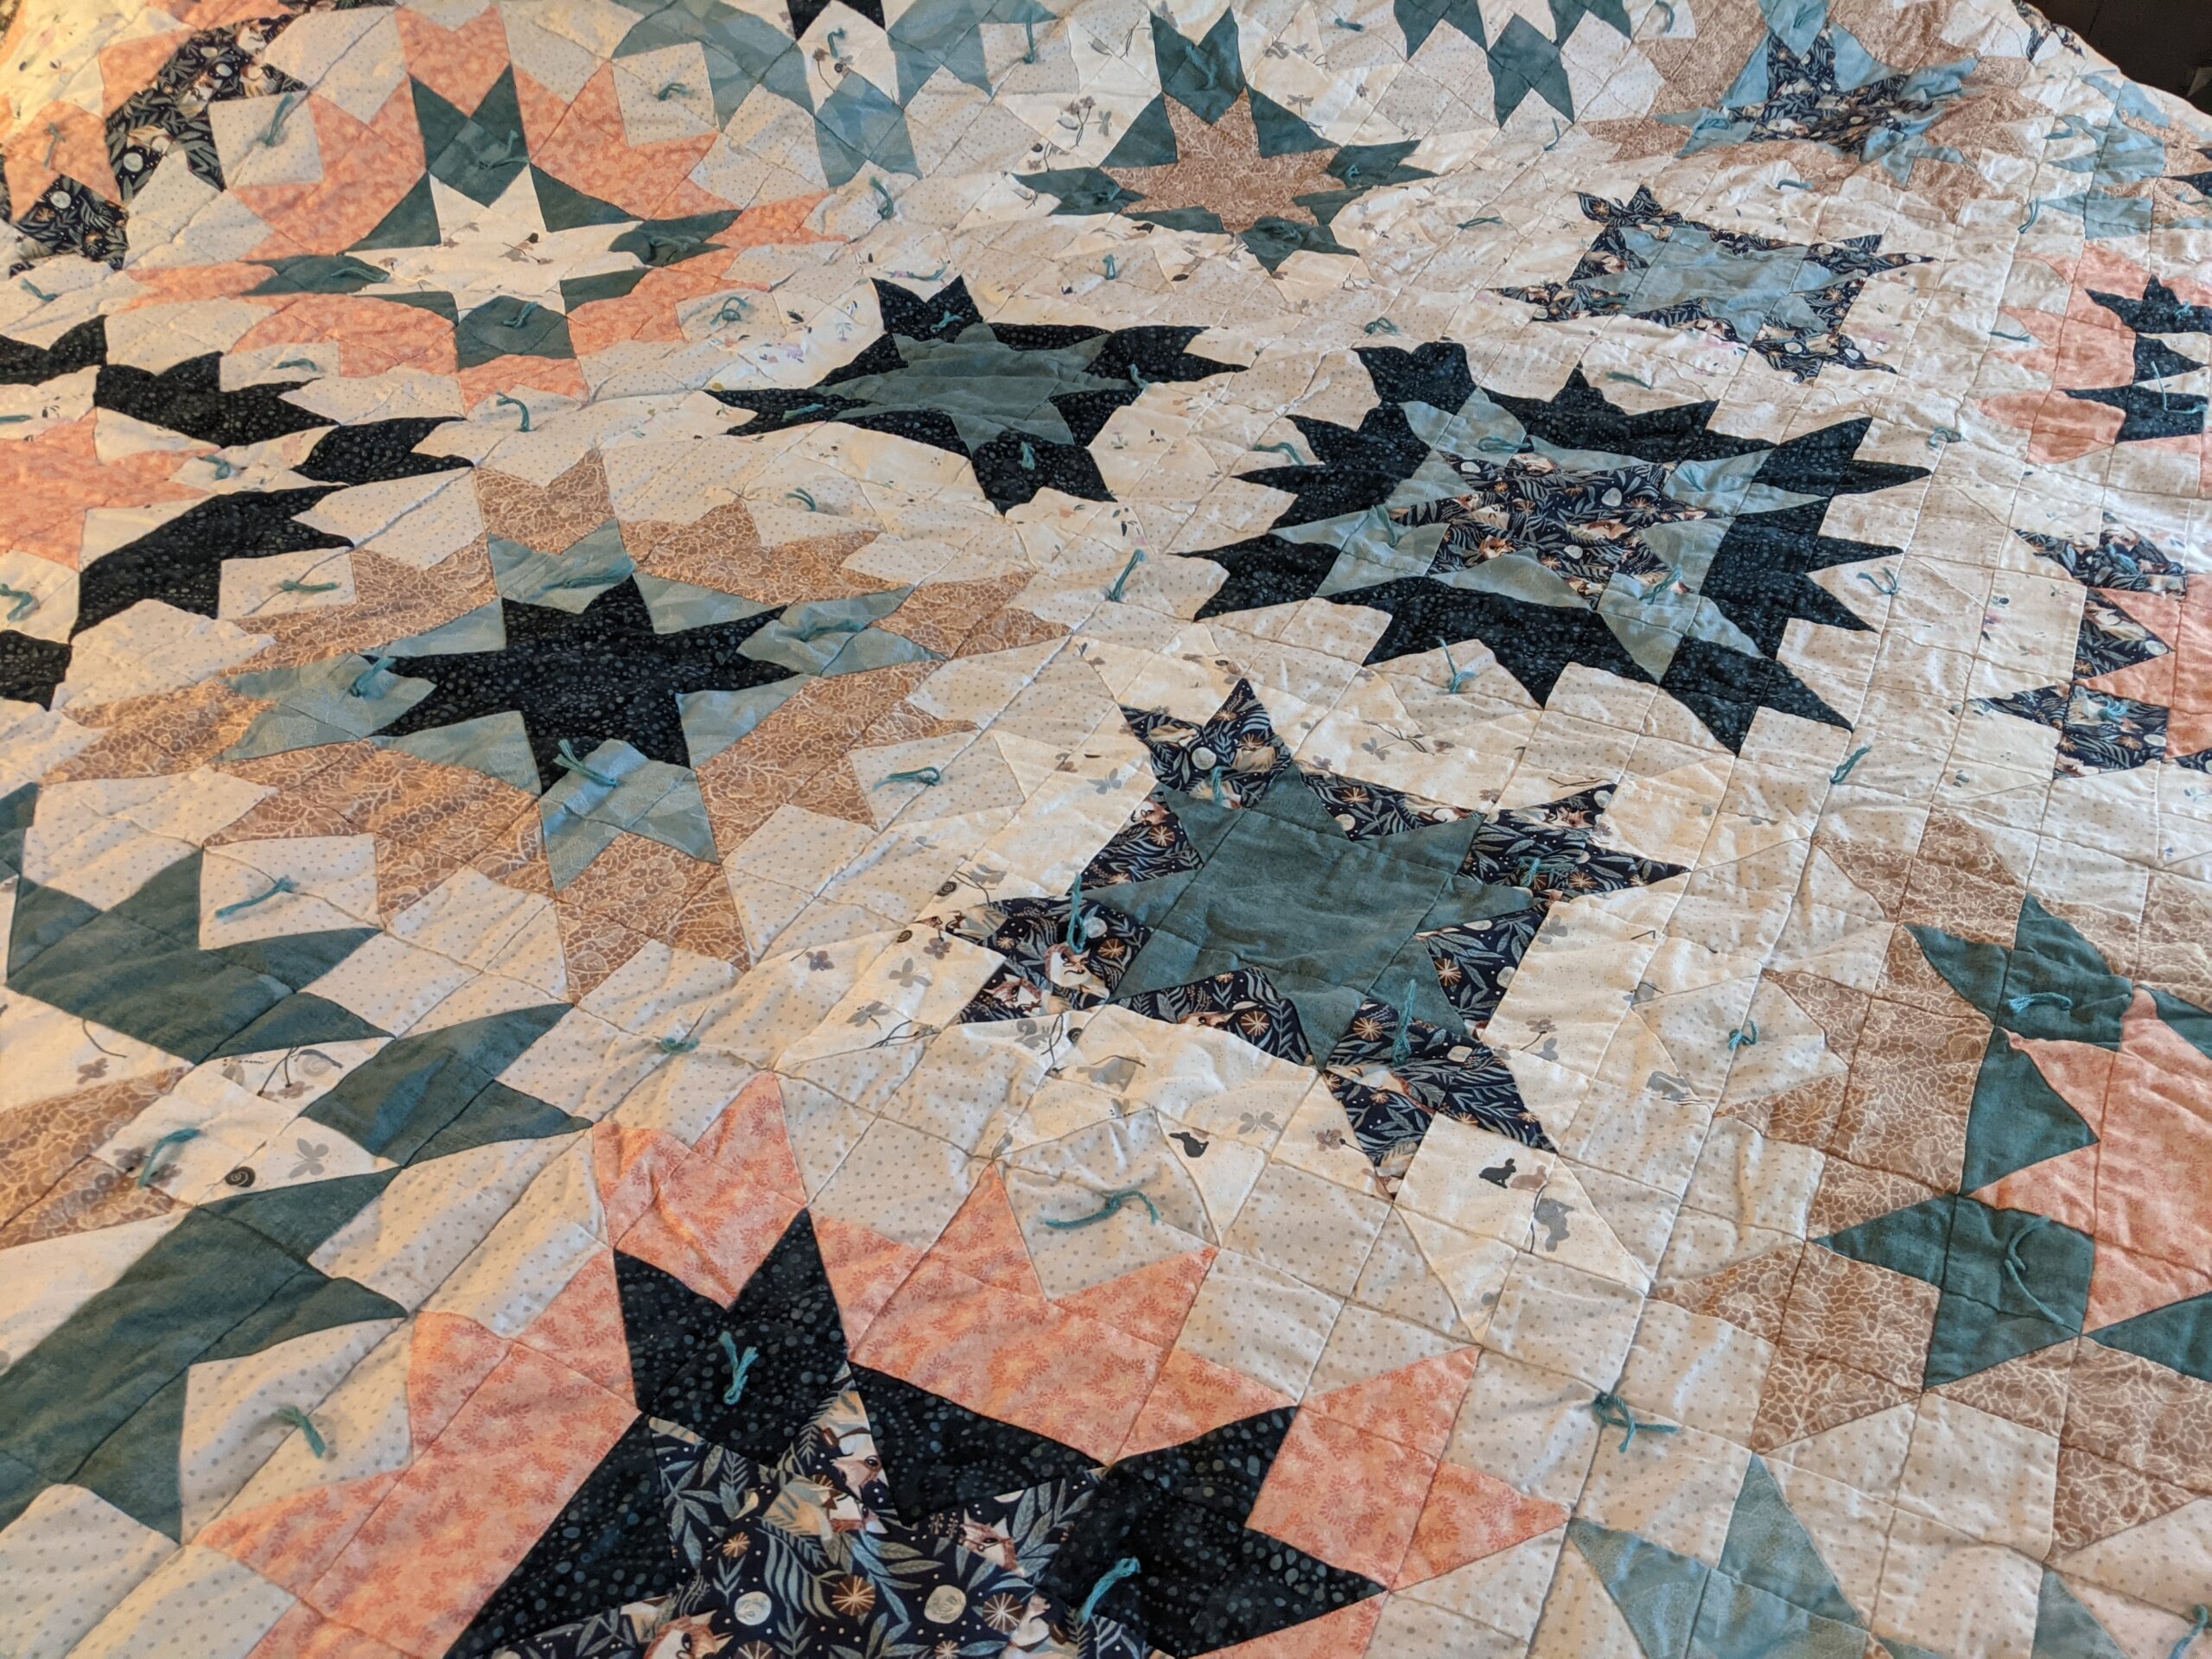
I chose to tie this quilt on the Middle Ring and the Background of each block. I wanted to leave the Center Star alone and was able to, because my batting allowed for that distance.
After I finished the tying, I trimmed my sandwich, leaving a border of about 2.5 inches of backing more than the top and batting. I planned on rolling the back to the front for my binding.
Hour Count:
Previous Hours: 84
Sandwiching and Tying the Quilt: 7 hours
Total Hours so far: 91
Next Steps: Binding, adding the label, washing and packing